HCX Series Network IP Camera Operator Guide
Document 800-01794 Rev C
27
05/09
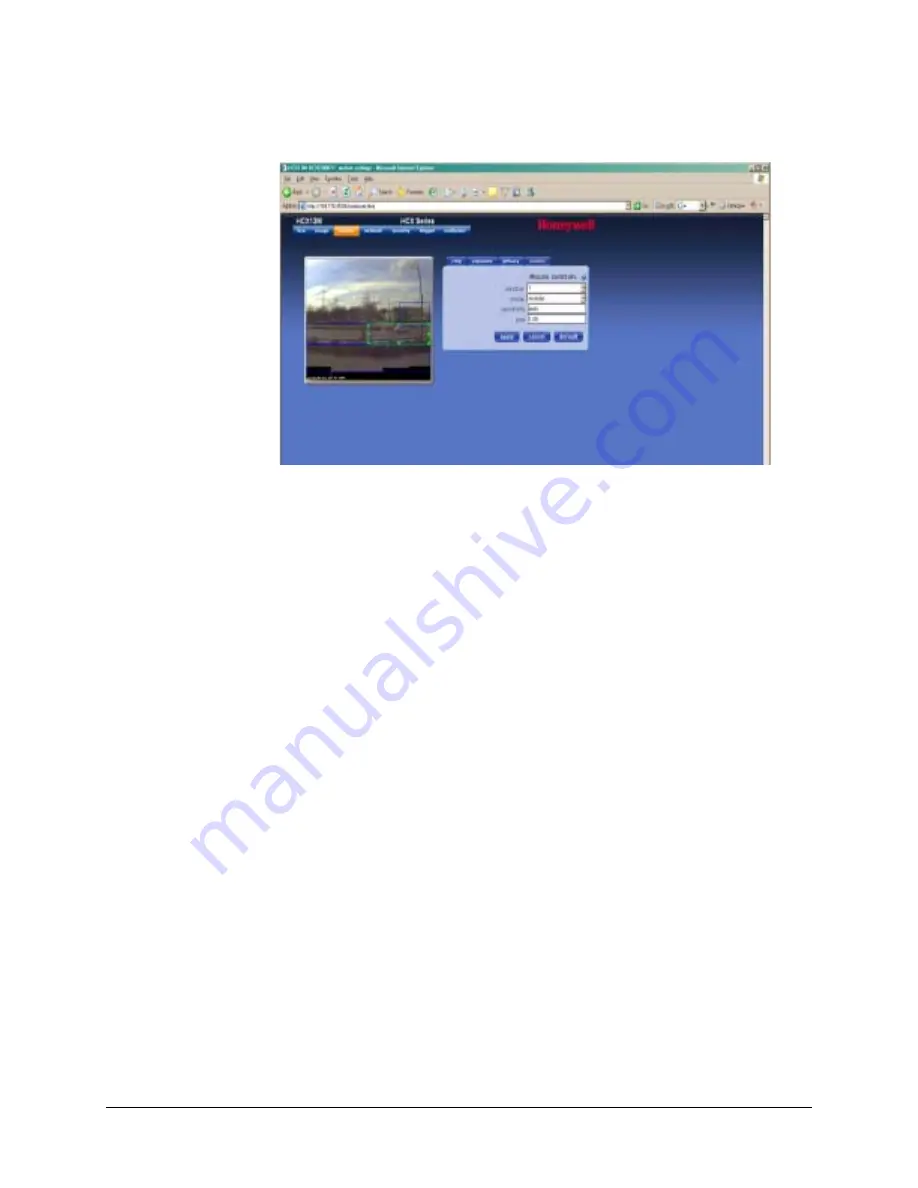
Figure 1-14
Window Screen with Motion Detection
The motion detection settings allow you to configure up to eight rectangular windows of
the image to be used for motion detection.
After you set up the parameters for these areas, go to the Trigger screen to choose what
action your camera will take when motion is detected.
The motion detection algorithm running on your camera triggers when significant change
has occurred to enough pixels in a chosen part of your camera image. The default action
is to use all pixels in the image for motion detection. You may change this by configuring
one or more windows.
To set a motion window:
1.
Select a window to set in the window field.
2.
The selected window has its corners marked with solid squares. You may type
parameters directly into the text boxes for position and size or you may use your
mouse to specify a window. If no window is marked:
a.
Click on the point on the image where you want the top-left of the window to
appear.
b.
Drag to where you want the bottom-right of the rectangle.
c.
Release the mouse button.
If a window is marked:
0.
Click on a corner or side of a window to move that corner or side.
a.
Drag it to the new desired location
b.
Release the mouse button.
c.
Clicking in the center of a window to move the position of that window without
altering its size.
d.
Start a new window by clicking outside the existing window. The click specifies
where the top-left of the window appears. Drag to the bottom-right and release
the mouse button.
Содержание HCX13MW
Страница 1: ...Document 800 01794 Rev C 05 09 Operator Guide HCX Series Network IP Camera HCX13MW HCX3W HCX5DW ...
Страница 6: ...6 ...
Страница 8: ...8 ...
Страница 10: ...10 ...


