


Day, Hour, Minute, AM
or
PM
to be
displayed.
3. Use the up/down arrows to select a format for
MMDDYY
and
12 Hour
or
24 Hour
to be
display.
4. Select the
DST
icon to have daylight savings
time affect your system clock.
5. Set the “Start DST” and then the “End DST”
settings by selecting the
Month, Weekend
and
Hour
that you want DST to start.
6. Select
to save settings.
Make sure "DST On” is checked to enable
this feature.
A confirmation screen is displays:
“Time Setting Confirmation”
“Set time on the security system as
well?”
Select
Yes
or
No
.
residential panel, the panel downloads its time into the Touchscreen
once an hour after the clock is set.
•
If
Get Time
is selected, the Touchscreen downloads the time and
date from the control panel and exits the
Set Time & Date
screen.
Advanced Setup
Notes
1. From the System Setup screen, select the
Advanced Setup
icon.
2. Enter your “Authorized Code” to access:
Power Mode Setup / Night Setup
/
Keypad Reset .
- Power Mode Setup: Select the desired
power save mode (Turn-off Network /
Override Display Settings).
- Night Setup: Select the desired night setup
arming mode (Away / Stay / Instant /
Maximum / Night), see below.
- Keypad Reset: Processor reset; Select
OK
or
Cancel
.
When the
Keypad Reset
icon is selected,
the message is displayed:
“
Processor Reset
Are you sure you want to reset?
Select
OK
or
Cancel”
At any time when a test is not being performed, you can select the back
icon to return to the previous screen, or select the home icon to return to
your home page.
Residential System Notes
•
If the Clean Me option is set, when the maintenance signal is received
a “Fire Maintenance” message and the Display Faults icon is shown.
However, if you display the faults, zone 1 is not shown as a faulted
zone.
•
If RF Jam Reports are selected and RF Jam is detected, the User
Authorization screen displays “Trouble ZN100 RF Receiver”. If you
enter the console emulation mode, the display shows “Check 90 RF
Receiver Jam”.
•
Do not use the Custom Word reminder feature.
Night Setup
Notes
1. Select the
Advanced
icon.
2. Enter your “Authorized Code”, if required.
3. Select the desired night setup arming mode.
After selecting the arming mode to be activated
when the
NIGHT
icon is selected on the "Arming"
screen select
to save or select to cancel your
selection and return to the previous screen
The
NIGHT
icon can be set to arm the
system in one of five modes:
•
Away - Arms all zones with entry delay.
•
Stay - Arms perimeter zones with entry
delay.
•
Instant - Arms perimeter zones without
entry delay.
•
Maximum - Arms all zones without entry
delay. Not to be used for ANSI/SIA
CP-01 installations.
•
Night (Residential Panels Only) – Arms
all perimeter zones plus all zones listed
in Zone List 5.
NIGHT Setup Icon Function
The Touchscreen is defaulted to arm the system in STAY INSTANT mode
when arming the system using the NIGHT icon. You can change the
Touchscreen so that it arms the system in a different mode when the
NIGHT icon is selected by selecting the arming mode to be activated
when the NIGHT icon is selected on the “Arming” screen.
Note that some displays on the Touchscreen may not have enough
space to display the whole name of a partition. When this occurs, the
display shows as many characters as possible starting at the beginning
of the partition name. We recommend that the partition name be kept to
a maximum of 7 characters to ensure the “H” which indicates the home
partition may be seen (this is set at the panel).
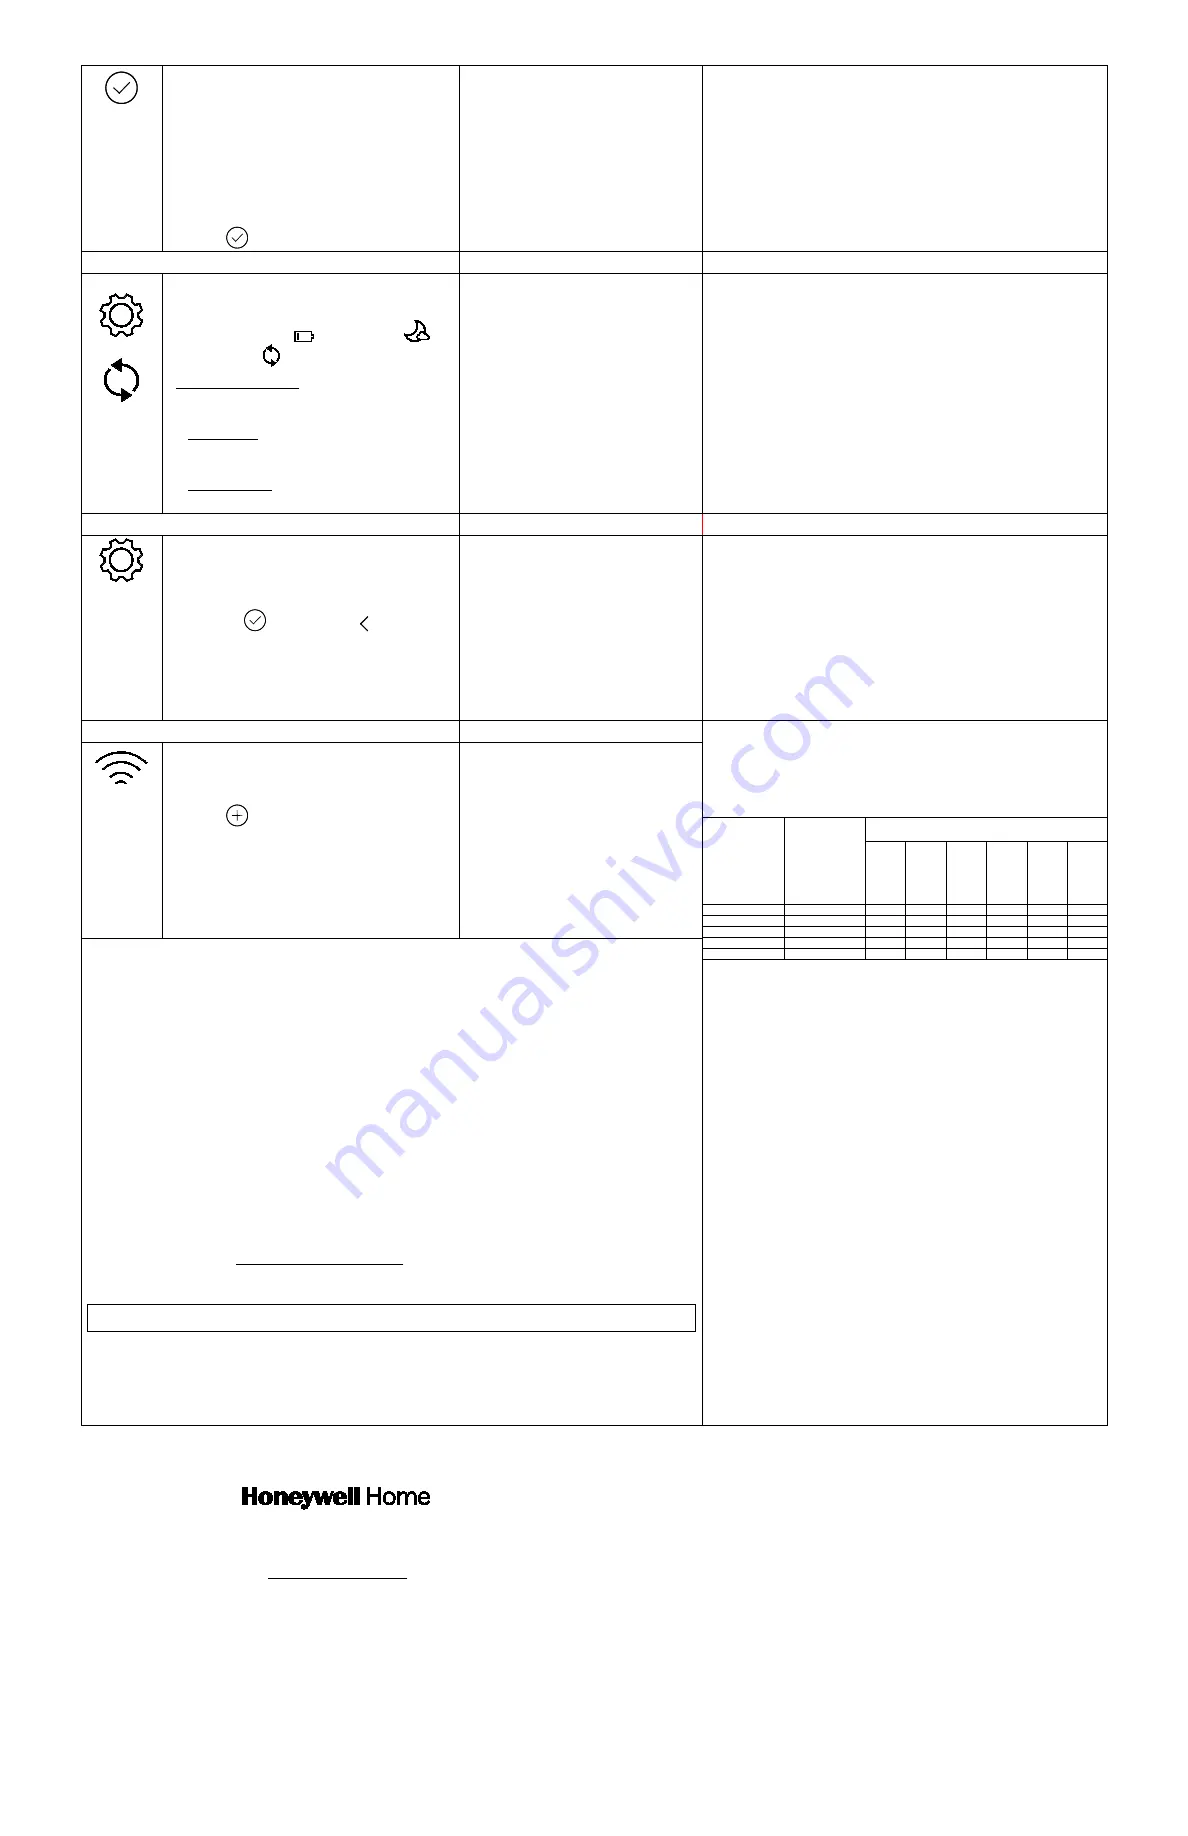
System WIFI
Notes
Residential Panels and Screen Security Authority Levels
Authority levels define the system functions a particular user can
perform. Depending on the authority assigned to you, there are certain
system functions you may be prohibited from performing. The table
below describes the authority levels available in the Touchscreen and
provides the equivalent authority level name found in your alarm system
manuals.
Authority Level in
Panel
Matching
Authority Level in
Touchscreen
Access Level Chosen in
Touchscreen Screen Security
Ins
tal
ler
M
as
ter
M
anag
er
O
per
at
or
A
O
per
at
or
B
O
per
at
or
C
System Master
Master
No
Yes
Yes
Yes
Yes
Yes
Partition Master
Master
No
Yes
Yes
Yes
Yes
Yes
Standard User
Normal
No
No
No
Yes
Yes
Yes
Arm Only
N/A
No
No
No
No
No
No
Guest
Guest
No
No
No
No
Yes
Yes
FEDERAL COMMUNICATIONS COMMISSION & ISED CANADA STATEMENTS
The user shall not make any changes or modifications to the equipment unless authorized by
the Installation Instructions or User's Manual. Unauthorized changes or modifications could
void the user's authority to operate the equipment.
CLASS B DIGITAL DEVICE STATEMENT
This equipment has been tested to FCC requirements and has been found acceptable for
use. The FCC requires the following statement for your information.
This equipment generates and uses radio frequency energy and if not installed and used
properly, that is, in strict accordance with the manufacturer's instructions, may cause
interference to radio and television reception. It has been type tested and found to comply
with the limits for a Class B computing device in accordance with the specifications in Part 15
of FCC Rules, which are designed to provide reasonable protection against such interference
in a residential installation. However, there is no guarantee that interference will not occur in
a particular installation. If this equipment does cause interference to radio or television
reception, which can be determined by turning the equipment off and on, the user is
encouraged to try to correct the interference by one or more of the following measures:
• If using an indoor antenna, have a quality outdoor antenna installed.
• Reorient the receiving antenna until interference is reduced or eliminated.
• Move the radio or television receiver away from the receiver/control panel.
• Move the antenna leads away from any wire runs to the receiver/control panel.
• Plug the receiver/control panel into a different outlet so that it and the radio or television
receiver are on different branch circuits.
• Consult the dealer or an experienced radio/TV technician for help.
ISED CLASS B STATEMENT
This Class B digital apparatus complies with Canadian ICES-003.
Cet appareil numérique de la classe B est conforme à la norme NMB-003 du Canada.
FCC / ISED STATEMENT
This device complies with Part 15 of the FCC Rules, and ISED’s license-exempt RSSs.
Operation is subject to the following two conditions: (1) This device may not cause harmful
interference (2) This device must accept any interference received, including interference that
may cause undesired operation.
Cet appareil est conforme à la partie 15 des règles de la FCC et exempt de licence RSS
d’ISED. Son fonctionnement est soumis aux conditions suivantes: (1) Cet appareil ne doit
pas causer d' interférences nuisibles. (2) Cet appareil doit accepter toute interférence reçue y
compris les interférences causant une réception indésirable.
Responsible Party / Issuer of Supplier’s Declaration of Conformity: Honeywell
International, 2 Corporate Center Dr., Melville, NY 11747, Ph: 516-577-2000.
Partie responsable / Émetteur de la déclaration de conformité du fournisseur :
Honeywell International, 2 Corporate Center Drive., Melville, NY 11747,
Tél. 516 577-2000
NOTE:
Supports 2.4GHz and 5GHz
frequencies.
1.Select
Setup
and
System WIFI
icons to
view the list of current WIFI information.
2. Select
to add a new network address.
Use the displayed keyboard to:
- enter a new Network name (enter the SSID).
– select the security type
- scroll down to select Advanced options.
Proxy: None, Manual, Proxy Auto-Config.
When done, select
CONNECT
to activate or
select
CANCEL
.
Use the Data Entry Keyboard to enter the
required information.
•
Use the
Shift
key for capital letters
•
Use the
BS
(Backspace) key to make
corrections.
•
Select
OK
•
Select
abc
/
@#$
to switch between
letters and symbols.
Commercial System Notes
•
If the Aux Relay function is set for alarm silenced by User Code + # + 67, this command may only be entered in the console
emulation mode.
•
Do not use the common lobby logic function.
•
If fields 2*22 (Display Fire Alarms of other Partitions), 2*23 (Display Burg & Panic of other Partitions), or 2*24 (Display Troubles
of other Partitions) are enabled, the zones that created the conditions cannot be viewed. You must go to that zone's home
partition to view.
•
If field 1*11 (Zone Bypass After Disarm) is enabled, you must use the Touchscreen’s Console Emulation Mode and the
commands “Code” + “64” (unbypass all) or “Code” + “6” + “Zone Number” (unbypass zone) to remove zone bypasses.
•
The First to Alarm Display Lock feature (field 1*10) is not supported by the Touchscreen.
•
RF Low Battery messages are not supported by the Touchscreen except in the Show Zones screen where a Battery Icon is
displayed for the zone with the low battery.
General Notes
•
“Exit Error” and “Auto Arm Alert, Please Leave Now” messages are not displayed by the Touchscreen.
•
When the system has 6150Vs or 6160Vs, and 6271Vs attached, the Additional Console setting in the 6150Vs (displayed as A on
the 6150V) must be set to 1 and the Additional Console setting in the 6160Vs must be set to Yes.
*For additional troubleshooting procedures, refer to the Control Panel Installation Guide.
UL Notes:
For residential burglar alarm applications, the entry delay time shall not exceed 15 seconds, therefore
use is restricted to compatible listed control units capable of being programmed for this time parameter.
Connect only keypads to: Aux. + / Aux. - and Data input / Data output.
SUPPORT & WARRANTY
For the latest warranty information, please go to:
https://www.security.honeywellhome.com/hsc/resources/wa/index.html
For patent information, see https://www.resideo.com/patent
SUPPORT:
For technical support, call 1-800-645-7492 M-F 8:30am to 5pm EST
REFER TO INSTALLATION INSTRUCTIONS FOR THE CONTROL PANEL WITH WHICH THIS DEVICE IS USED FOR
WARRANTY INFORMATION AND LIMITATIONS OF THE ENTIRE ALARM SYSTEM.
This product manufactured by Resideo and its affiliates.
The Honeywell Home Trademark is used under license from Honeywell International Inc.
2 Corporate Center Drive, Suite 100
P.O. Box 9040, Melville, NY 11747
© 2019 Resideo Technologies, Inc. Inc.
Ê800-24918A{Š
800-24918A 4/19 Rev. A


