


Page 4
process” and a “Close” button will appear above the log window. Your Z-Wave device is now included into your
Z-Wave network and can be controlled with your HomeTroller!
Removing (or resetting) Z-Wave Devices
Follow this procedure if you have difficulty adding a device or if you wish to remove a device from your network.
e)
From the web interface, use the pull down menus to navigate to the Z-Wave Controller Management page
(PLUG-INS > Z-Wave > Controller Management).
f)
Locate the “Z-Wave Interfaces” area and expand your Z-Wave Controller
section. Open the “Actions:” menu and
choose “Remove/Exclude a Node”.
g)
Click the ‘Start’ button below the Actions menu. Your HomeTroller is now in deletion mode and is ready to
communicate with your device.
h)
Activate the network button (or button sequence) on your device and observe the deletion process in the green
log window. When done, you’ll receive an acknowledgement such as “Finished with Replication process”. Your
Z-Wave device has been reset and is removed from your Z-Wave network!
STEP #5
– Editing and Controlling Your Z-Wave Devices
After you’ve created your Z-Wave network, you may wish to name your devices and assign them to appropriate
locations. You may also want to adjust any available parameters or settings. Here’s how to do this:
Editing Your Z-Wave devices
1.
From the web interface, click on the Home page or navigate to the Device Management Page (VIEW > Device
Management). Click the “Show All” button in the upper right hand area of the page. A list of all your devices will
now be displayed.
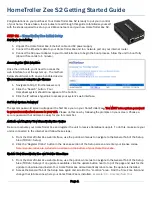
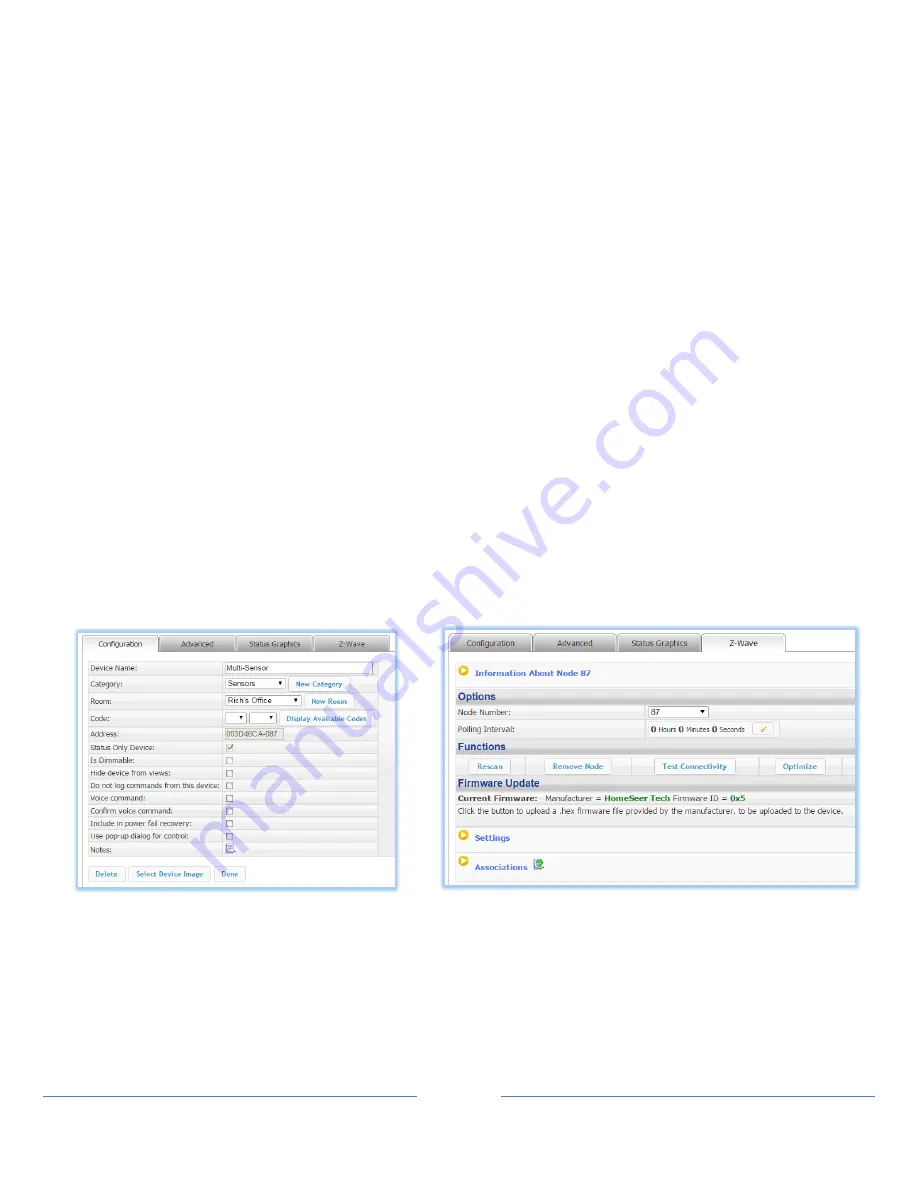
2.
To edit the device, click the corresponding hyperlink in the Name column. Name and location fields appear on
the “Configuration” tab. Z-Wave parameters and settings appear on the “Z-Wave” tab.
Controlling Your Z-Wave devices
From the web interface, use the pull down menus to navigate to the Device Management Page (VIEW > Device
Management). Click the “Show All” button in the upper right hand area of the page. A list of all your devices will now be
displayed. Use the buttons, sliders and other controls in the “Control” column to test and control these devices.


