Care, maintenance and repair
DH-Series | Version 1.01
17
Step 7: Check the machine regularly:
- Appropriate tension of the drive belt.
- Loose bolts and nuts.
- Worn or damaged switches.
- Worn or damaged planing knives.
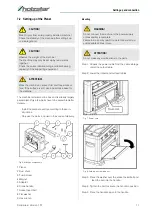
9.2 Inspection and replacement of brushes
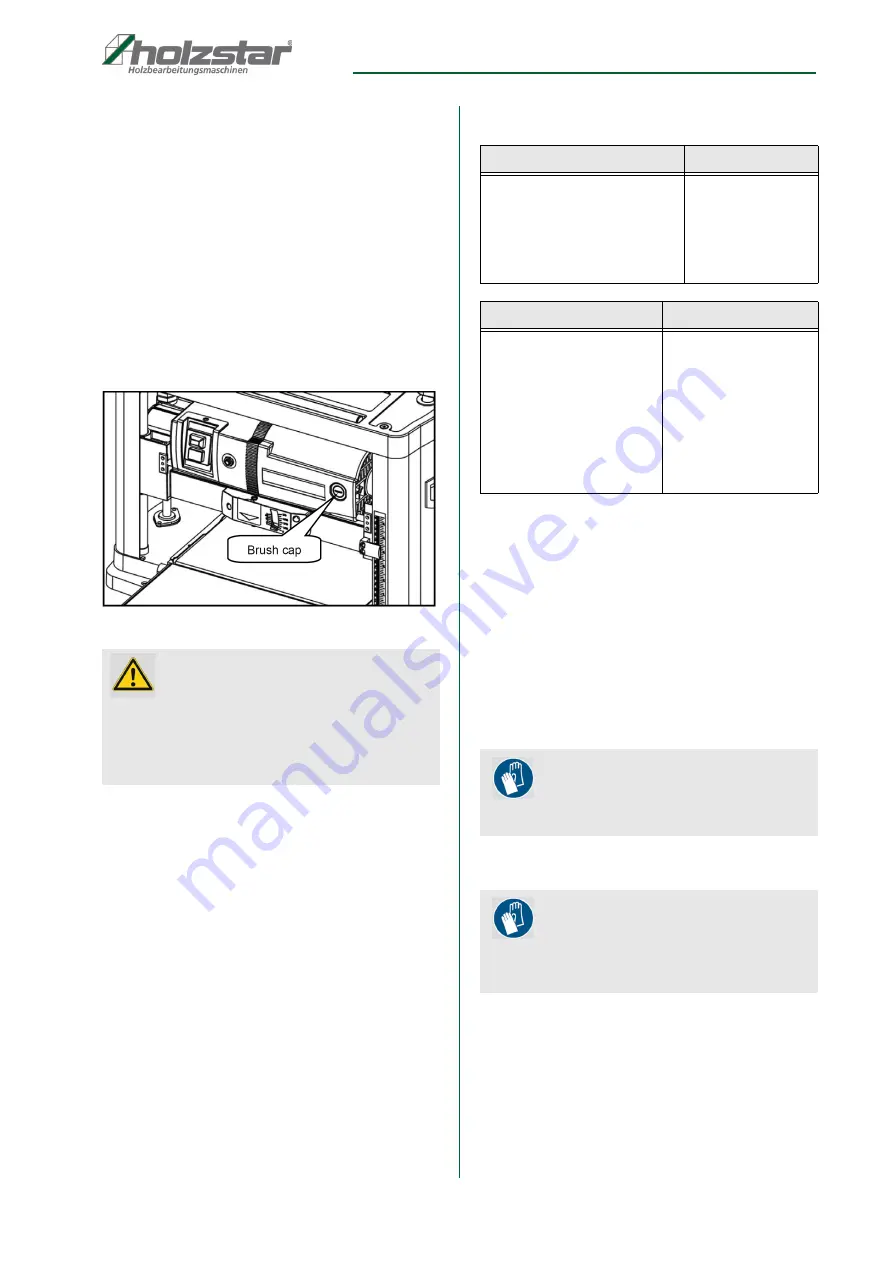
Step 1: Loosen the brush cover and carefully remove
the brush from the motor.
Step 2: Replace the brushes if the carbon is worn out.
Step 3: Replace the brushes and reattach the brush
cover.
Fig. 19: Brush cover
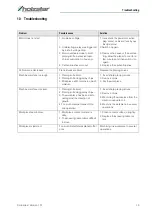
Cleaning the planer
Step 1: Fold out the infeed and outfeed tables.
Step 2: Unscrew the cutter cover.
Step 3: Remove the wood shavings with a vacuum cle-
aner or brush.
- Height adjustment device of the planing knife
- cutter block
- Ventilation slots of the motor.
Step 4: Tighten the knife shaft cover.
Step 5: Lightly oil the height adjustment device (spind-
les) of the planing knife.
Step 6: Apply a thin layer of wax to the infeed and out-
feed tables.
9.3 Maintenance
Function testing
A functional test should be carried out before each use.
Step 1: The planing knife must rotate freely and must not
jam.
Step 2: Check the connecting cable for damage.
Suction
Check the suction system daily for sufficient function. If
the extraction system does not function or functions only
to a limited extent, it must be repaired. Only then may
the planner be put into operation.
9.4 Knife replacement
If the machine planes unevenly or tends to chisel, the
knives must be changed.
Proceed as follows to change the knives:
Step 1: Remove the dust chute.
Step 2: Loosen and remove the four screws from the
knife cover on the back of the planer.
Step 3: Remove the blade guard.
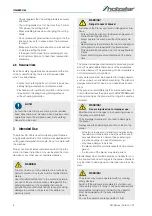
WARNING!
Switch off the planer and disconnect it from the
power source. The life of the brush depends of load
on the motor. Check the brushes regularly after 50
hours of operation. The brushes are located on both
sides ofthe planer motor.
Bürstenabdeckung
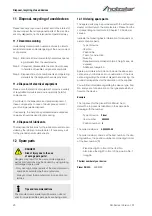
Bevore work with the planer
1. Inside the unit
2. Threaded rods for height
adjustment
3. Suction nozzle (if you are
working without suction
Remove wood sha-
vings and dust
Daily
1. Threaded rods for height
adjustment
2. Alignment of the infeed
and outfeed tables.
3. Connection cable.
4. Carbon brushes (motor)
1. Lightly oil the gui-
des.
2. Check and align if
necessary.
3. Check for damage
(cable break), re-
place if necessary.
4. Check and replace
if necessary.
Use protective gloves!
Danger of cuts on the planing knives. Wear protec-
tive gloves when changing the planing knives.
Use protective gloves!
The protective gloves prevent the hands from sharp-
edged components, as well as from friction, abrasi-
ons or deeper injuries.
Содержание DH 330
Страница 1: ...DH 330 Operating Instructions DH S ERIES Planer DH 330 ...
Страница 24: ...www holzstar de ...


