


Ref : MA_WILDCAT_FR
Issued by : Alban ROSSOLLIN
Date : mars 2012
Up-date : 3
Page 27/49
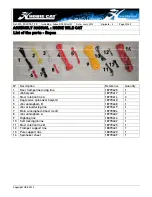
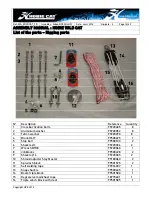
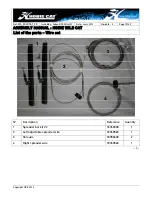
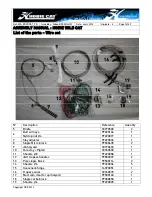
ASSEMBLY MANUAL : HOBIE WILD CAT
Copyright HCE 2012
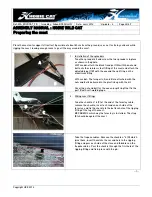
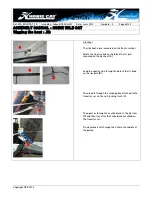
CAUTION DANGER – ALUMINIUM MAST
Keep away from electric cables
Place the mast on the trampoline, the mast base facing its support on the front
crossbar.
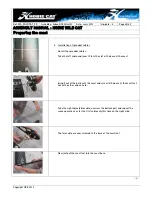
1.
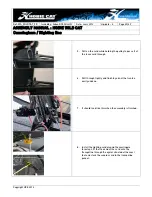
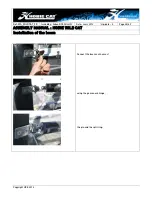
Installation of the bridles
Take the bridles from the cable bag and fix to the bridle fittings at the front
of the hulls.
2.
Installation of the shouds•Connect the shroud cables the the Staymasters
that are in the rigging bag. Fix the Staymasters on the eye bolts on each
hull. Unscrew the serrated adjustment roller of the Staymasters to the
maximum.
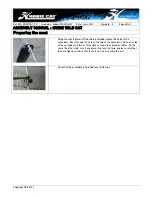
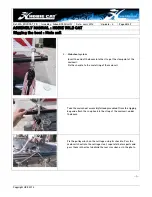
3.
Raising the mast
Before raising the mast, remove the plastic bag that is fixed to the jib rail
and which contains the Cunningham system and place it on the trampoline.
It is recommended to have two people to raise the mast : One in front of the
front crossbar (A) holding the base of the mast, the other at the back (B)
holding the mast head. (A) takes one of the trapeze cables to relieve the
weight of the mast, being careful that the base of the mast remains
encased on the crossbar.
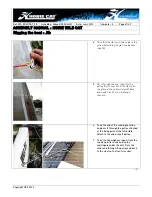
(B) advances along the mast while raising it. As the mast raises, (A) moves
back little by little, pulling on the trapeze in order to help (B) raise the
mast.
…/…
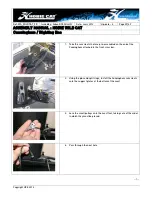
Stepping the mast


