Second Camera
Antenna
Antenna
at least 20cm
at least
20cm
If a glass antenna for AM radio is mounted on a glass, make sure to maintain at least
20cm distance between the Second camera and the antenna. Failure to do so may
cause poor reception.
Do not use the provided screws(M) to mount the second camera since contact of
a metal part of the camera and screw may cause radio noise.
Second Camera
27
28
INSTALLATION OF SECOND CAMERA
The designated input voltage for the Second Camera is 12V. To install the Second Camera to a
24V vehicle, the Constant Power Supply Unit must be connected.
The Second Camera is not waterproof. Make sure to install the camera where it doesn't get
wet.
5.
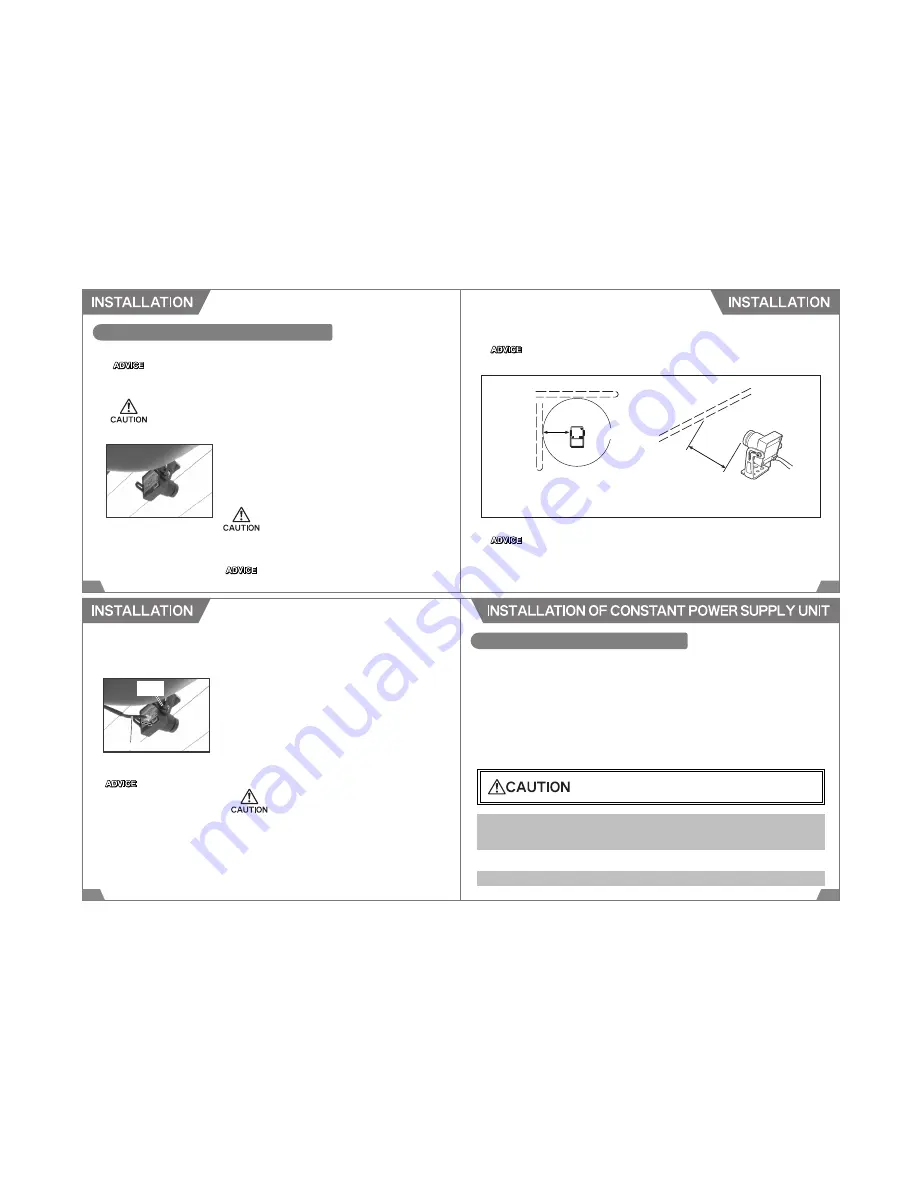
Determine the installation position. Make sure the camera does
not distract driving. Clean the mounting surface.
Mount the Second Camera using the provided double-sided
tape. Make sure the connector on the back comes downward.
When installing the camera on the windshield, install the
camera to the position where is within 20% of the windshield's
length from the top edge that is parallel and vertical to the
vehicle's center line (except on the weatherstrip, moldings,
and masking area) or behind the rearview mirror. (See the
diagram on page 24.)
The length of the Power / AV Cable to connect the Second
Camera to the DMR main unit is 6.5m.
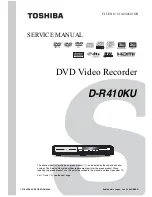
The DMR main unit can be used without the Second Camera. To use the DMR without the
Second Camera, skip the installation procedure 5 to 8 and go to the procedure 9 on the following
page.
At dark places, such as night, images are recorded in monochrome.
※ Poor reception may be caused by weak signal and/or reception conditions even
proper distance is maintained between the Second camera and the antenna.
Power/AV Cable
Screw
(S)
29
30
11.
Secure cables using the provided clips not to distract driving
to prevent possible accident.
7.
Connect the Second Camera to the DMR main unit using the
provided Power / AV Cable.
8.
Remove the protection cap from the Second Camera.
6.
Adjust the angle of the Second Camera. Secure the camera
using the provided small Screw.
9.
Plug in the Power Cable to the DMR main unit and the cigar
lighter socket.
10.
Start the engine, and make sure the DMR and Second Camera
work properly.
Make sure to maintain adequate
distance between the Constant
Power Supply Unit and antenna
and/or antenna wires of other
electrical devices to prevent poor
reception.
For a 24V vehicle, use the Constant Power Supply Unit
instead of the Power Cable.
Refer to the page 24 for installation.
CONSTANT POWER SUPPLY UNIT
Connecting the Constant Power Supply Unit to the main unit can supply the constant power to the
unit so it can be used as a security camera while the vehicle is parked.
Protection circuit for the car battery is equipped; therefore, this Constant Power Supply Unit can be
used safely without the battery's overload for an extended period of time. The power is automatically
off when the battery voltage falls below 12V (or 24V) more than 3 minutes. When the battery voltage
exceed 12.3V (24.5V), the power supply to the DMR is resumed.
When using this Constant Power Supply Unit, the provided Power Cable cannot be used together.
For a 24V vehicle, always use the Constant Power Supply Unit instead of the Power Cable.
1. When using the DMR as a security camera without starting the engine for an extended
period of time, the car battery may run out depending on conditions of a vehicle and/or
battery or the consumption of current power by other electrical devices.
Make sure to turn off the power of the DMR when a vehicle will be parked more than 3 days.
2. Select the proper input voltage for a vehicle the DMR is installed.
Indicates risk of serious injury or property damage.


