6
7
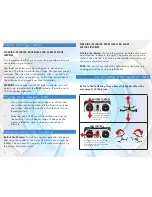
Power System
•
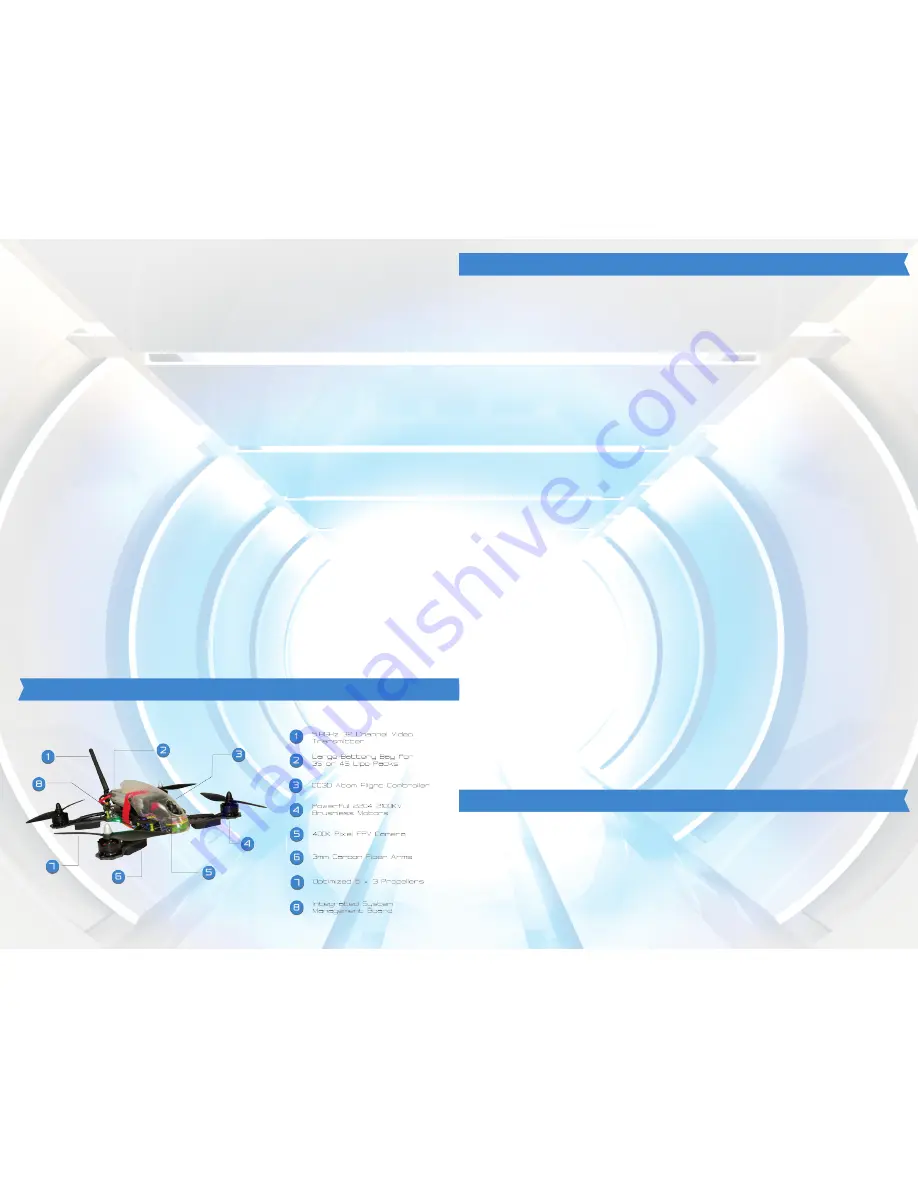
Brushless Motors – 2204 2150KV
•
Propellers - 6 x 3
•
ESC’s – 20A w/SimonK OneShot
•
Flight Time: 9-12 minutes
Flight Control System
CC3D Atom with Open Pilot
•
Powerful STM32 32-bit MCU with 128KB Flash and
20KB RAM
•
MPU6000 3 Axis Gyroscope / Accelerometer
•
Software supports for Windows, Mac and Linux
•
Works with PWM, PPM, Spektrum® satellite and S-Bus
Receivers
FPV System
•
Video Camera - 400K Pixels 135º Field of View
•
Video TX – 600mw 32 Channel 5.8GHz
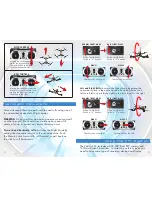
The Vektor 280 comes completely assembled; to prepare for
flight, you just need to install your receiver and battery.
Receiver Installation
•
Make sure your receiver is bound to your transmitter
before installation.
•
The flight controller in the Vektor 280 supports PWM,
Spektrum® satellite and S-Bus type receivers. It
is best to install your receiver in the front of the model
behind the camera.
•
Connect the receiver to the flight controller using the
attached cables. The cables marked S are for S-bus
receivers and the numbered ones are for PWM. You
can remove the set of cables that you are not using.
Battery Installation
•
Slide the battery into the battery compartment.
•
Move the battery forwards or backwards so that the
balance of the drone is in the center.
•
Secure the battery with the Velcro Strap.
•
DO NOT PLUG IN THE BATTERY AT THIS TIME.
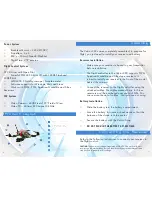
Product Layout
Assembly
Connecting the Receiver
Refer to the following instructions to connect your receiver to
the flight control.
CAUTION:
The power out voltage is regulated at 5.0VDC. This works with most
receivers on the market today, but you should check your receiver manual to be
sure it will work properly at this voltage.


