SETTING THE CLOCK -TIME ZONE SETTING/DAYLIGHT SAVING TIME SETTING - 28 -
SETTING THE CLOCK -TIME ZONE SETTING/DAYLIGHT SAVING TIME SETTING
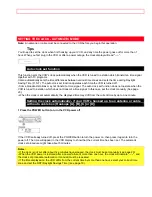
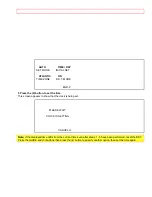
What to do if the displayed time drifts from the current time by more than an hour
Note:
Turn on the cable box with hookups [E], [F] or [G] before setting.
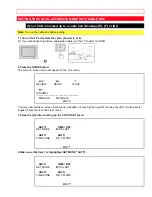
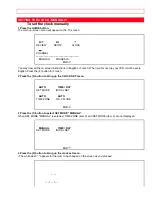
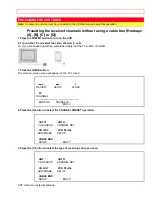
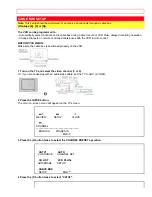
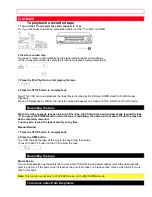
1 Press the GUIDE button.
The main on-screen menu will appear on the TV screen.
MENU
1
2
3
REVIEW
SETUP
CLOCK
4
CHANNEL
—————————————————
7
ENGLISH
8
FRANÇAIS
END
GUIDE
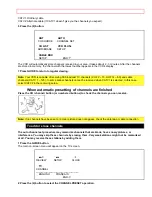
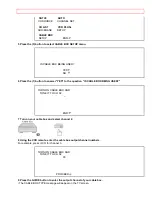
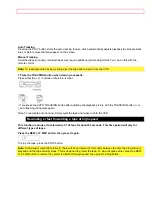
2 Press the (3) button to bring up the CLOCK SET menu.
Make sure that item 1 is highlighted SET MODE "AUTO".
CLOCK
SET
1
AUTO
2
TIME / DAY
SET MODE
INITIAL SET
3
AUTO
4
AUTO
TIME ZONE
D.S.T. MODE
END
GUIDE
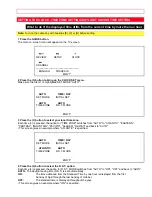
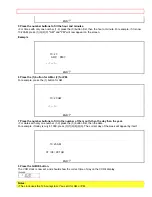
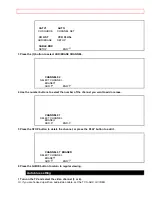
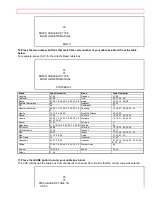
3 Press the (3) button to select your local time zone.
Each time (3) is pressed, the option for "TIME ZONE" switches from "AUTO" to "ATLANTIC", "EASTERN",
"CENTRAL", "MOUNTAIN", "PACIFIC", "ALASKA", "HAWAII" and back to "AUTO".
• This screen gives an example where "ATLANTIC" is specified.
CLOCK
SET
1
AUTO
2
TIME / DAY
SET MODE
INITIAL SET
3
ATLANTIC
4
AUTO
TIME ZONE
D.S.T. MODE
END
GUIDE
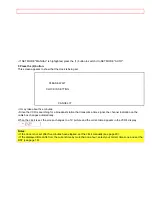
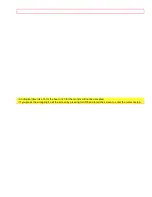
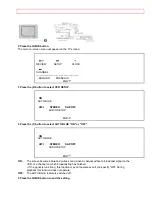
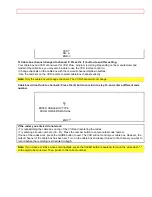
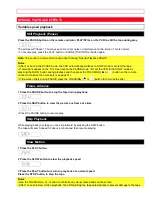
4 Press the (4) button to select the D.S.T. option.
Each time (4) is pressed, the option for D.S.T. MODE switches from "AUTO" to "ON", "OFF" and back to "AUTO".
AUTO:
The daylight saving time (D.S.T) is set automatically.
ON:
The time advanced from the Standard Time by one hour is displayed from the first
Sunday of April through the last Sunday of October.
OFF:
The standard time is displayed throughout the year.
• This screen gives an example where "ON" is specified.


