TECHNICAL
SPECIFICA
TIONS
INSTR
UCCIONES
EN ESP
A
Ñ
OL
– 8 –
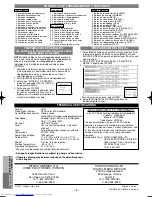
1. Compartimiento del videocasete
2. Botón de parada/expulsión
3. Botón de rebobinado
4. Botón de reproducción
5. Botón de pausa/imagen fija
6. Botón de avance rápido
7. Botón de menús
8. Botón de grabación con un toque
9. Botones de selección de canales
10. Botón de la velocidad de cinta
11. Visualizador digital
12. Sensor de control remoto
13. Botón de videograbadora/televisor
14. Botón de la alimentación
15. Terminal de entrada de audio
16. Terminal de entrada de vídeo
Panel frontal
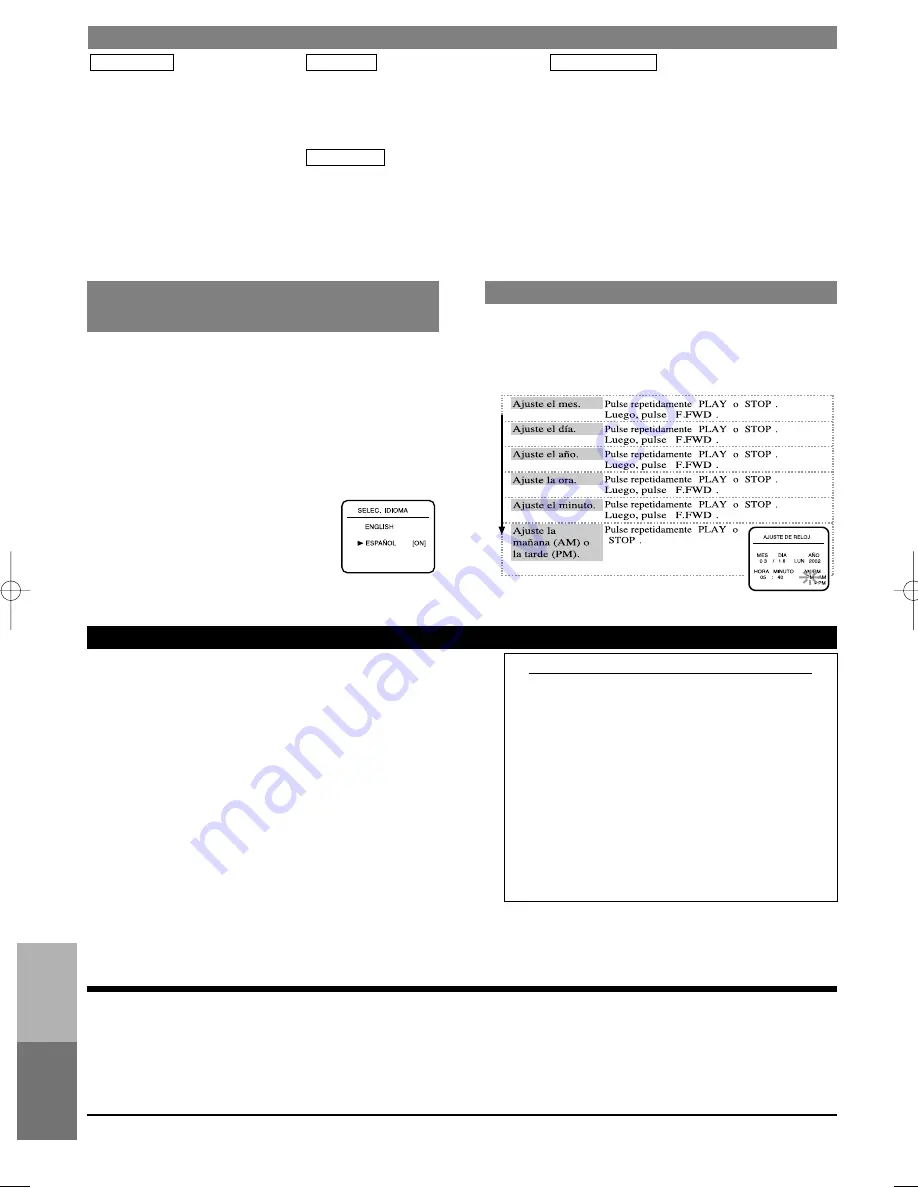
1. Pulse [MENU] hasta que aparezca el menú principal. (Si el
reloj no está puesto en hora y se pulsa [MENU], el menú
AJUSTE DE RELOJ aparece en primer lugar. En este caso,
siga el paso 3.)
2. Pulse [PLAY] o [STOP] para indicar a "AJUSTE DE
RELOJ". Luego, pulse [F.FWD].
3.
NOTA:
Cuando utilice su nueva videograbadora por primera
vez, o en el caso de ser necesario después de producirse un
fallo en la alimentación, la videograbadora se pondrá
inicialmente en el modo de preajuste cuando se pulse
[POWER].
1. Encienda el televisor y ponga el televisor en el canal 3 ó
4. Ahora ponga el conmutador de la parte trasera de la
videograbadora para que concuerde con el canal
seleccionado en el televisor.
2. Pulse [POWER] para encender la videograbadora.
3. Seleccione "ENGLISH" o "ESPAÑOL"
(Spanish) pulsando [PLAY] o [STOP]. Y
luego pulse [F.FWD].
4. Pulse una vez [F.FWD].
El sintonizador explora y memoriza todos
los canales activos de su zona. Tras la
exploración, el sintonizador se detiene en
el canal memorizado más bajo.
PREPARACIÓN DE CANALES
(La antena o la caja de televisión por cable
deberá estar conectada)
PREPARACIÓN DEL RELOJ
[
[
[
[
[
[
[
[
[
[
[
[
[
[
[
]
]
]
]
]
]
]
]
]
]
]
]
]
]
]
[
[
]
]
• Para volver atrás un paso, pulse [REW].
4. Pulse [EXIT/RESET] o [F.FWD] para poner en
funcionamiento el reloj.
0VMN02984 / HB4P0UD
★★★★★
CONTROLES DE FUNCIONAMIENTO Y FUNCIONES
17. Indicador de alimentación
18. Indicador de videocasete introducido
19. Indicador de videograbadora
20. Indicador del grabación
21. Indicador de temporizador
22. Indicador del reloj y tarde
23. Cable de alimentación
24. Terminal de salida de audio
25. Terminal de entrada de audio
26. Terminal de entrada de antena
27. Terminal de salida de vídeo
28. Terminal de entrada de vídeo
29. Conmutador selector de canales
CH3/CH4
30. Terminal de salida de antena
Panel trasero
Indicadores
1. Botón de la alimentación (POWER)
2. Botones de número (NUMBER)
3. Botón de menús (MENU)
4. Botón de visualizador (DISPLAY)
5. Botón de cámara lenta (SLOW)
6. Botón de rebobinado (REW)
7. Botón de parada (STOP)
8. Botón de grabación (RECORD)
9. Botón de pausa/imagen fija (PAUSE/STILL)
10. Botón de avance rápido (F.FWD)
11. Botón de reproducción (PLAY)
12. Botón de memoria del contador (COUNTER/MEMORY)
13. Botón de salida/reposición (EXIT/RESET)
14. Botón del modo de búsqueda (SEARCH MODE)
15. Botones de selección de canales (CHANNEL)
16. Botón de videograbadora/televisor (VCR/TV)
17. Botón de expulsión (EJECT)
Mando a distancia
Format:
VHS
Video Signal System:
NTSC color EIA standard
Record/Playback System: Video: 4 heads
Audio: VHS Hi-Fi stereo record/playback system
Tape Speed:
33.35mm/s(Sp), 16.67mm/s (LP) (Playback
Only), 11.12mm/s (SLP)
RF Input:
UHF/VHF 75 ohm
Tuner:
181 channel tuning ability *(125 cable
channel)
Type:
Auto programming frequency synthesis
Power Input:
AC120V 60Hz
Power Consumption:
14W nominal
Cabinet Size:
17-1/8” (W) x 3-5/8” (H) x 8-1/2” (D)
43.5 cm (W) x 9.2 cm (H) x 21.6 cm (D)
Weight:
5.51 lbs. (2.5 kg) (approx.)
Storage Temperature:
-4˚F to 131˚F
Operating Temperature:
41˚F to 104˚F
*Check your cable company’s compatibility requirements.
• Designs and specifications are subject to change without notice.
• If there is a discrepancy between languages, the default language
will be English.
TECHNICAL SPECIFICATIONS
HITACHI AMERICA LTD.
HOME ELECTRONICS DIVISION
1855 Dornoch Court,
San Diego, Ca 92154-7225
Tel. 1-800-HITACHI
(1-800-448-2244)
HITACHI CANADA LTD.
DIGITAL MEDIA DIVISION
6740 Campobello Road,
Mississauga, Ontario
L5N 2L8
Tel. 1-800-HITACHI
(1-800-448-2244)
TJ15571 ©Hitachi, Ltd. 2002
Printed in China
DECLARATION OF CONFORMITY
with FCC Rules for Electromagnetic Compatibility
Products: Video Deck
Models: VT-FX695A
Trade Name: HITACHI
This device complies with part 15 of FCC Rules.
Operation is subject to the following two conditions:
(1) this device may not cause harmful interference, and
(2) this device must accept any interference received,
including interference that may cause undesired
operation.
Responsible Party: HITACHI AMERICA, LTD.
HOME ELECTRONICS DIVISION
1855 Dornoch Court, San Diego,
CA 92154-7255 U.S.A
Tel:619-661-0227
HB4P0.QX3 02.5.14 10:22 PM Page 8


