DS55MU01
34
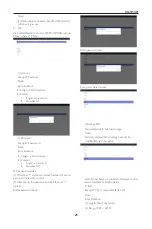
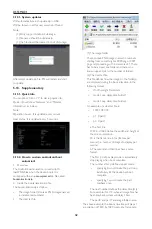
Intent intent = new Intent();
intent.setAction(“php.intent.action.UPDATE_APK”);
intent.putExtra(“filePath”, “/sdcard/Download/apk_
name.apk”);
intent.putExtra(“keep”, true);
intent.putExtra(“packageName”, “com.example.apk_
name”);
intent.putExtra(“activityName”, “com.example.apk_
name.MainActivity”);
sendBroadcast(intent);
6.
OSD Menu
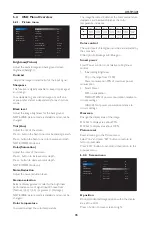
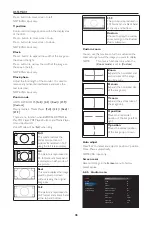
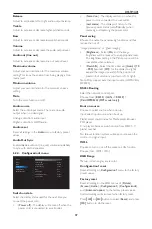
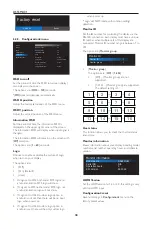
An overall view of the On-Screen Display (OSD)
structure is shown below. You can use it as a
reference for further adjusting your display.
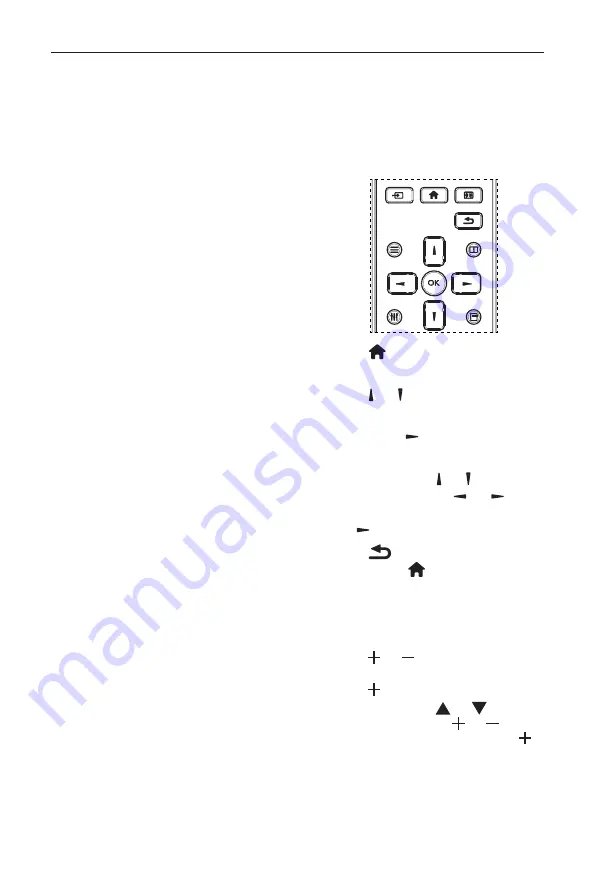
6.1. Navigating the OSD Menu
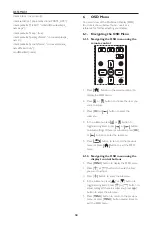
6.1.1. Navigating the OSD menu using the
remote control
FORMAT
SOURCE
INFO
LIST
OPTIONS
ADJUST
1. Press
[ ]
button on the remote control to
display the OSD menu.
2. Press
[ ]
or
[ ]
button to choose the item you
want to adjust.
3. Press [
OK
] or
[ ]
button to enter the
submenu.
4. In the submenu, press
[ ]
or
[ ]
button to
toggle among items, press
[ ]
or
[ ]
button
to adjust settings. If there is a submenu, press [
OK
]
or
[ ]
button to enter the submenu.
5. Press
[
]
button to return to the previous
menu, or press
[ ]
button to exit the OSD
menu.
6.1.2. Navigating the OSD menu using the
display’s control buttons
1. Press [
MENU
] button to display the OSD menu.
2. Press [ ] or [ ] button to choose the item
you want to adjust.
3. Press [
]
button to enter the submenu.
4. In the submenu, press [
] or [
] button to
toggle among items, press [ ] or [ ] button to
adjust settings. If there is a submenu, press [ ]
button to enter the submenu.
5. Press [
MENU
] button to return to the previous
menu, or press [
MENU
] button several times to
exit the OSD menu.
Содержание DS55MU01
Страница 1: ...DS55MU01 User Manual English ...
Страница 2: ......
Страница 58: ......
Страница 59: ...Q41G55M177901A ...

