background image

UK-8

F1

F2

F3

F4

F5

LISTENING  TO  YOUR  RADIO


Hints  for  better  reception


This  unit  carries  a  single  lead  wire  DAB/FM  antenna,  to  obtain  the  best  performance,  you  should  fully  extend 

the  wire  antenna  and  adjust  the  position  as  well  as  the  direction  until  you  find  the  best  reception. 

For  ideal  DAB  reception,  always  maintain  the  lead  wire  antenna  in  a  vertical  position  (holding  it  upward  or 

downward  behind  the  unit)  is  highly  recommended. 

DAB  mode


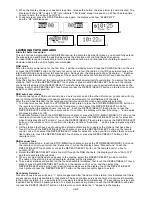
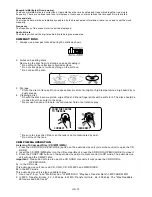
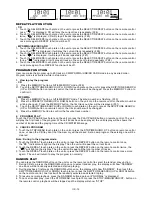
When  the  unit  is  powered  up  for  the  first  time,  it  will  be  in  standby  mode.  Press  the  POWER  button  on  the  unit 

or  press  the  STANDBY  button  on  the  remote  control  once  to  turn  the  radio  on,  it  will  then  automatically  enter 

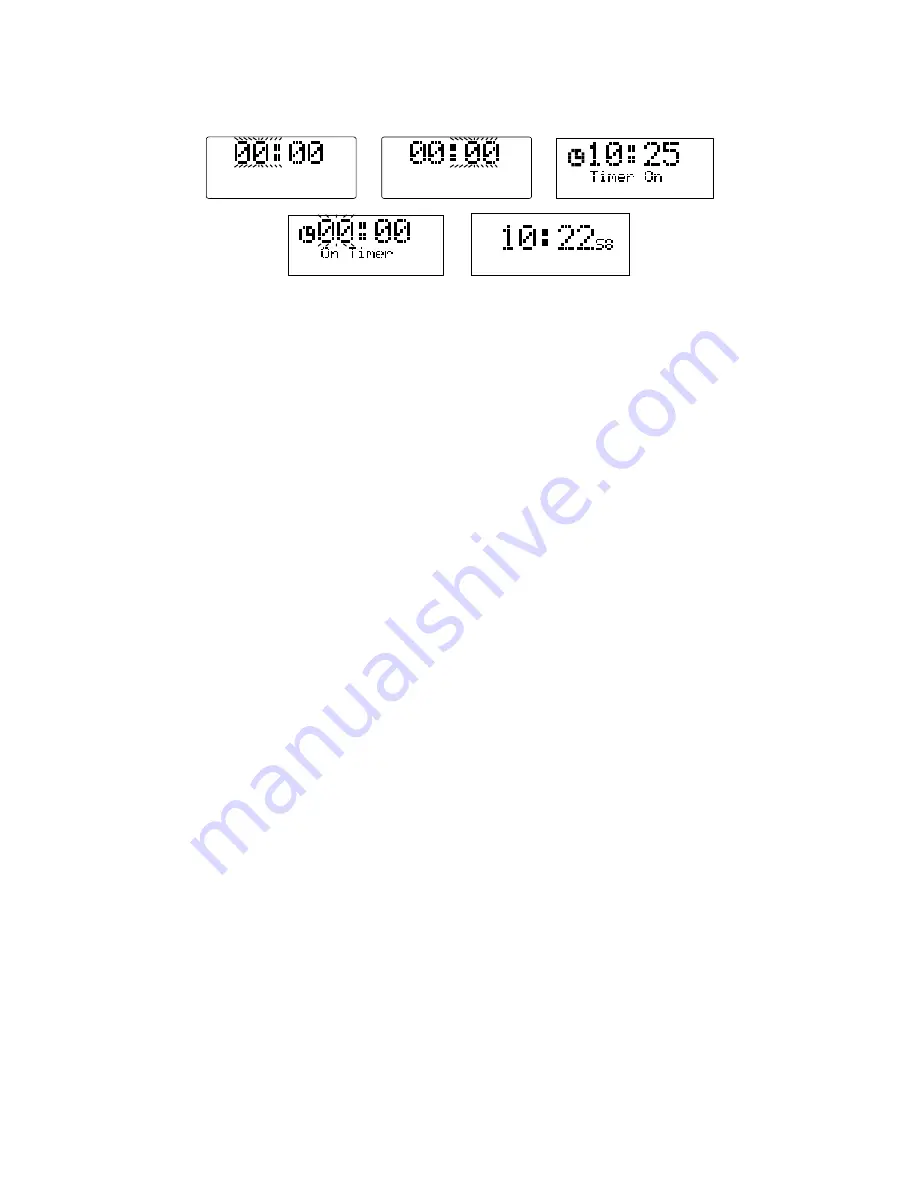
into  the  DAB  mode  and  perform  full  scan  function.  During  scan,  the  display  will  show  “Scanning  …”  together 

with  a  slide  bar  that  indicates  the  progress  of  the  scan  and  the  amount  of  stations  that  have  been  found  so 

far.(F6)(F7)       

Once  the  scan  has  finished,  the  radio  will  select  the  first  alphanumerically  found  station.  To  explore  the  found 

stations,  first  Touch  the  REPEAT/SELECT  touch  plate  or  press  the  REPEAT/SELECT  button  on  the  remote 

control  and  then  select  the  REPEAT/SELECT  mode  for  selection,  when  your  desired  station  appears  on  the 

display,  touch  the  REPEAT/SELECT  touch  plate  or  press  the  REPEAT/SELECT  button  on  the  remote  control 

again  to  confirm  your  selection.

There  are  two  types  of  DAB  auto  scan  modes,  one  is  local  scan  and  the  other  is  full  scan.  Local  scan  will  only 

search  for  the  UK  DAB  Band  III  channels  and  full  scan  will  search  for  all  DAB  Band  III  channels. 

After  the  scan  has  finished,  the  first  alphanumerically  found  station  will  be  automatically  selected.   

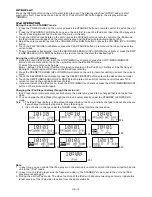
1.    To  activate  local  scan,  t

STOP/MENU

ress  the  STOP/MENU/MONO/ST.  button  on 

          the  remote 

  once  to  enter  into  the  “Setup  menu”,  then  select  the  REPEAT/SELECT  mode  for 

          selection,  when  the  display  shows  “Local  scan”,  t

REPEAT/SELECT 

ress  the 

          REPEAT/SELECT  button  on  the  remote 

    to  confirm,  the  display  will  show  “Scanning  …”  and  a  quick 

          progressing  slide  bar.(F8)

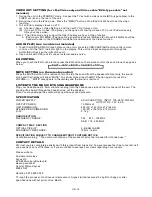
2.  To  activate  full  scan,  t

STOP/MENU

ress  the  STOP/MENU/MONO/ST.  button  on  the 

          remote 

  once  to  enter  into  the  “Setup  menu”,  then  select  the  REPEAT/SELECT  mode  for  selection, 

          when  the  display  shows  “Full  scan”,  t

REPEAT/SELECT 

ress  the  REPEAT/SELECT 

          button  on  the  remote 

    to  confirm,  the  display  will  show  “Scanning  …”  and  a  slower  progressing  slide 

          bar.(F9)   

3.    All  the  stations  that  have  been  found  will  be  stored  automatically,  to  explore  the  stations  that  have  been 

          found,  first  t

REPEAT/SELECT 

ress  the  REPEAT/SELECT  button  on  the  remote 


    once,  then  select  the  REPEAT/SELECT  mode  for  selection,  when  you  find  a  station  that  you  would 

          like  to  listen  to,  t

REPEAT/SELECT 

ress  the  REPEAT/SELECT  button  on  the 

          remote 

.

1.  To  select  manual  tune,  t

STOP/MENU

ress  the  STOP/MENU/MONO/ST.  button  on

          the  remote 

  to  enter  into  the  “Setup  menu”,  when  the  display  shows  “Manual  tune”,  t

REPEAT/SELECT 

ress  the  REPEAT/SELECT  button  on  the  remote 

    once  to 

          confirm.(F10)     

2.    Select  the  REPEAT/SELECT  mode  to  scroll  through  the  DAB  channels,  the  display  will  show  “5A  to  13F” 

          and  their  associated  frequencies.   

3.    W

  hen   your  desired  frequency  appears  in  the  display,  select  the  REPEAT/SELECT  mode  to  confirm. 

          The  name  of  the  station  group  (ensemble/multiplex)  will  be  displayed.   

4.    To  see  what  stations  are  present  on  the  found  ensemble/multiplex,  first  t

REPEAT/SELECT

ress  the  REPEAT/SELECT  button  on  the  remote 

    once,  and  then  select  the 

          REPEAT/SELECTmode,  when  your  desired  station  appears  in  the  display, 

REPEAT/SELECT 


ress  the    REPEAT/SELECT  button  on  the  remote 

  again  to  select. 

On  some  occasions  you  will  see  a  “>”  symbol  appeared  after  the  name  of  the  station,  this  indicates  that  there

are  secondary  services  available  to  that  station.  These  secondary  services  contain  extra  services  that  relate 

to  the  primary  station.  E.g.  a  sports  station  may  want  to  add  extra  commentaries.  The  secondary  services  are

inserted  directly  after  the  primary  station.  To  select  the  secondary  station,  t

REPE/SELE 

ress  the  REPEAT/SELECT  button  on  the  remote 

    when  the  “>”  appears  in  the  display.     

DAB  auto  scan  modes


ouch  the 

  touch  plate  or  p

control

ouch  the 

touch  plate  or  p

control

ouch  the 

  touch  plate  or  p

control

ouch  the 

touch  plate  or  p

control

ouch  the 

touch  plate  or  p

control

ouch  the 

touch  plate  or  p

control

DAB  manual  tune

ouch  the 

  touch  plate  or  p

control

ouch  the 


touch  plate  or  p

control

ouch  the 

  touch 

          plate  or  p

control

touch  the 

touch  plate  or  p

control


Secondary  Services


ouch  the 

touch  plate 

or  p

control

3.    When  the  display  shows  your  desired  sleep  time,  release  the  button,  the  sleep  timer  is  now  activated.  The 

          display  will  show  “S#”  in  which  “S1”  is  to  indicate  “10  minutes”  sleep  time  and  so  on.  When  the  sleep  time 

          counts  to  zero,  the  unit  will  go  off.(F5)     

4.  To  cancel  sleep,  press  the  SLEEP  button  once  again,  the  display  will  show  “SLEEP-OFF” 

          and  the  “S#”  will  disappear.

Содержание AXM209UK

Страница 1: ...Model No AXM209UK Slim DAB Micro System with docking for iPod Slim DAB Micro System with docking for iPod ...

Страница 2: ...r splashing or objects filled with liquids such as vases to be placed on the equipment DON T place hot objects or naked flame sources such as lighted candles or nightlights on or close to equipment High temperatures can melt plastic and lead to fires DON T use makeshift stands and NEVER fix legs with wood screws to ensure complete safety always fit the manufacturer s approved stand or legs with th...

Страница 3: ...equipment including any spent or discarded batteries as unsorted municipal waste but use the return and collection systems available If the batteries or accumulators included with this equipment display the chemical symbol Hg Cd or Pb then it means that the battery has a heavy metal content of more than 0 0005 Mercury or more than 0 002 Cadmium or more than 0 004 Lead ...

Страница 4: ...ses should be placed on the equipment Keep a minimum distance of 10 cm around the apparatus to allow adequate ventilation Please dispose of spent batteries in an environmentally friendly manner by using a local recycling scheme Only use this equipment in moderate climates No naked flame sources such as lighted candles should be placed on the apparatus Do not expose batteries to excessive heat such...

Страница 5: ...the lock holder until it snaps on Adjust the pad knob to level 1 1 Made for iPod with color display 4th generation 40GB 60GB only 2 iPod 4th generation 40GB only iPod with vide 5th generation 30GB only 3 iPod classic 80GB 4 IPod classic 2nd generation 120GB Adjust the pad knob to level 2 1 Made for iPod mini 1st generation 40GB 60GB only 2 iPod 4th generation 20GB only 3 iPod 4th generation 20 30 ...

Страница 6: ... 4GB 6GB only Made for iPod 4th generation 20GB only Made for iPod 4th generation 40GB only Made for iPod with color display 4th generation 20GB 30GB only Made for iPod with color display 4th generation 40GB 60GB only Made for iPod nano 1st generation 1GB 2GB 4GB only Made for iPod with video 5th generation 30GB only Made for iPod classic 80GB 160GB only Made for iPod nano 3rd generation video 4GB...

Страница 7: ... I T ST 3 K BRA 3 DOC ING CKET 4 o A ING A B 3 iP d DJUST P D KNO 5 o CO CT 3 iP d NNE OR 6 EA R 3 SP KE OUT R 7 UT J CK 3 VIDEO O A 8 A 3 DC J CK 9 HOL 3 HITCHING E 0 PLA ER DO 4 iPod Y OR 1 I UNE S RCH 4 SK P T EA UP T AT OUCH PL E 2 INE IN C 4 L JA K 3 4 5 6 8 7 9 15 16 17 18 1 2 20 21 1011121314 22 23 24 25 19 27 29 28 26 33 35 34 39 30 40 41 31 32 42 38 37 36 1 2 3 4 5 6 7 8 9 10 12 11 13 14 ...

Страница 8: ...Press the POWER button on the unit or press the STANDBY button on the remote control once to switch the unit on 2 T Press the FM DAB button to select DAB mode 3 Tune to a DAB station and the clock will be automatically synchronized to the DAB local time TIMER SETTING This function allows you to switch on and off the system at your desired time and mode 1 Press the TIMER button to toggle the timer ...

Страница 9: ...d a slower progressing slide bar F9 3 All the stations that have been found will be stored automatically to explore the stations that have been found first t REPEAT SELECT ress the REPEAT SELECT button on the remote once then select the REPEAT SELECT mode for selection when you find a station that you would like to listen to t REPEAT SELECT ress the REPEAT SELECT button on the remote 1 To select m...

Страница 10: ...touch plate or press the SKIP TUNE SEARCH UP or DOWN button on the remote control ouch the touch plate or p control STORING AND RECALLING STORED PRESET STATIONS F6 F7 F8 F9 F10 F11 F12 F13 F14 DAB RESET When you move the radio to another part of the country your pre tuned and stored DAB stations may no longer be available If this is the case then you will need to reset your radio back to its origi...

Страница 11: ...isc become soiled wipe off dust dirt and fingerprints with a soft cloth The disc should be cleaned from the center to the edge Never use benzene thinners record cleaner fluid or anti static spray Be sure to close the CD door so the lens is not contaminated by dust Do not touch the lens CORRECT INCORRECT FROM THE CENTRE TO THE EDGE CD MP3 WMA OPERATION Listening To Compact Disc CD MP3 WMA 1 Press t...

Страница 12: ...To stop playback touch the STOP MENU touch plate once on the unit or remote control Note 1 If the main unit is not working properly disconnect the power source and then reconnect it again 2 The display only supports English characters and does not support other languages in this unit Playing The Entire flash disc 1 Playback will start by touching the PLAY PAUSE touch plate on the unit or press the...

Страница 13: ...e is displayed CD will play the current track repeatedly F24 2 Touch the SELE REPE touch plate on the unit or press the SELECT REPEAT button on the remote control twice is displayed CD will play all tracks repeatedly F25 3 Touch the SELE REPE touch plate on the unit or press the SELECT REPEAT button on the remote control once more again REPEAT function will be off PROGRAM FUNCTION User can make th...

Страница 14: ...lect the current menu as belows Music Extras Photo Import without this function display on the iPod Mini Settings Shuffle Songs Backlight Now Playing will shows on the iPod Player display 2 Press the PRESET FOLDER UP or DOWN touch plate on the unit or remote control to search the current menu 3 the SELE REPE touch plate or press the SELECT REPEAT button enter to the desired menu folder 4 the UP or...

Страница 15: ...dio through the AUX LINE IN jack on the right of the unit 2 Use a cable with RCA jack to connect external audio source EQ CONTROL When you touch the EQ touch plate or press the EQ button on the remote control the sound tone changes as below LISTEN TO THE MUSIC BY USING HEADPHONE Plug your headphones 3 5mm mini stereo plug into the headphones jack on the front penal of the unit The sound will be he...

Страница 16: ...vention of the instructions or where the product has been the subject of unauthorised modifications or alterations or has been the subject of commercial use In the event of a problem with the product within the guarantee period please return it to your nearest Argos store If the item is shown to have had an inherent defect present at the time of sale the store will provide you with a replacement Y...

Отзывы: