- 22 -
Name:
To change the name of a decided
programme, select the programme and press
the RED button.
The first letter of the selected name starts to
blink. Press
a
/
b
button to change that let-
ter and
_
/
`
button to select the other letters.
By pressing the RED button, you can store
the name.
Insert:
Select the programme which you want to in-
sert by navigation buttons. Press the GREEN
button. By navigation buttons move the se-
lected programme to the decided programme
space and press the GREEN button again.
Delete:
To delete a programme, press the YELLOW
button. Pressing the
YELLOW button again
erases the selected programme from the
programme list, and the programmes below
shift one up.
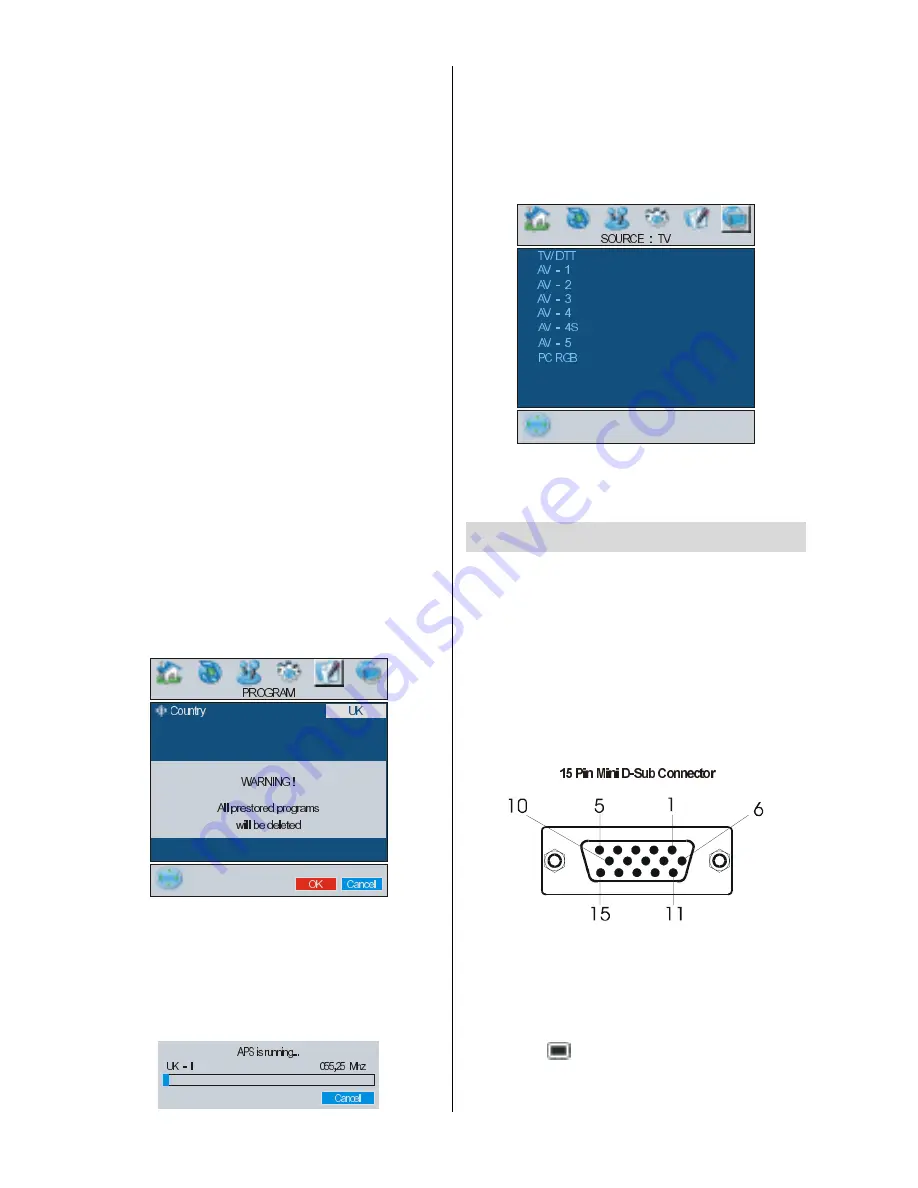
APS (Automatic Programming System)
When you press the BLUE button for APS,
the following warning screen will be dis-
played.
Press the BLUE button to cancel APS if you
do not want to delete your existing
programme list.
To continue APS, first select the country by
pressing
_
/
`
button and then press the RED
or
OK
button.
After APS is finalized, the programme table
will appear on the screen.
Source menu
By pressing
_
/
`
button, select the sixth icon.
Source menu appears on the screen.
In source menu, highlight a source by press-
ing
a
/
b
button and switch to that mode by
pressing
_
/
`
or
OK
button.
PC Mode
Installation
Power off both Computer and Display before
making any connections.
Set your PCs resolution correctly before con-
necting to the TV. See the table on
page 32
for supported modes.
Use a D-SUB cable to connect the TVs PC
input to the computers RGB output terminal.
Tighten the screws of the Display cable until
the connectors are fastened securely (finger-
tighten only).
Menu System in PC mode
Press the
button. The menu will be dis-
played in the middle of the screen.
Содержание 37LD8700U
Страница 1: ...GB Instructions for use 37LD8700U ...
Страница 4: ... 3 LCD TV FRONT VIEW REAR VIEW 3RZHU RUG QSXW 3RZHU 2Q 2II EXWWRQ ...
Страница 30: ... 29 Connect Peripheral Equipment Aerial Connection ...
Страница 36: ... 35 Appendix D Main and PIP PAP Picture Combinations ...
Страница 43: ... 2 Attention Only the original wall bracket should be used with this product 85 ...


