Hisense Vidaa 56

16

captioning that covers half or all of the screen. Text1-Text4 display content are 
provided by the broadcaster.
Off: To turn off the Analog Caption.
• 

Digital Caption:

 Select a Digital Caption setting: Off,CS1-CS6.

• 

Digital CC Settings:

 There are two caption styles. One is the automatic function 

set as the broadcaster, while the other is the custom style where you can adjust the 

Style, Size, Font, Text Color, Text Opacity, Background Color etc.

 HDMI Function :

 Configure how to control CEC-enabled devices with your TV remote.

• 

CEC & MHL Control:

 Allow HDMI devices to control each other. 

• 

Device Auto Power Off:

 Automatically turn off HDMI CEC devices when the TV is 

turned off .

• 

TV Auto Power On: 

Allow the TV to turn On with CEC-enabled devices.

• 

Device Connect: 

Allow CEC-enabled devices to communicate with each other 

when connected through an HDMI cable.

• 

CEC Device Lists:

 View a list of all CEC-enabled devices.

NOTES

HDMI cables must be used to connect HDMI CEC-compatible devices to your TV.
The HDMI CEC feature of the connected device must be turned on.
If you connect an HDMI device that is not HDMI CEC-compatible, all the HDMI-CEC 
Control features do not work.
Depending on the connected HDMI device, the HDMI-CEC Control feature may not
work.

 Advanced Settings:

 Access the Advanced Settings menu.

• 

Menu Timeout :

 Set the amount of time that you’d like for the menu to display : 10s, 

20s , 30s , 60s or Off.

• 

Use Mode:

 Set the TV to use in Home or Store Mode.

• 

Input Labels:

 Edit the input labels.

• 

Default LiveTV Source:

 Select the default input selected by the remote control Live 

TV button.

• 

Setup Wizard:

 Use the Setup Wizard for instructions to help you set up your TV.

• 

Power Indicator:

 Set the Power Indicator light to stay On or Off when watching TV.
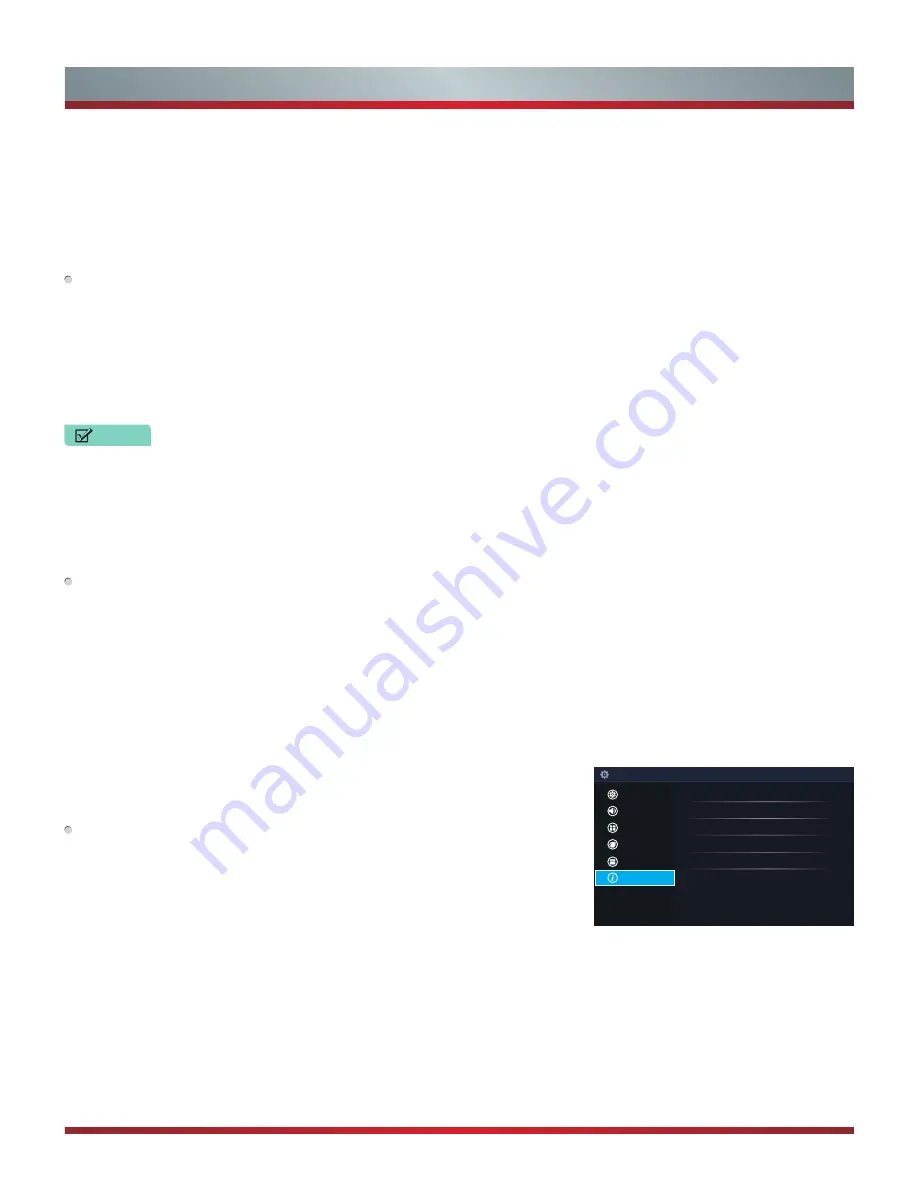
About TV Menu


About TV

•  System Information:

 View system information.

•  Hisense Legal Disclaimer:

 Read the Hisense Legal Disclaimer.

•  Auto Firmware Upgrade:

 Set your TV to automatically receive the latest firmware.

•  Check Firmware Upgrade:

 Check to ensure that your TV has received the latest 

firmware.

•  Restore To Factory Default:

 Restore your TV back to the factory default.

System Info

 Hisense Legal Disclaimer
Auto Firmware Upgrade

On
Check Firmware Upgrade

Restore To Factory Default

Setup

Picture
Sound
Channel
Network
System
About TV

                       Basic and Advanced TV Settings

Содержание Vidaa 56" H7 Model Series

Страница 1: ...ES A150203...

Страница 2: ...English...

Страница 3: ...part in any manner electronic or otherwise whether or not for a charge or other or no consideration without the prior written permission of Hisense Company Ltd Requests for permission to store reprod...

Страница 4: ...on an as available basis without warranties of any kind either expressed or implied that the Application Service will be uninterrupted or error free including but not limited to vagaries of weather d...

Страница 5: ...or other audio receivers 5 Connecting a digital sound bar to use ARC Audio Return Channel 6 Connecting your TV to a Wired or Wireless Network 7 Connecting to a Wireless network 7 Connecting to an Wire...

Страница 6: ...channel 20 VOD 21 Netflix 21 Amazon Instant Video 21 Youtube and Viewster 21 Vudu 21 Dailymotion 21 Media 22 File formats that are supported 22 Viewing videos 22 Browsing content 22 Viewing Pictures a...

Страница 7: ...provided 2 Connect the other end of the cable to the ANT CABLE jack on the side of TV 3 Using your remote press the INPUT button and select TV as the input source To connect an AV device with a compos...

Страница 8: ...jacks 2 Plug the connected devices into the YPBPR and L R ports on the TV before switching it on 3 Using your remote press the INPUT button and select Component as the input source Figure 9 AV device...

Страница 9: ...the connected devices into the main power socket before switching on the TV You can connect headphones to the AUDIO OUT port on your TV While the headphone is connected the sound from the built in spe...

Страница 10: ...dvanced Audio Settings of the TV and select RAW to receive the 5 1 channel audio You will need to also go into the sound or audio settings of your device to ensure it is set to 5 1 Channel output It m...

Страница 11: ...u must use the Hisense built in Wireless LAN Adapter to use a wireless network because the set does not support an external USB network adapter To use a wireless network your TV must be connected to a...

Страница 12: ...e to enter them manually Most home networks are Dynamic Networks Some networks require a Static IP address If your network requires a Static IP address you must enter the IP address subnet mask gatewa...

Страница 13: ...left right navigation buttons Volume up down Mute and restore sound Adjust Sleep timer setting Quick Setup menu Return to the previous place in the menu or app Live TV Infrared transmitter Change TV i...

Страница 14: ...other household remote controls to your new Hisense television please refer to the User s Manual supplied by your Cable or Satellite provider The Cable or Satellite providers User s Manuals should in...

Страница 15: ...o the Forward arrow and press OK TIP The edge of the drop down boxes and the back and forward arrows change to blue when you select them Terms of Service TERMS OF SERVICE Accept all Accept EULA Accept...

Страница 16: ...lect how you receive your TV channels Choose from one of the following sources below and then move to the next screen TV AV Component HDMI NOTE If you use an antenna to receive channels then you must...

Страница 17: ...Panoramic Cinema Wide Zoom or Normal Backlight This TV has a Dynamic Backlight Control setting that you can turn On and set to high or low The Backlight setting enables you to adjust how bright you w...

Страница 18: ...the digital audio output delay time to sync sound from an external speaker with the images on the TV TV Speaker ARC Select the TV speaker or an external speaker for sound output Audio Out Change the...

Страница 19: ...s by channels when you turn On the Parental Controls feature Program Block Blocks programs according to their TV or MPAA movie rating when you have turned on the Parental Controls feature and selected...

Страница 20: ...If you connect an HDMI device that is not HDMI CEC compatible all the HDMI CEC Control features do not work Depending on the connected HDMI device the HDMI CEC Control feature may not work Advanced Se...

Страница 21: ...n this occurs begin adding other settings to the Block Time Channel Block Program Block Input Block Change PIN or Restore Parental Control Defaults features All ratings that are higher than those you...

Страница 22: ...tore Parental Control defaults from the Parental Controls settings menu Rating Defined as C Children C8 Children 8 years and older G General programming that is suitable for all audiences PG Parental...

Страница 23: ...you to determine if you still have Internet connectivity as you use the TV In addition if you have connected a device such as a thumb drive to a USB port and your TV recognizes it then a device icon...

Страница 24: ...ng a channel list After you have done an automatic channel scan if you re using an Antenna or are receiving your channels through a cable provider you can view your list of channels by pressing OK on...

Страница 25: ...sword to sign in to your Netflix account If you don t already have an account then you can try the service FREE for one month by creating an account If you enjoy your trial membership then you don t h...

Страница 26: ...not be supported Medium File Format Videos TRP M2TS MKV Picture JPG BMP PNG GIF Music MP3 Viewing Videos While viewing videos you will see a number of icons appear at the bottom of the screen You can...

Страница 27: ...reate an account to use the service Once you click on the Vudu icon to launch the application you can register for the service directly from your TV Simply follow the on screen prompts to get started...

Страница 28: ...your cursor there 4 Press OK on your remote to bring up the onscreen keyboard 5 Type the website address or search term on the text field 6 Press the Blue special function button towards the top of t...

Страница 29: ...ved from the Apps list screen NOTES If an app is deleted the information related to that app is also removed Moving App Icons around Apps can not be moved around on the screen Customizing the name of...

Страница 30: ...gs go to Network and turn on the Anyview Stream setting 2 Press the All Apps button on your remote and select the Anyview Cast app 3 Turn on your Android based device and go to Settings Display Cast S...

Страница 31: ...g will not be interrupted Disabling the Auto Firmware Upgrade feature If you do not want your TV to automatically check for updates and to receive notifications when they are available then 1 Using yo...

Страница 32: ...und Check the volume settings Check if Mute mode is set to On Sound but no picture or black and white picture If the picture is black and white unplug the TV from the AC outlet and replug it after 60...

Отзывы: