


The options are:
•
Program NO.:
Adjusts the current channel number.
• Color System:
Adjusts the color system.
•
Sound System:
Adjusts the sound system. Irrelevancy colour or sound system may cause the
picture and sound to be abnormal.
•
Fine Tune:
Fine adjusts frequency to achieve a perfect effect.
•
Manual
: Start searching the channels by manual settings. Before the manual
,
please set the proper colour system and sound system. The initial frequency of the manual
search can not be adjusted, and its value changes with the frequency band or the channel
number automatically.
•
Auto Install
: Searches the channels automatically. Before searching the channels automatically,
you can select the country you located.
•
Program Edit
: Edit the channels, Including:
¨
Rename:
press Red button to change the name of the selected channel. Press
button to adjust the token of the name. Press OK button to confirm or Green button to
cancel.
The longest channel number name has 6 letters.
¨
Skip the channel
: press Green button to select skip function. If you want to cancel skip,
press Green button again. The channels which are set to skipped will be skipped when
pressing the
button on the remote control to brows the programs. However, they will
still be directly selected by pressing the Program No.
¨
Delete the channel
: Press Blue button to select delete function, and then press Red button
to confirm.
¨
Copy the channel:
Press Yellow button to select copy function. Then press
button to
move to the desired position and press Red button to confirm.
¨
Arrange the channel
: If you want to change the order of the programs, press
button; press
button to move to the desired position, and then press
button to
confirm.
Install
Install
CH+/-
CH+/-
CH+/-
VOL+
CH+/-
VOL-
To set the channels:
1 Press Menu button to display the main menu.
2 Press
button to select Channel item.
3 Press
OK button to enter Channel menu.
4 Press
button to select the option, press
button to enter or press
button to
adjust the option.
5.When you are finished, press the Menu button to close
the menu.
CH+/-
VOL+/
CH+/-
VOL+/OK
VOL+/-
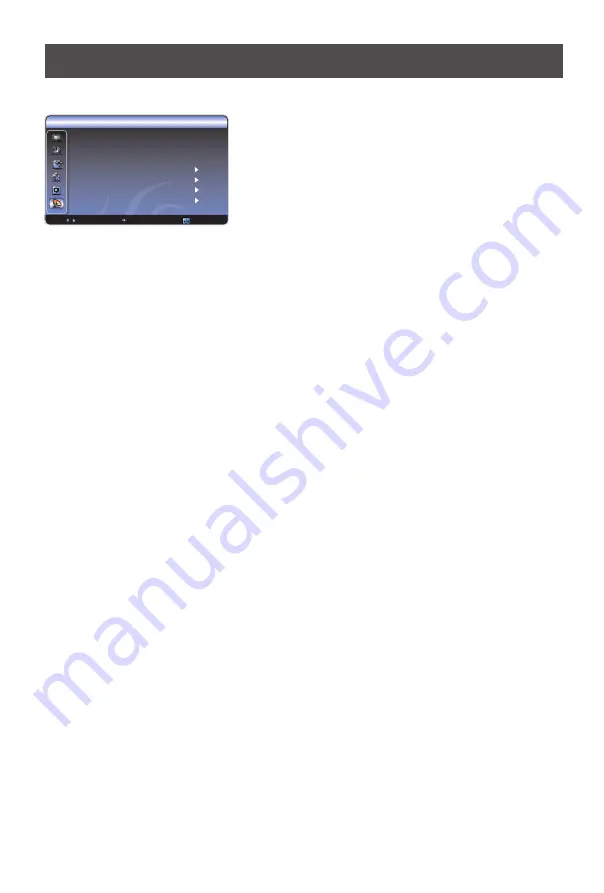
Channel setting
12
Channel
Program No. 25
Color System Auto
Sound System D/K
Fine Tune
Auto Install
Manual Install
Program Edit
: Select
OK : Enter
: Back


