


16
Menu
2.7
Using the System Menu
Location
Choose the location from where you will watch your TV.
System PIN
Change your PIN that you use to access Parental Controls.
NOTE
If you forget your password, call the
Consumer Electronics Care Center
.
Time
Set the current time based on your location.
•
Time Mode:
Select the time mode Manual or Auto.
•
Time Zone:
Select your location time zone.
•
Daylight Savings:
Select whether to apply Daylight Savings Time to the TV.
•
Date/Time:
Set the Date and Time.
•
Time Format:
Set the time to display in a 12 or 24-hour format.
Timer settings
Adjust the timer settings to suit your preference.
•
Sleep Timer:
Set the sleep timer to automatically turn the TV Off within a specified
time.
•
Power On Timer:
Enable the Power On Timer to Off, Once or Weekly.
•
Power Off Timer:
Enable the Power Off Timer to Off, Once or Weekly.
•
Menu Timeout:
Set the amount of time that you’d like for the menu to display.
Language
Adjust the default language settings for the TV.
Application
Settings
Set settings for apps on your TV.
HDMI & CEC
Function
Configure how to control CEC-enabled devices with your TV remote.
•
CEC Control:
Allow HDMI devices to control each other.
•
Device Auto Power Off:
Automatically turn off HDMI CEC devices when the TV is
turned off.
•
TV Auto Power On:
Allow the TV to turn On with CEC-enabled devices.
•
CEC Device Lists:
View a list of all CEC-enabled devices.
Choose the location from
where you will watch your TV.
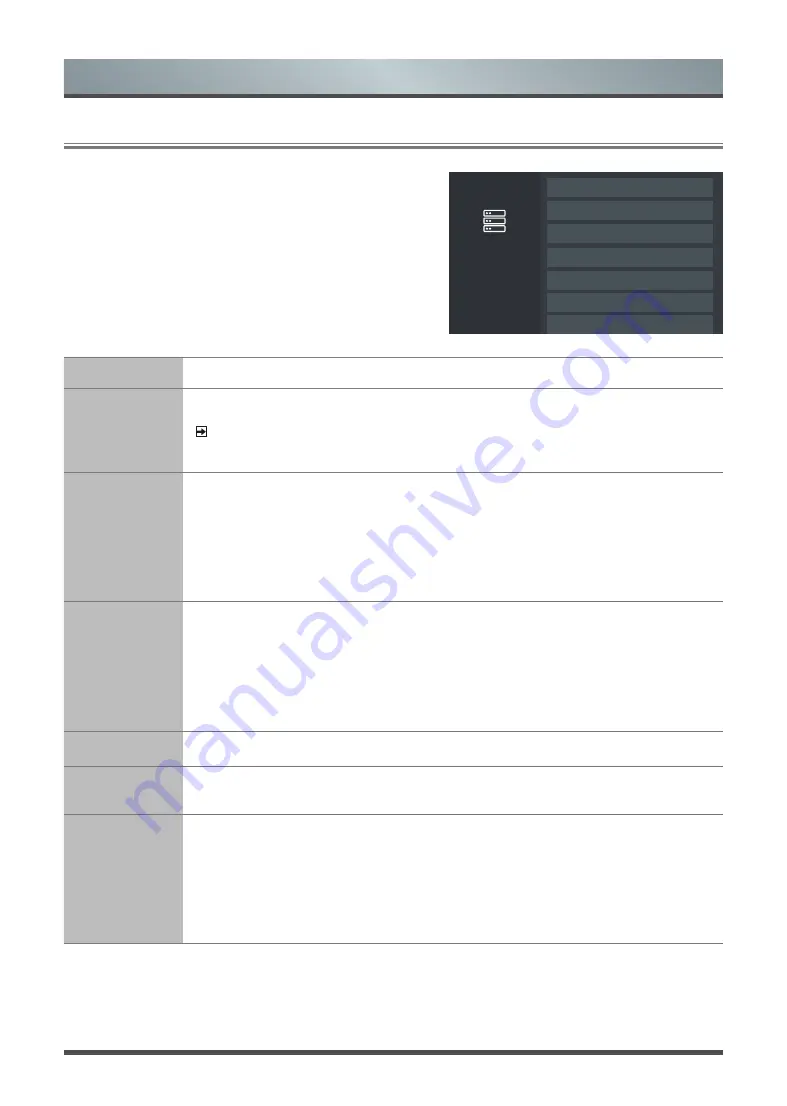
System
Time
Timer Settings
Language
Application Settings
HDMI & CEC Function
Location: Australia
System PIN
Содержание 43N6
Страница 1: ...Bar code...