Connection and Setup
11
5
Connection and Setup
5.0
Ground Connections
First, make sure to connect the ground from the device-under-test to both the HV divider and
KVM wireless module. The ground for the HV divider is located at the base, and the KVM wireless
module ground stud is on the side (as indicated on pg 10).
5.1
Device Connections
The wireless module should be placed close to the divider and has an internal magnet to help secure it on
a ferromagnetic surface.
Once the proper ground connections are made, the high voltage portion of the device-under-test should be
connected to the top spinning of the HV divider. The BNC cable should attach to the base of the HV divider
and run to the KVM wireless module.
To recharge the wireless module, plug the USB cable into the USB-C port and the wall adapter into a
mains outlet.
5.2
Connecting KVM-W to Mobile Device
To get the KVM-W app on your mobile device, go to the Apple App Store. Search for KVM-W or
Hipotronics, and download the app.
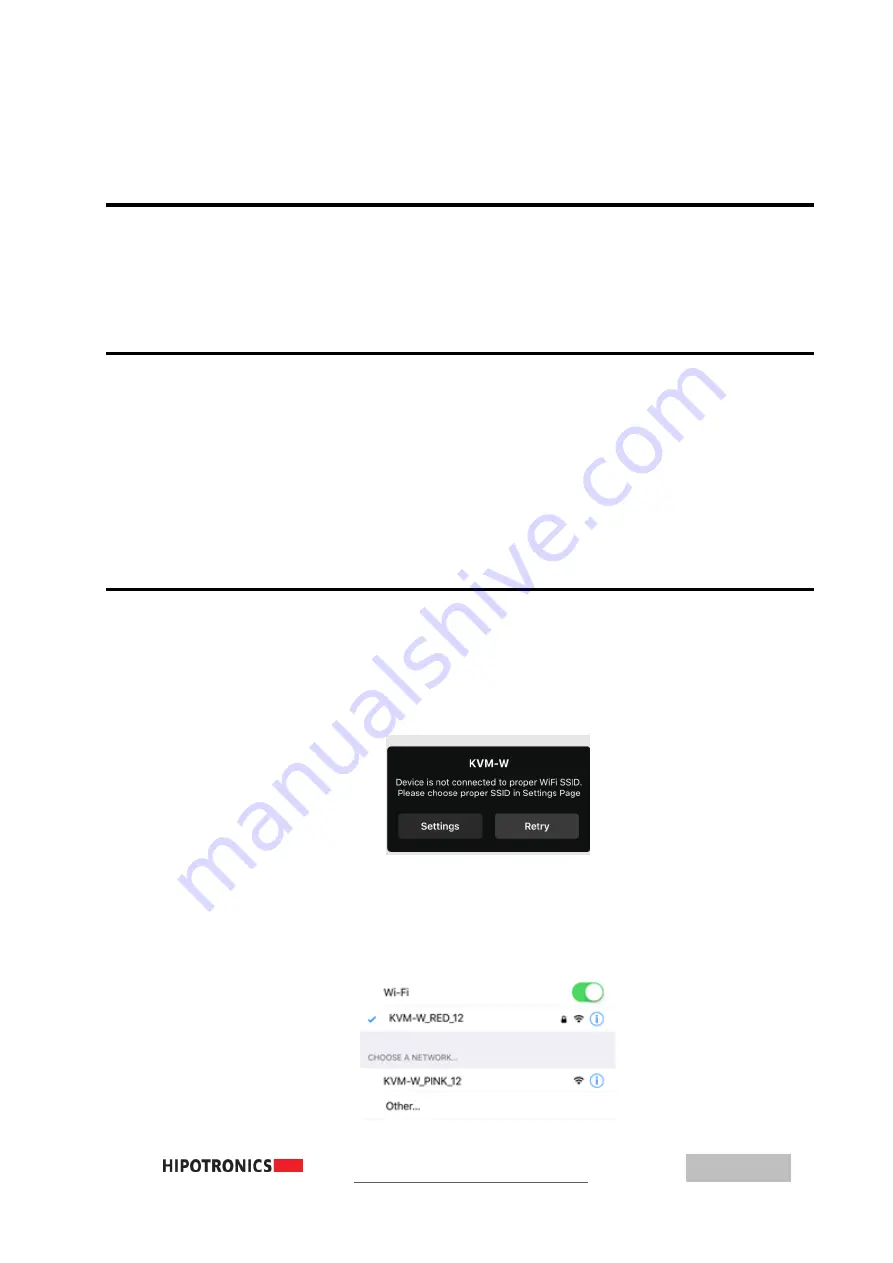
Upon opening the KVM-W app, if you are not already connected to a KVM-W device through
WiFi, it will prompt you to connect to one.
Click on Settings, and it will redirect to the WiFi settings page where you can see all the available
devices to connect to. Select the desired KVM-W that you wish to connect to.
After a couple of seconds it should establish connection, indicated by a check mark next to the
network name. Then return to the KVM-W app, either by hitting back in the upper left of the
screen, or through normal iOS navigation.


