


User Manual of LV-N9600 Series NVR
131
The NVR supports the VCA detection alarm (
face detection, vehicle detection, line crossing detection
and
intrusion detection, region entrance detection, region exiting detection, loitering detection, people gathering
detection, fast moving detection, parking detection, unattended baggage detection, object removal detection,
audio loss exception detection, sudden change of sound intensity detection,
and
defocus detection
) sent by IP
camera. The VCA detection must be enabled and configured on the IP camera settings interface first.
l
All VCA detection must be supported by the connected IP camera.
l
Please refer to the User Manual of Network Camera for the detailed instructions for the all VCA detection
types.
9.1
Face Recognition
Steps:
1.
Enter the Face Detection settings interface.
Menu> Camera> VCA
2.
Check the checkbox of Enable Face Recognition.
3.
Click Save to save the settings.
Figure 9. 1
Face Recognition
9.2
Face Detection
Purpose:
Face detection function detects the face appears in the surveillance scene, and some certain actions can be taken
when the alarm is triggered.
Steps:
1.
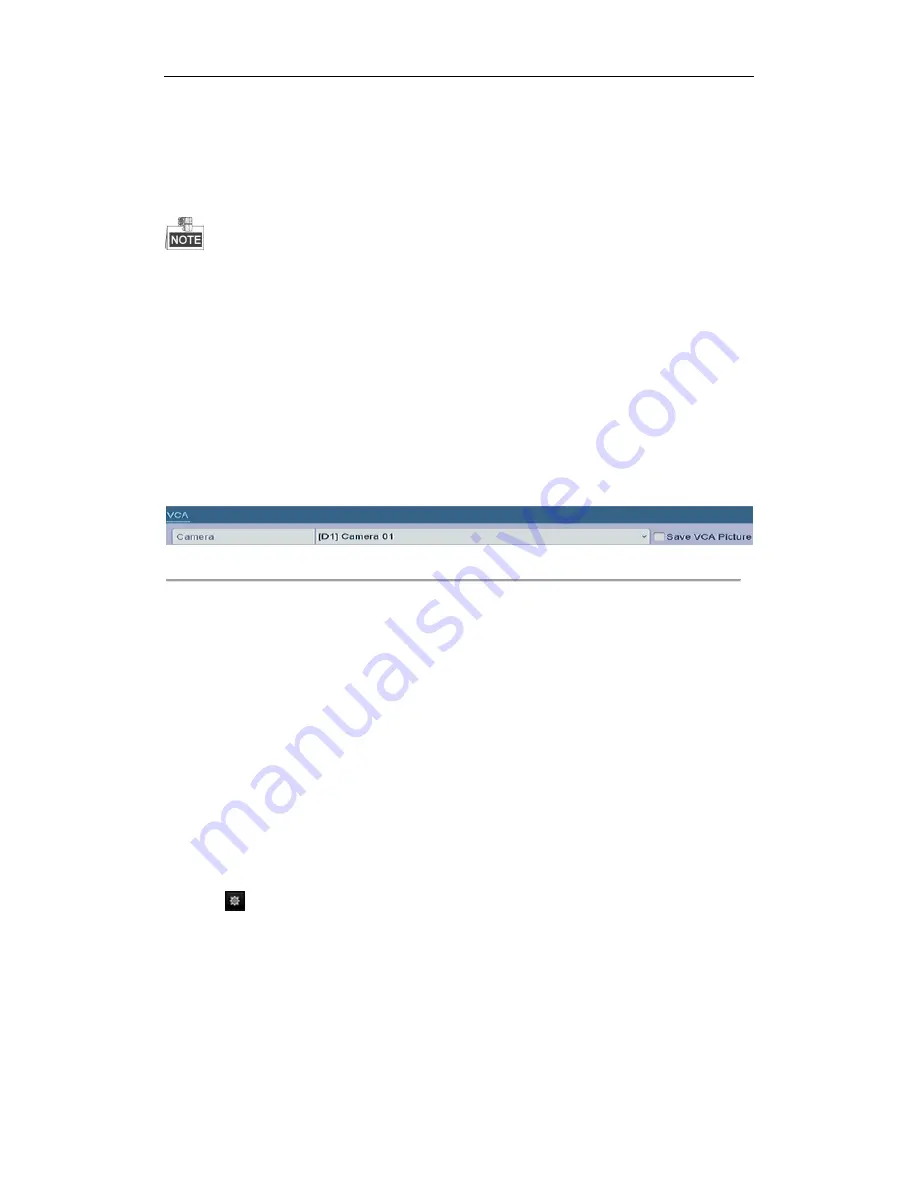
Enter the VCA settings interface.
Menu> Camera> VCA
2.
Select the camera to configure the VCA.
You can click the checkbox of Save VCA Picture to save the captured pictures of VCA detection. Select the
VCA detection type to Face Detection.
3.
Check the Enable checkbox to enable this function.
4.
Click
to enter the face detection settings interface. Configure the trigger channel, arming schedule and
linkage action for the face detection alarm. Please refer to step3~step5 of
Chapter Setting Motion Detection
Alarm
for detailed instructions.
5.
Click the Rule Settings button to set the face detection rules. You can click-and-drag the slider to set the
detection sensitivity.
Sensitivity: Range [1-5]. The higher the value is, the more easily the face can be detected.
6.
Click Apply to activate the settings.
Содержание LV-N9600 Series
Страница 1: ...Network Video Recorder User Manual ...
Страница 14: ...User Manual of LV N9600 Series NVR 13 Chapter 1 Introduction ...
Страница 23: ...User Manual of LV N9600 Series NVR 22 Chapter 2 Getting Started ...
Страница 45: ...User Manual of LV N9600 Series NVR 44 Chapter 3 Live View ...
Страница 54: ...User Manual of LV N9600 Series NVR 53 Chapter 4 PTZ Controls ...
Страница 67: ...User Manual of LV N9600 Series NVR 66 Chapter 5 Recording Settings ...
Страница 89: ...User Manual of LV N9600 Series NVR 88 Chapter 6 Playback ...
Страница 106: ...User Manual of LV N9600 Series NVR 105 Chapter 7 Backup ...
Страница 116: ...User Manual of LV N9600 Series NVR 115 Chapter 8 Alarm Settings ...
Страница 131: ...User Manual of LV N9600 Series NVR 130 Chapter 9 VCA Alarm ...
Страница 135: ...User Manual of LV N9600 Series NVR 134 8 Click Apply to activate the settings ...
Страница 137: ...User Manual of LV N9600 Series NVR 136 Figure 9 5 Draw Area for Intrusion Detection 8 Click Apply to save the settings ...
Страница 143: ...User Manual of LV N9600 Series NVR 142 Chapter 10 VCA Search ...
Страница 149: ...User Manual of LV N9600 Series NVR 148 Chapter 11 Network Settings ...
Страница 174: ...User Manual of LV N9600 Series NVR 173 Figure 12 14 View HDD Status 2 ...
Страница 178: ...User Manual of LV N9600 Series NVR 177 Chapter 13 Camera Settings ...
Страница 181: ...User Manual of LV N9600 Series NVR 180 Figure 13 3 Set Privacy Mask Area 6 Click the Apply button to save the settings ...
Страница 183: ...User Manual of LV N9600 Series NVR 182 Chapter 14 NVR Management and Maintenance ...
Страница 192: ...User Manual of LV N9600 Series NVR 191 Chapter 15 Others ...
Страница 202: ...User Manual of LV N9600 Series NVR 201 Chapter 16 Appendix ...


