Digital Video Recorder User Manual
75
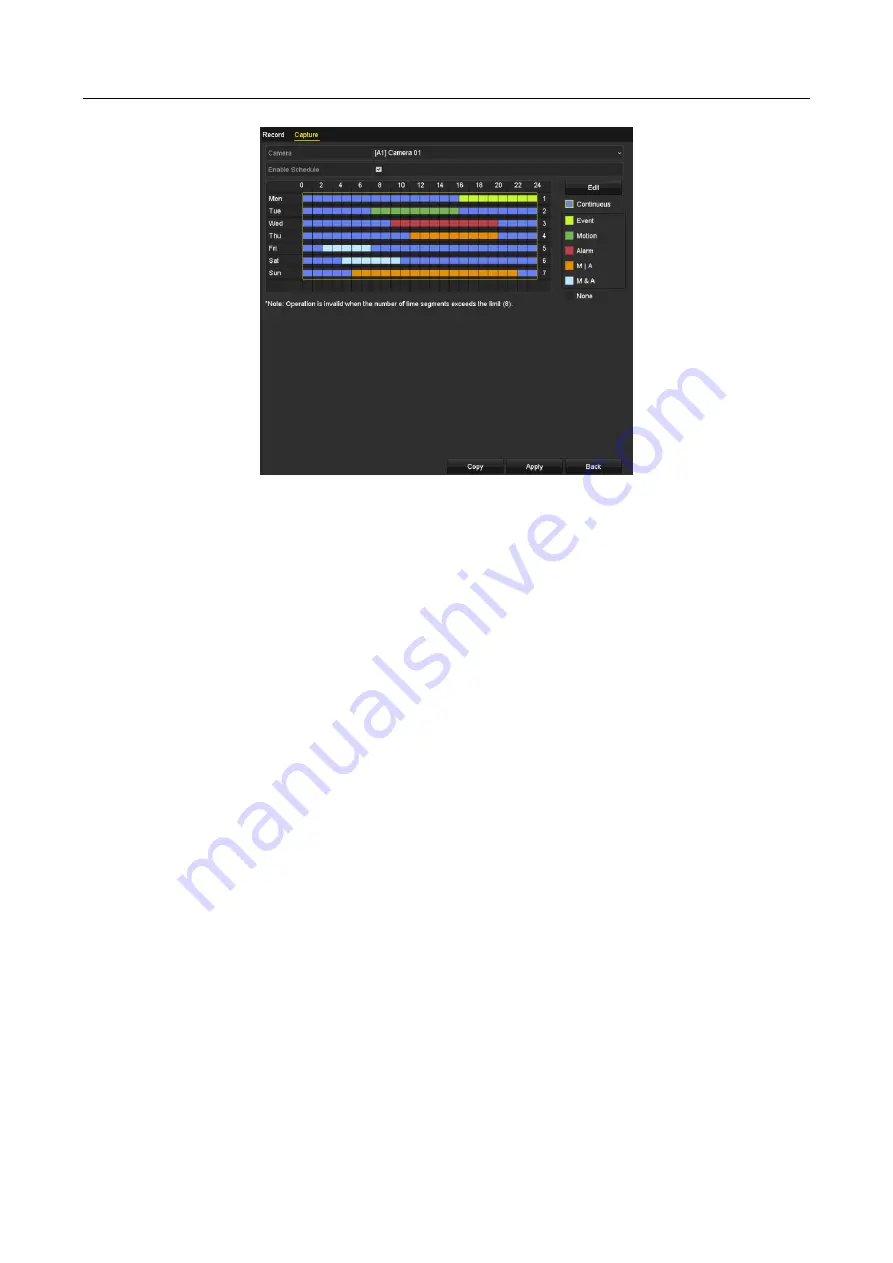
Figure 5-13
Draw the Capture Schedule
2)
Drag the mouse on the schedule.
3)
Click the other area except for the schedule table to finish and exit from the drawing.
You can repeat step 4 to set schedule for other channels. If the settings can also be used to
other channels, click
Copy
, and then choose the channel to which you want to copy to.
Step 5
Click
Apply
in the
Record Schedule
interface to save the settings.
5.3 Configuring Motion Detection Recording and Capture
Purpose
Follow the steps to set the motion detection parameters. In the live view mode, once a motion
detection event takes place, the DVR can analyze it and do many actions to handle it. Enabling
motion detection function can trigger certain channels to start recording, or trigger full screen
monitoring, audio warning, notifying the surveillance center, sending email and so on.
Step 1
Go to
Menu>Camera>Motion
.
Step 2
Configure Motion Detection:
1)
Choose camera you want to configure.
2)
Check
Enable Motion Detection
.
3)
Check
False Alarm Filter
. Refer to
Chapter 8.2 Setting PIR Camera Alarm
for details.
4)
Drag and draw the area for motion detection by mouse. If you want to set the motion
detection for all the area shot by the camera, click
Full Screen
. To clear the motion
detection area, click
Clear
.
Содержание HWD-5104
Страница 1: ...Digital Video Recorder User Manual...
Страница 210: ...Digital Video Recorder User Manual 209...


