HIKVISION DS-9616NI-I8 Скачать руководство пользователя страница 10


10 

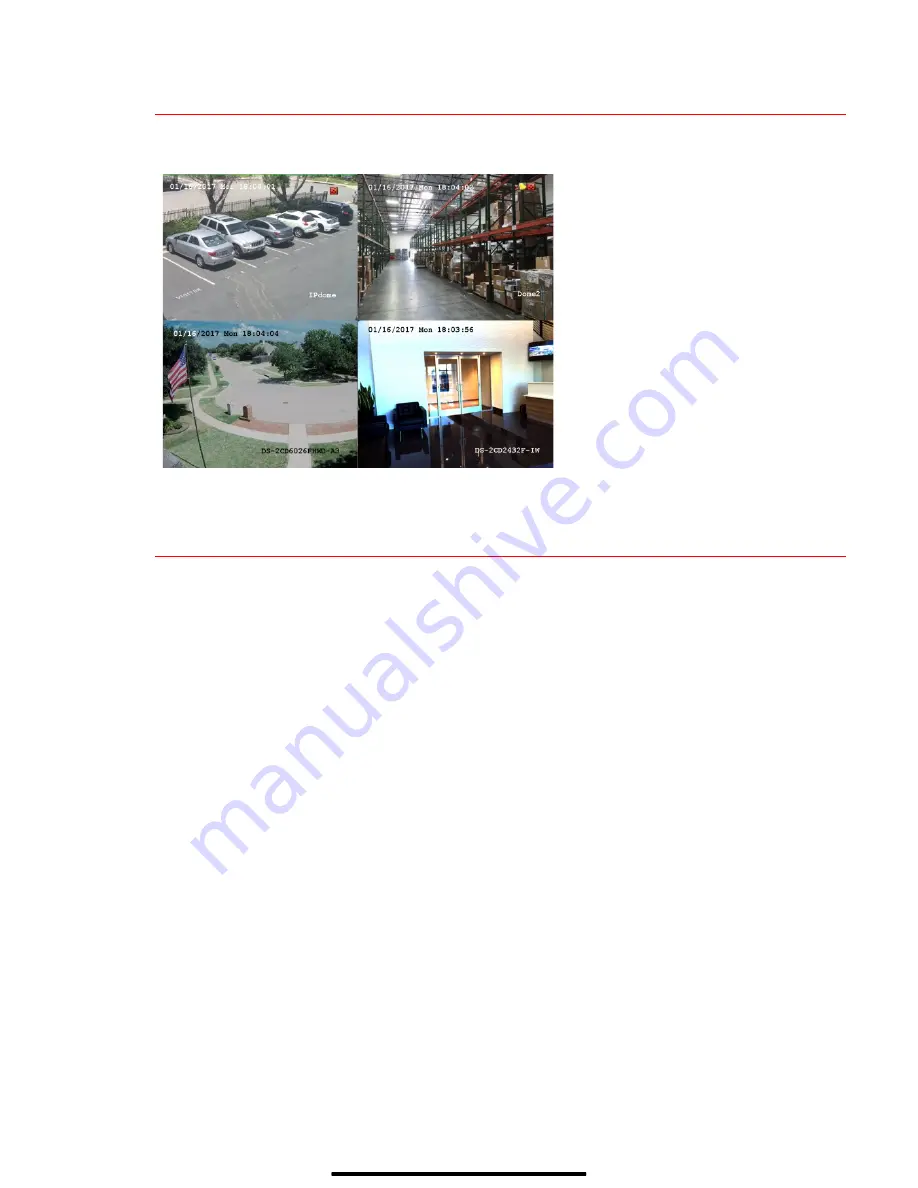
V I E W   L I V E   V I D E O  


Live View displays real-time video. 


11 

S E T   U P   R E C O R D I N G  


The system defaults to continuously record video at 8 fps, or at 15 fps when motion is detected.   


Recording Schedule


Default is to continuously record everyday. Do the following to change the recording schedule:


1.


Go to MENU > RECORDING CONFIGURATION > SCHEDULE. 

2.


Choose 

CONTINUOUS 

or

 EVENT/(MOTION DETECTION) 

under the 

Type

 pull-down menu. 

3.


Use cursor to select (days will turn blue [continuous] or yellow [event/motion detect]) or deselect 

(days will turn gray [off]) the calendar days you wish to record. 

4.


Apply time settings as desired. 

5.


Press 

APPLY

.   


Icons in the upper right of screen show 

each camera’s record and alarm status. 
• 

Alarm

 (video loss, tampering, motion 

detection, sensor alarm, or VCA 

alarm) 

• 

Record

 (manual record, continuous 

record, motion detection, alarm, or 

VCA triggered record) 

• 

Event/Exception

 (event and 

exception information appears at 

lower-left corner of screen) 

Содержание DS-9616NI-I8

Страница 1: ...peration of this equipment in a residential area is likely to cause harmful interference in which case the user will be required to correct the interference at his own expense FCC Conditions This devi...

Страница 2: ...your box NVR Mouse Remote AC Cord HDD Screws w Batteries Installed HDD HDD Cables Ear Mounts HDD Rails QSG DVD ROM Installed Installed Installed M E N U T R E E Use this menu tree to navigate the embe...

Страница 3: ...lows blue when device is on red when powered off and in standby mode R E A R P A NE L Figure 2 DS 9616NI I8 Rear Panel No Name Description 1 Audio In RCA connector for audio input 2 RS 232 Interface C...

Страница 4: ...put same password in Create New Password and Confirm New Password text fields Strong Password REQUIRED Password must contain 8 to 16 characters combining numbers lower and upper case letters and speci...

Страница 5: ...V E I F N E E D E D The system is set up to record upon power up and will beep and display Do you want to initialize drive prompt if the hard drives are not initialized 1 Go to MENU SYSTEM CONFIGURATI...

Страница 6: ...t to the cameras LAN 5 Uncheck the Enable DHCP checkbox 6 Set the IPv4 network IP address subnet mask and default gateway to match the IP subnet of the cameras 7 Use the pull down Select NIC menu to s...

Страница 7: ...s responsible for Web browser log in RTSP PORT is responsible for video audio streaming NOTE The HTTP port server port and RTSP can be changed to avoid conflicts with the ISP or if multiple devices ar...

Страница 8: ...e s video stream on the Hik Connect mobile app or iVMS 4500 mobile app you must add the device 1 Login to Hik Connect mobile app with your user name e mail or mobile number and password 2 On the Home...

Страница 9: ...Add IP Camera Custom window 2 Enter the camera s IP address and other information as required 3 Press the Add button to add the camera IP Camera Management Icons Icon Explanation Icon Explanation Edi...

Страница 10: ...MOTION DETECTION under the Type pull down menu 3 Use cursor to select days will turn blue continuous or yellow event motion detect or deselect days will turn gray off the calendar days you wish to rec...

Страница 11: ...the image that will be sensitive to motion 6 Click the Settings Set button to configure Arming Schedule when detection is enabled and Linkage Actions what action s to take when motion is detected CAM...

Страница 12: ...motion by default Higher frame rates require more storage but allows better slow motion playback Max Bitrate Mode chooses between pre set bitrate values and customized values General setting is defau...

Страница 13: ...ys that contain recordings will be blue if recording was continuous only or yellow if all or part of the day was event recording 4 Press PLAY 5 Click within the timeline to jump to desired time PLAYBA...

Страница 14: ...mportant video is not lost or destroyed Choose Recorded Video Clips To Back Up 1 Connect a USB flash drive HDD or DVD writer to an available USB port this step is mandatory 2 Go to MENU PLAYBACK 3 Sel...

Страница 15: ...choose video clip s to back up and click Export button 6 Choose backup device USB flash drive USB HDD or DVD writer 7 Click Export to check backup choose recorded file in Export interface and click b...

Страница 16: ...on Canada 4485 Dobrin St Laurent Quebec Canada H4R 2L8 Telephone 1 909 895 0400 Toll Free in USA 1 866 200 6690 E Mail sales usa hikvision com www hikvision com 2017 Hikvision USA Inc All Rights Reser...

Отзывы: