33
7.
If there are scheduling errors detected, such as overlapping time periods, error messages such as those shown in
Figure 25 will appear.
Figure 25. Advanced Schedule Configuration Error Messages
8.
Check the
Enable Audio
checkbox if you would like to enable audio recording along with the video. Audio can
only be recorded if an audio source (such as a microphone) is connected to the DVR.
9.
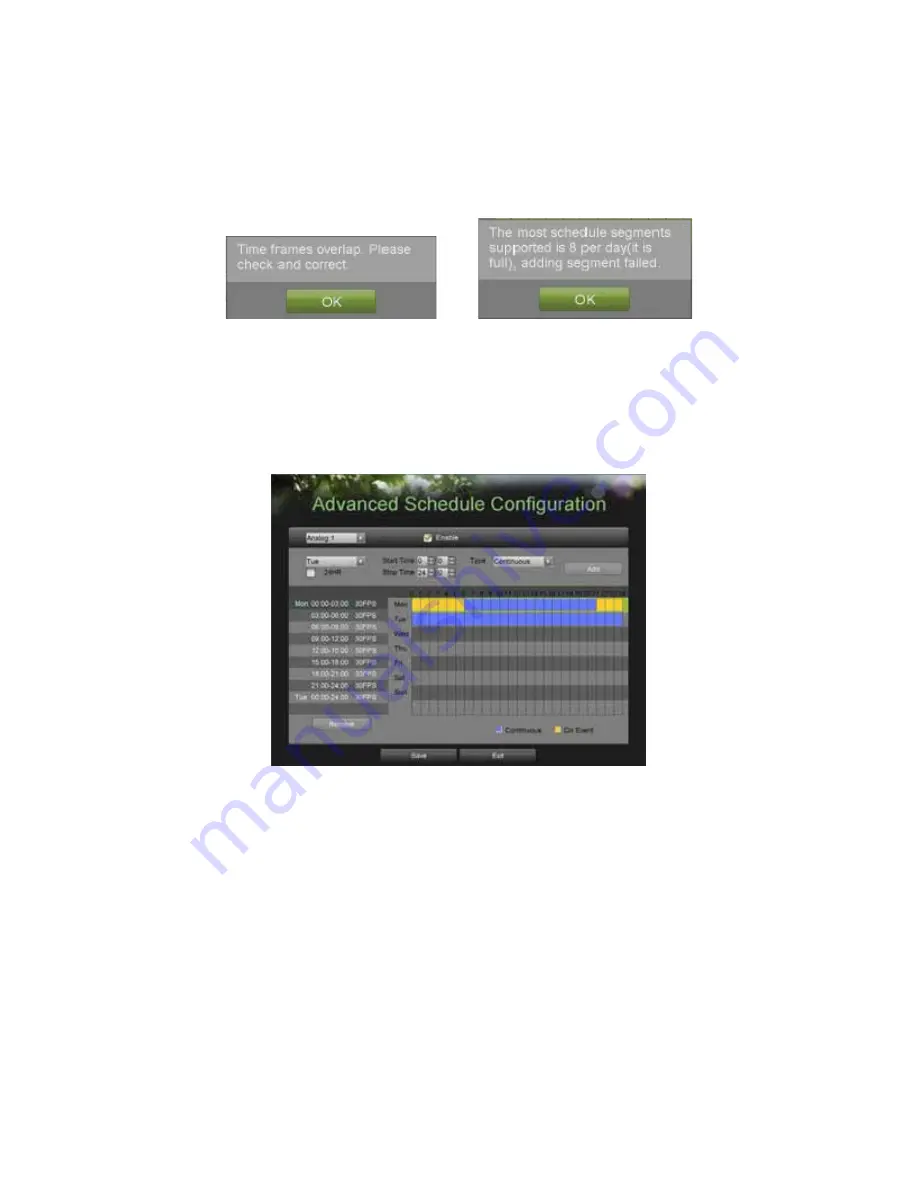
Select the Add button to add time frame to schedule. The newly added time frame will appear in the schedule on
the left, with the schedule parameters shown on the right. Continuous recordings are shown in blue on the
schedule while event recordings are shown in yellow. An example of this can be seen in Figure 26.
Figure 26. Advanced Schedule Configuration Example
10.
Repeat steps 4-10 to setup additional time periods for the selected day.
11.
Select the Save button to save the schedule settings and select Exit to return to the previous menu. Selecting the
Exit button without clicking Save will quit out of the menu without saving settings.
Note:
Creating a schedule in the Quick Schedule Configuration menu will also create a schedule in Advanced Schedule
Configuration. The quick schedule will show up as a time period in the Advanced Schedule Configuration.
Содержание DS-8100HDI-S Series
Страница 1: ...1 DS 8100HDI S Series DVR USER S MANUAL ...
Страница 6: ...6 C H A P T E R 1 Introduction ...
Страница 15: ...15 C H A P T E R 2 Getting Started ...
Страница 21: ...21 C H A P T E R 3 Live Feed ...
Страница 29: ...29 C H A P T E R 4 Record Settings ...
Страница 34: ...34 C H A P T E R 5 Playback ...
Страница 39: ...39 C H A P T E R 6 Backup ...
Страница 43: ...43 C H A P T E R 7 System Configuration ...
Страница 55: ...55 C H A P T E R 8 Camera Management ...
Страница 61: ...61 C H A P T E R 9 Disk Management ...
Страница 66: ...66 C H A P T E R 1 0 DVR Management ...


