


Storage System User Manual
27
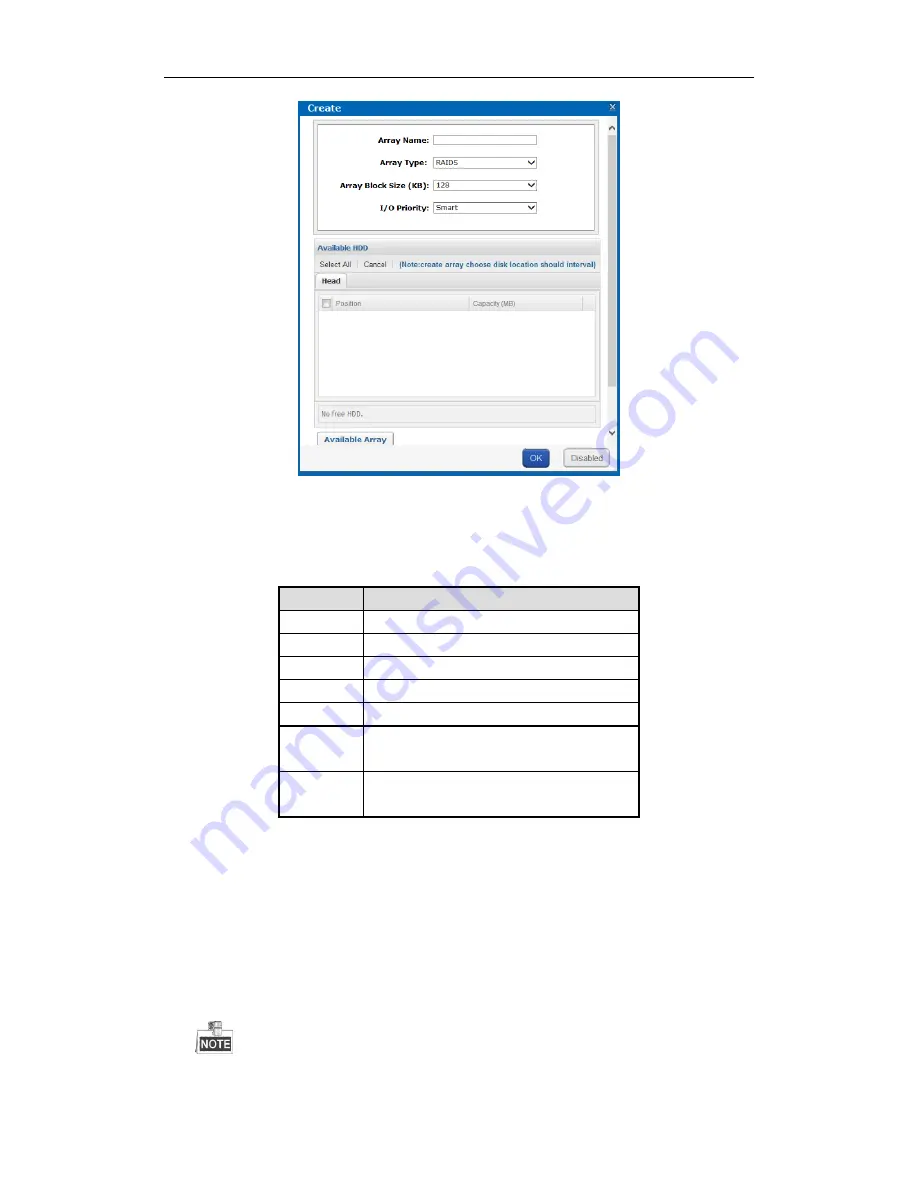
Figure 4. 8
Create Array
2.
Input
Array Name
in text field.
3.
Select
Array Type
in drop-down list.
RAID 0
,
RAID 1
,
RAID 3
,
RAID 5
,
RAID 6
,
RAID 10
, and
RAID 50
are
selectable.
Figure 4. 9
Required HDD Quantity
Array Type
Required HDD Quantity
RAID 0
At least 2 HDDs.
RAID 1
At least 2 HDDs.
RAID 3
At least 3 HDDs.
RAID 5
Valid range: [3, 12].
RAID 6
At least 4 HDDs.
RAID 10
RAID is made of RAID 0 and RAID 1 which requires
at least 4 even HDDs.
RAID 50
RAID is made of RAID 0 and RAID 5 which requires
at least 6 even HDDs.
4.
Select
Array
Block Size(KB)
in drop-down list.
5.
Select
I/O Priority
as
Performance Priority
,
Protection Priority
,
Balanced
, or
Smart
.
Performance Priority
: To guarantee external IO task performance, internal IO task is totally stopped.
Protection Priority
: To guarantee internal IO task performance, external IO task would only take the
rest channel.
Balanced
: When both internal and external IO task exist, Balance ensures internal IO task occupy
certain channel without influencing external IO task.
Smart
: Without external IO task, array is initialized in the highest speed. Or array is initialized in the
lowest speed.
If RAID level is RAID 0, I/O priority is unavailable.
Содержание DS-81 Series
Страница 1: ...Storage System User Manual UD05216B...
Страница 94: ...Storage System User Manual 93...