User Manual of Portable Video Recorder
22
The external camera does not support the flashlight.
2.
Click the Record icon
to start recording. The Record icon turns to
. You can view the record
time in the upper-left corner of the screen.
The duration time of the continuous recording is configurable. For details, see
Section 10.5.1
Recording Parameters Settings.
3.
Tap the icon
to stop recording.
4.
Tap the Video/Picture icon in the lower-left corner of the screen to view the record files. For details,
see
Section 7.1 Video Files Management.
4.2
Capture Pictures
Two capture methods are provided for PVR: quick capture mode and capture on the Camera interface.
Option 1: Quick Recording Mode
Tap the Camera button on the right-side panel of PVR capture pictures.
Option 2: Capture on Camera Interface
Steps:
1.
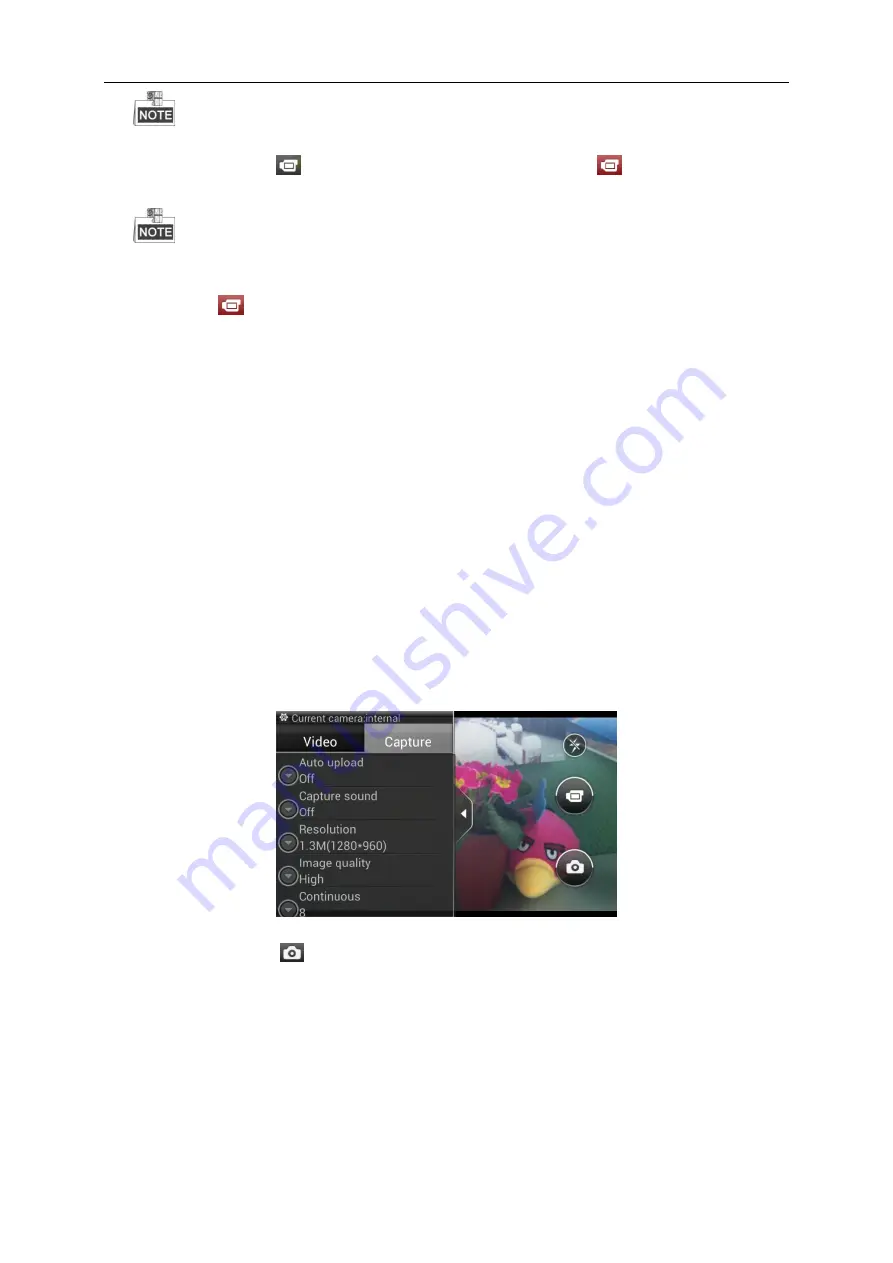
Tap the Parameter Settings icon and configure the capture parameters to meet the actual needs.
Auto upload:
upload the captured picture to the platform automatically.
Capture sound:
turn on/off the capture sound.
Resolution:
the size of the captured picture.
Image quality:
the quality of the captured picture.
Continuous:
capture pictures continuously. Up to 8 pictures can be captured at a time.
2.
Tap the Capture icon
to capture the picture. You can enable/disable the flashlight according to
the external circumstances, to increase the clarity of captured picture.
3.
Tap the Video/Picture icon in the lower-left corner of the screen to view the captured pictures. For
details, see
Section 7.2 Picture Files Management.


