STEP 2
STEP 3
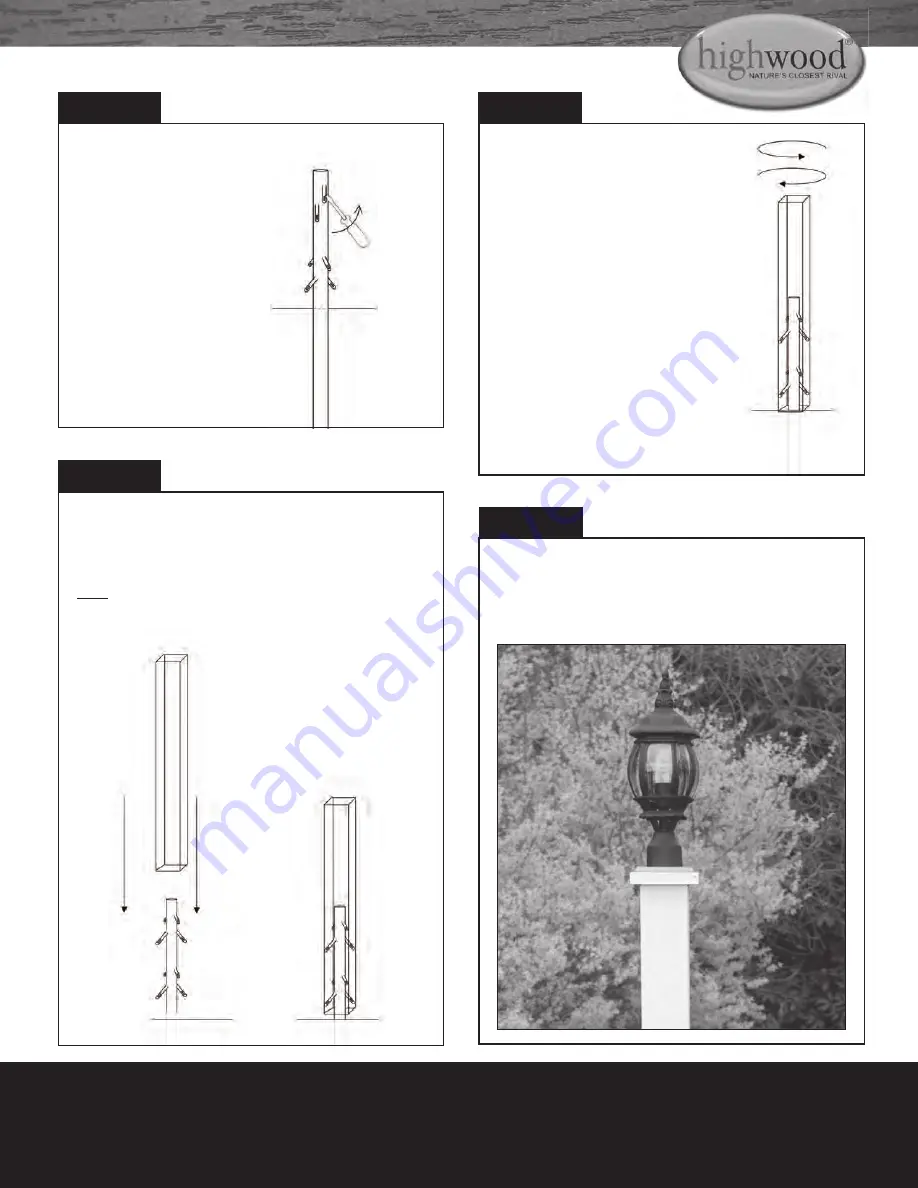
Set ground stake tabs into place
Use a fl at head screwdriver
and/or a set of pliers to
bend the locking tabs on
Metal ground stake (B) into
appropriately a 45 degree angle
as shown in Figure 3.
Attach mailbox to ground stake
With the ground stake in place and the locking tabs set into
position slide your
highwood
®
Lamppost (A) over the stake
as shown in Figure 4 below.
Note: Make sure to slide the post straight down so the locking
tabs touch the inside wall and properly engage in the corners of
the
highwood
®
post as shown in Figure 5 below.
Fig. #3
STEP 4
Final adjustment
Final adjustment may require you to
twist the post and ground stake so
the Lamppost (A) is positioned in
the correct direction. This rotation
adjustment will not disrupt the
ground attachment of the stake.
45˚
Fig. #4
Fig. #5
Fig. #6
STEP 5
Attach Lamp
You can now attach any lamp to the top of your new lamppost
using universal brackets or by following the instructions/brackets
supplied with the lamp itself.
For information on Care and Cleaning your highwood
®
product visit
www.highwood-usa.com/care.html
Visit our Website and Facebook page to see more highwood
®
products!
www.highwood-usa.com • www.facebook.com/highwoodUSA


