2
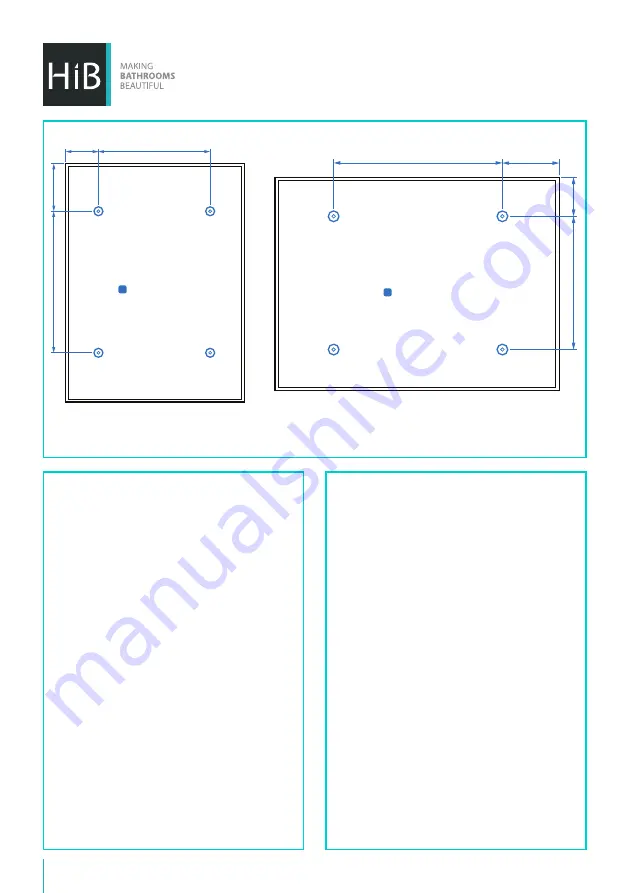
mounting points
REAR VIEW
Rear View Fig. A
Pulse:
Art No. 77415000
Vibe:
Art No. 77414000
mounting points
REAR VIEW
Installation
1.
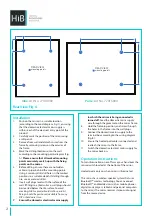
Position the mirror in a suitable location
(according to the zonal diagram, Fig. 1), ensuring
that the domestic electrical mains supply is
within reach of the electrical entry point of the
product.
2.
Carefully mark the position of the mirror using
a soft pencil.
3.
Remove from wall and detach mirror from the
frame by removing screws on the exterior of
the frame.
4.
Mark the drilling locations onto the wall
according to the mounting points diagram (Fig.
A).
Please ensure that all marked mounting
points accurately match up with the fixing
points on the mirror.
5.
Before drilling, ensure there are no hidden
cables or pipes behind the mounting points.
Using a masonry drill, drill holes in the marked
positions to a suitable depth. If drilling through
tile, use a ceramic drill bit.
6.
Insert wall plugs level with the surface of the
wall. If fitting to a tiled surface, wall plugs should
be inserted below the tile surface to avoid
cracking.
NB. For plasterboard walls, specialist
fixings should be purchased, available from any
DIY or hardware store.
7.
Ensure the domestic electrical mains supply
to which the mirror is being connected is
turned off.
Feed the domestic mains supply
wire through the grommet on the mirror frame.
8.
Hold the frame in position, and screw through
the holes in the frame into the wall plugs.
9.
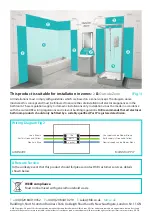
Connect the domestic mains supply to the
terminal box according to the wiring diagram
(Fig. B).
10. Ensure the heated pad cable is connected and
reattach the mirror to the frame.
11. Switch the domestic electrical mains supply for
the mirror back on.
Operation Instructions
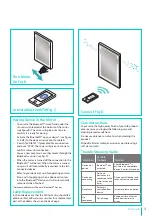
To turn illumination on or off, wave your hand over the
sensor switch located at the bottom of the mirror.
Heated pad is only on when mirror is illuminated.
This mirror has a wireless speaker system that uses
Bluetooth
TM
wireless technology. You can connect
Bluetooth
TM
enabled devices such as mobile phones,
digital music players, tablets and personal computers
to the mirror. The mirror receives stereo audio signal
from the source device.


