48
3-7 ID Picture
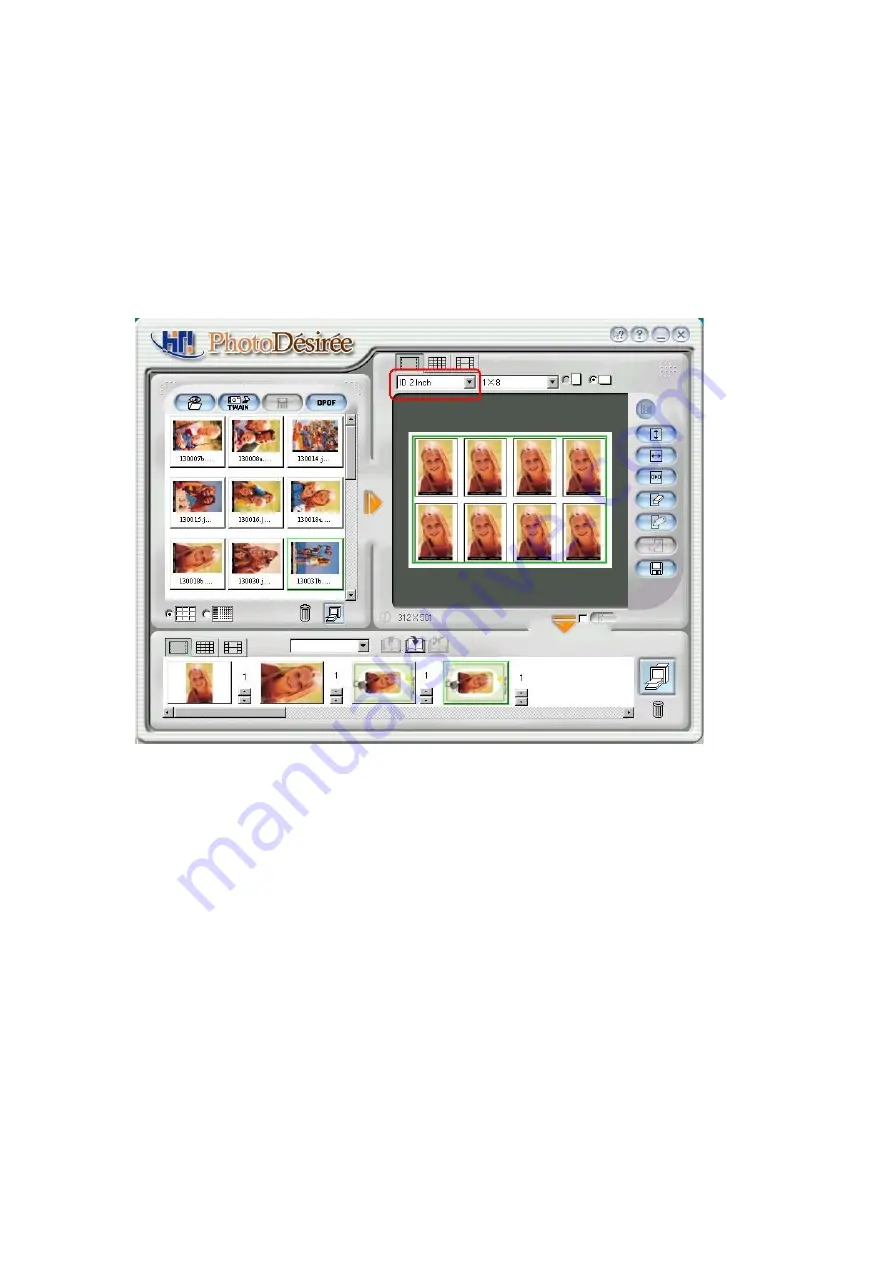
1. Click the image from the Left Window.
2. Click on Photo Icon and drag the box right below Photo Icon and select ID
One Inch or Two Inches.
3. Drag the box right next to the ID card box for picture combinations.
4. (If need) Use ImagEnhancer to
z
Add colored and transparent text.
z
Add colored and transparent calendar.
z
Rotate and resize photo.
z
Adjust Skin tone.
5. Click the Downward Arrow for printing queue.
6. Click the Print Queue for print out.
Содержание 63xPL
Страница 1: ...HiTi Photo Printer 63xPL PS User Manual ...
Страница 5: ...CE Information ...
Страница 6: ......
Страница 25: ...22 8 After copy several files the Windows XP system recognize this printer Installation is finished ...
Страница 33: ...30 2 9 Print 1st Photo 1 Click the image from the Left Window 2 Change layout style to portrait ...
Страница 43: ...40 3 4 Photo printing 1 Click the image from the Left Window 2 Change layout style to portrait ...
Страница 44: ...41 3 Fit to width 4 Click the downward arrow for printing queue 5 Click the Print Queue icon for print out ...
Страница 54: ...51 7 Click the downward arrow for printing queue 8 Click the Print Queue for print out ...
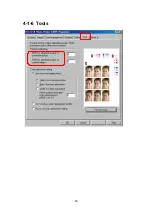
Страница 66: ...63 4 1 6 Tools ...
Страница 77: ...74 3 Uninstall program will prompt you to restart Windows ...
Страница 112: ......
Страница 113: ......
Страница 114: ......
Страница 115: ......


