10
-
OK
: Confirmation. Confirm the image chosen or the result of the image
editing.
-
ESC
: Escape to the upper layer or cancel the current job.
-
Menu
: The main page of the OSD. Note: All the jobs in process will be
aborted at the same time.
-
Edit
: Enter the Editing Page of the OSD, please refer to Photo Printing for
details.
-
: Press this button and all the jobs have been chosen will be printed in
batch.
2. Main Page:
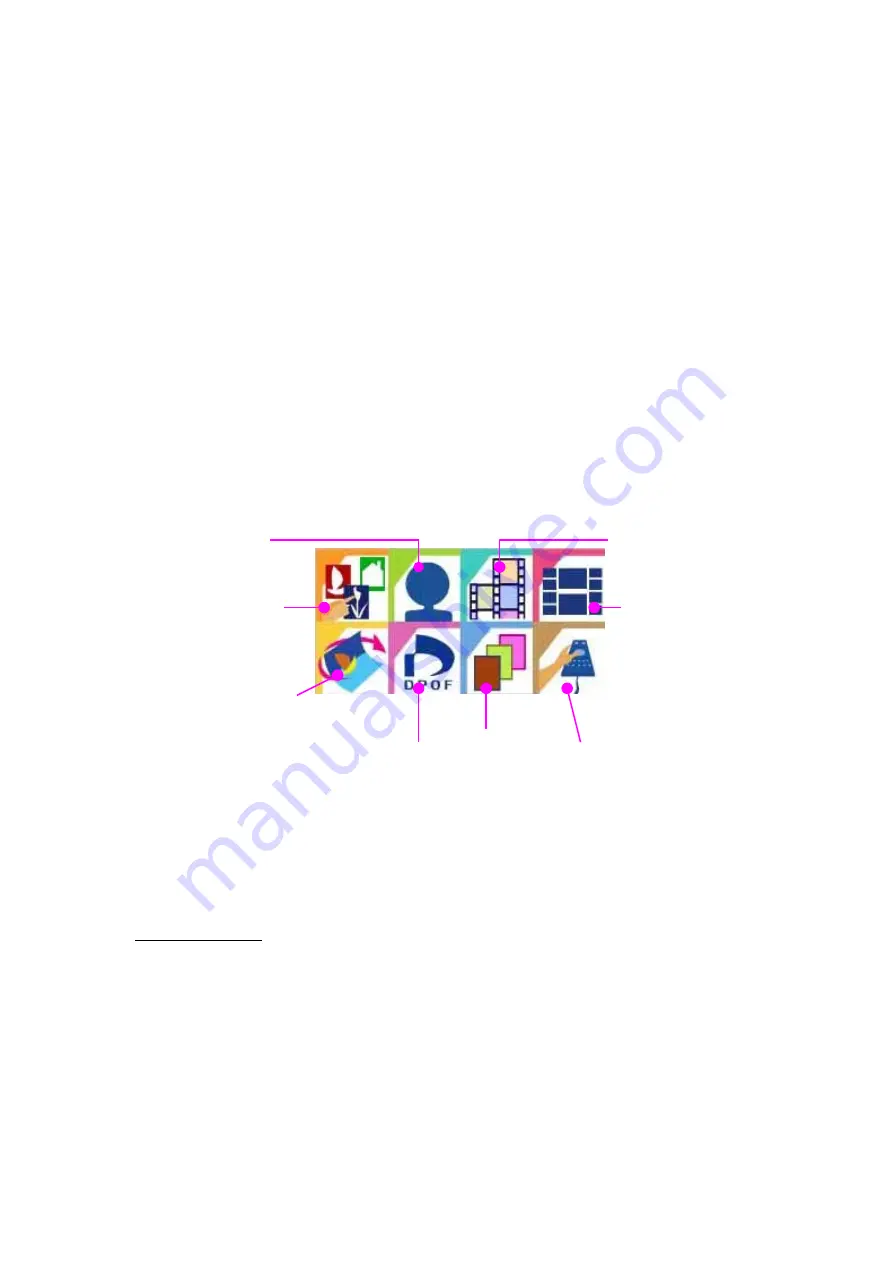
-The Function List: Totally 8 functions, all the functions will be described
individually.
-Memory Status: Display the current active memory card (CF/SM). Please go
to Setup page if you want to switch the cards manually.
3. Photo
Operation Flow:
Preview Page (4 images at a time)
Æ
Press the arrow keys, stop at the image you want to print or edit, press OK
Æ
Press the UP and Down arrow keys to select the copies you want to print
(Default setting is 1)
Æ
Press OK to confirm and back to the preview page
Æ
Continue choosing the images
Æ
Press Print Button to proceed the batch printing
Photo
Quick Photo
ID Photo
Index
Sticker
DPOF
Print All
Setup
Содержание 63xPL
Страница 1: ...HiTi Photo Printer 63xPL PS User Manual ...
Страница 5: ...CE Information ...
Страница 6: ......
Страница 25: ...22 8 After copy several files the Windows XP system recognize this printer Installation is finished ...
Страница 33: ...30 2 9 Print 1st Photo 1 Click the image from the Left Window 2 Change layout style to portrait ...
Страница 43: ...40 3 4 Photo printing 1 Click the image from the Left Window 2 Change layout style to portrait ...
Страница 44: ...41 3 Fit to width 4 Click the downward arrow for printing queue 5 Click the Print Queue icon for print out ...
Страница 54: ...51 7 Click the downward arrow for printing queue 8 Click the Print Queue for print out ...
Страница 66: ...63 4 1 6 Tools ...
Страница 77: ...74 3 Uninstall program will prompt you to restart Windows ...
Страница 112: ......
Страница 113: ......
Страница 114: ......
Страница 115: ......


