


10
4.1) POP (PICTURE ON PICTURE)
1.) Press POP button to display pictures on screen. Press
(AUTO) button begins to sub-screen auto
sequence.
5.) Alarm Sensor Recording
See the alarm recording setup page
6.) Scheduled Recording
See the scheduled recording setup page
7.) Motion detection Recording
See the motion detection recording setup page
8.) Key Lock function
On the Live mode, press (lock),
Only, numeric, freeze, auto, pip, and zoom buttons could work. Press lock key again to enter the login-in
window. Enter admin or user password to unlock.
9.) Audio function
4 audio channel record, 1 audio output at once time.
See the advanced setup
Æ
Record setup
10.) BACKUP
Notice
1> Recording is not possible if no camera is connected.
2> PES. All channels are record in quad. Use Video Viewer to play back. Screen can display on full
channel or quad. AVI, each camera play back.
CAMERA1
CAMERA 2
CAMERA 3
CAMERA 4
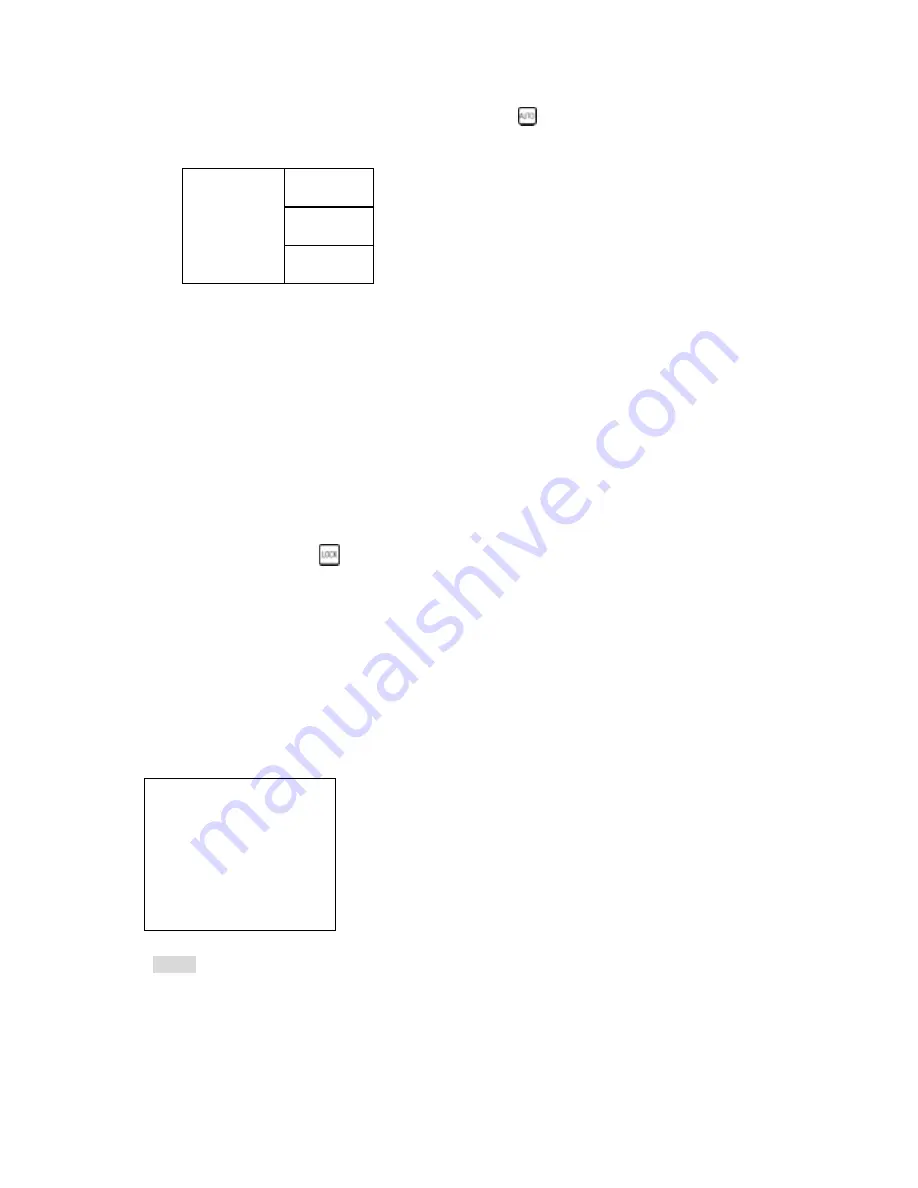
BACKUP SETUP PAGE
1.
BACKUP DEVICE USB
2. DETECT
3. FORMAT
USB
4.
BACKUP FORMAT PES
5.
BACKUP CHANNEL 1 2 3 4
START: xxxx/xx/xx xx:xx:xx
END:
BACKUP SIZE: x / MB
START BACKUP
1.Device USB.
2.Detect: Detect device.
3.USB data format.
4. Image format: AVI or PES.
PES. Need the AP software from factory.
5. Choose channel. v means this camera is
chosen.
Size: Current / Total


