© 2018 HI-POD INC.
(PAGE 1)
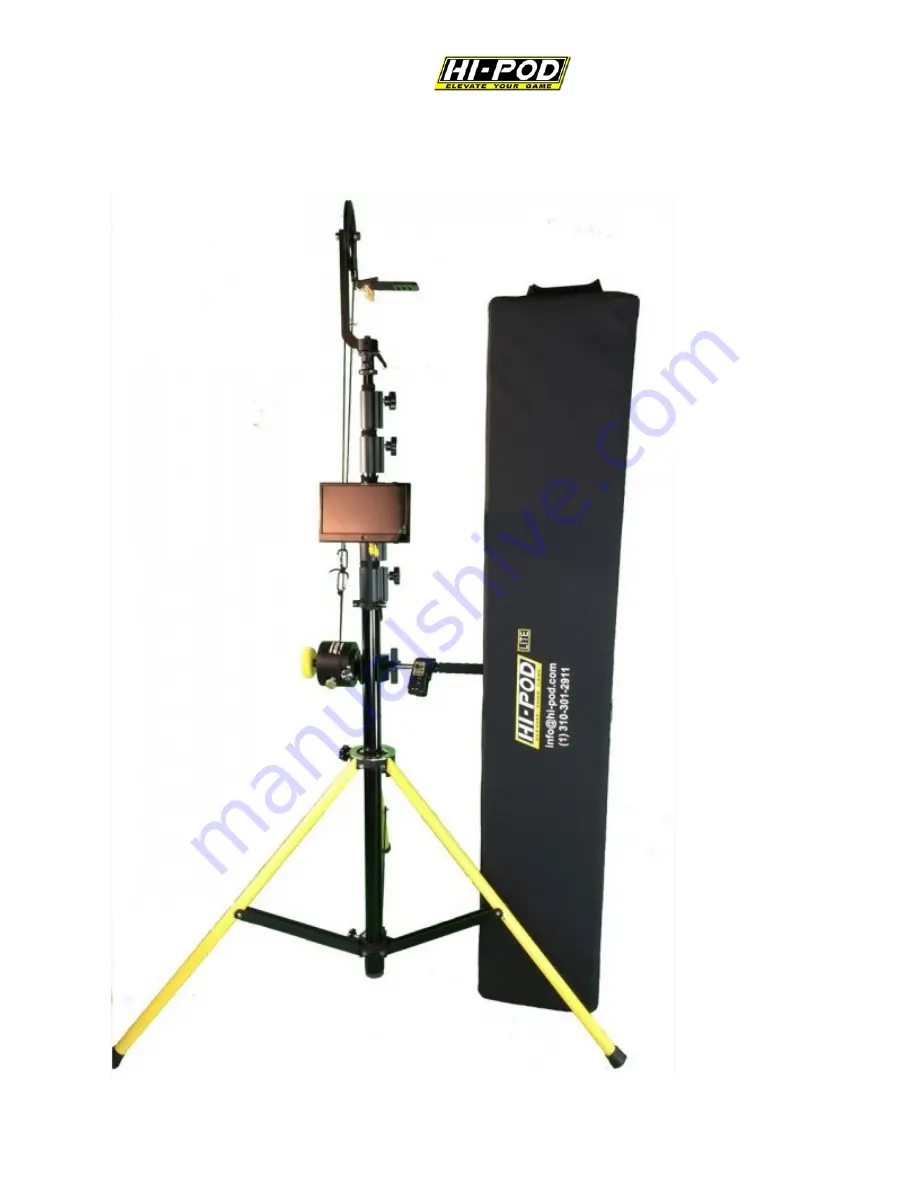
HI-POD LX15-25 Setup Manual
Страница 1: ...2018 HI POD INC PAGE 1 HI POD LX15 25 Setup Manual...
Страница 2: ...15 Hi Pod Handle Page 17 Connect Head Handle Page 18 Handle What The Silver Screws Do Page 20 Attach LCD Battery Page 23 Camera Cables Remote Page 32 Connect HDMI to LCD Page 33 Camera Battery Page 40...
Страница 3: ...rt of a 35 lb tower Once you are familiar with the setup procedures it should take 10 15 mins to fully configure a unit Note Within 2 weeks of delivery product must be checked and confirmed by the cli...
Страница 4: ...pud Monitor Bracket 3 Piece Raingear 3 Sandbags LCD LCD Visor LCD Battery 5 9 Volt Adapter Cable HDMI Cable Lanc Cable Gold Screw for Power Bank Camera Remote Camera Camera Power Bank 16GB SD Card Cab...
Страница 5: ...D INC PAGE 5 3 IMPORTANT THINGS ALWAYS use the Strain Relief Plate for your cables ALWAYS use your sandbags Take note of the Text on Screen instructions to display record status and other camera setti...
Страница 6: ...ase of the tower and you will need to unlock these to allow for the tower legs to expand The base and tubes of the Hi Pod Lite have been completely redesigned If you used an earlier version of the Hi...
Страница 7: ...e This will give you the maximum stability during operation Once the black slats are level turn the two knobs shown in the above picture with red arrows to lock the legs in place We also want to bring...
Страница 8: ...rks in the vast majority of situations Also it s better not to actually fill the bags with sand it can be a mess Rocks gravel bricks or something else is preferred You are welcome to go beyond the thr...
Страница 9: ...2018 HI POD INC PAGE 9 USE YOUR SANDBAGS...
Страница 10: ...ed you must manage it at all times Anything can happen at any time unexpected winds can pop up rain can surprise you someone could mess with your setup or there could be lightning who knows If you eve...
Страница 11: ...ead Find the Hi Pod Head in the case and attach it to the opening at the top of the tubes with the mounting pedestal found at the bottom of the L shape of the head Once in place use the ratchet at the...
Страница 12: ...ectly below the tube collars with camlocks It has text which says Mount Above This Line printed on it The parts that this text is reffering to are the LCD Bracket and Hi Pod Handle You ll utilize the...
Страница 13: ...ves to lock the tubes so they can t rotate or to release the tubes so they can spin 360 degrees You can turn the ratchet in a complete circle to tighten but the ratchet itself is adjustable pull out r...
Страница 14: ...p with silver connecting screw on the other connects to tubes Open the collar at the base of the bracket size to the tube and close the silver screw to lock on You can adjust the angle at which the lo...
Страница 15: ...and note the tube collars with camlocks are facing forward This is import to be aware of as you want the cables between the handle and head to be on the same side This way nothing will catch or tangle...
Страница 16: ...o the main pole completely above the white line The reason you need to mount both the handle and LCD bracket above the white line can be seen in the image below When you rotate the handle there needs...
Страница 17: ...them Each of these ropes must go around the bottom of the rounded handle in opposite directions If they come out of the top of the handle or if they go in the same direction they will not create the p...
Страница 18: ...matching shorter cords coming down from the Hi Pod Head This engages the system Connect with the attached carabineers STEP 8 Handle What The Silver Screws Do Focusing back on the handle there are two...
Страница 19: ...ints during setup First make sure the screw is open when you are elevating the tubes as the ropes will need to extend to the full height of the tower Second once the tower is fully extended pull back...
Страница 20: ...lat even back to the horizon line Re locking will hold the camera in any direction This is useful if you just want to hold a shot in an area for an extended time say when you don t need to follow acti...
Страница 21: ...e screen in place see LCD battery on left The battery for the LCD can be seen in the image to the left These are now USB power packs which will power the screen for 6 hrs These batteries are greatly s...
Страница 22: ...of the screen take note of the velcro strap and two ports HDMI IN 1 for video and DC for power Attach the LCD battery as shown Use the adapter on the left to plug into the USB end of the battery and...
Страница 23: ...a remote and strain reliefs already attached We ve gone to great lengths to both simplify your setup and also to protect the cables from damage while in use There are three main parts of this cable bu...
Страница 24: ...on the bottom of the strain relief portion of the plate See the hole noted with the red arrow to the right See one of the brass screws inserted to the left Mount this assembly by inserting the brass s...
Страница 25: ...need to mount the strain relief and quick lease plate in the correct way so that the cables are available on the correct sides to plug into the camera The HDMI cable will need to come out on the left...
Страница 26: ...ng plate which comes out of the handle See the handle with the mounting area in the image below Note on the back of the remote strain relief that there is a small silver pin at the top and a brass scr...
Страница 27: ...e the brass screw as it will come out of the assembly to allow it to mount or disassemble Once the remote is connected to the camera it has a light on it that will switch from red to green during oper...
Страница 28: ...mera find the quick release plate and make sure that the lever is pulled back into the open position Notice how the camera already has a connection adapter attached to it This is what you ll use to sn...
Страница 29: ...quick release plate Pull back on the two levers on the quick release plate when it s time to pack up Open the LCD window on the camera You ll find the HDMI port under a little door where the LCD open...
Страница 30: ...2018 HI POD INC PAGE 30 See the HDMI connection on the right side of the camera See the LANC connection for the remote on the right side of the camera...
Страница 31: ...he cables Take the carabineer and connect it to the hook coming out of the top of the Hi Pod tubes Then take the extra velcro and attach it around the tubes several times to keep it out of the way Thi...
Страница 32: ...DS The one shown is the upgraded option which includes HDMI Loop Thru in and out This gives you two HDMI ins and one back out If you have the default screen it will have two HDMI in ports only nothing...
Страница 33: ...nal Step 12 Camera Battery There is an external USB power pack battery that you will need to mount to the tower and connect to the camera This is what allows you to film for 5 6 hours If you do not mo...
Страница 34: ...rass screws as you did with the strain relief plate and mount the camera battery with the reverse approach battery will hang down under the camera plate and the brass screw will connect from the top M...
Страница 35: ...PAGE 35 Now locate the small USB cable that is inside of the hand strap for the camera This is where you will connect the adapter cable Connect the female end of the adapter to the USB cable coming o...
Страница 36: ...take the male end of the USB adapter and plug it into the USB power pack battery After you have the cable connected on both ends you re going to have a lot of extra slack Take the hand strap in the c...
Страница 37: ...ts of owning and operating a Hi Pod system We ve done a lot of work to create strain reliefs and to make them easy to apply to the unit during setup Use them If you ever change cables for any reason y...
Страница 38: ...tery To Hi Pod Tubes Find the USB power pack exact style may vary but setup will remain the same and attach to the tower where there is a hook at the top of the tubes Use the brass screw shown in the...
Страница 39: ...e voltage options is what you ll plug into On the current grey battery not pictured the plug is 2 4A If you mount the battery to the tubes of the Hi Pod you will have the battery in a position where i...
Страница 40: ...text record battery status from the camera down to the LCD There is a way to achieve this on less expensive cameras but it s applied every time the camera is turned on Once memorized it takes about 5...
Страница 41: ...2018 HI POD INC PAGE 41 Scroll down until you find Scene Selection and click on it Your screen will change to look like this Click on the bottom right arrow to continue...
Страница 42: ...ording This way you ll always know when you are or aren t recording This text overlay will not be on your final video files It is only seen by the Hi Pod operator when they are filming Note If you hav...
Страница 43: ...ctive the camera saves two copies of the same clip in different quality settings one is higher def one is for online sharing What this means is that the camera is taking double the storage space that...
Страница 44: ...ry active which will die quickly If you have your camera connected to the LCD with text on screen applied as explained earlier in this manual you will see the battery icon in the top left This means t...
Страница 45: ...tery to turn it on You will see the buttons on the battery light up blue When connected correctly and turned on the battery button in the top right of the LCD will disappear This is what you want and...
Страница 46: ...r There are three parts to the raingear for the Hi Pod Camera LCD Remote See the camera raingear below This image is shown without the wheeled head The brass screw will be the only part under the whee...
Страница 47: ...47 Use the same hole on the strain relief plate to attach the brass screw as you do with the raingear Just make sure that now the raingear plate is below the strain relief plate but on top of the whee...
Страница 48: ...a cinch cord which will allow you to organize your cables arrange the bag and then completely close so no water can get inside There are different ways to accomplish this but the key is to pull the c...
Страница 49: ...2018 HI POD INC PAGE 49 Note the length of cord and general position Pull shut The LCD raingear attaches by simply sliding it over the mounted screen with battery attached in the back Velcro to seal...
Страница 50: ...With the camera lcd and remote covered this completes the raingear setup If conditions vary you can always go beyond what is included to enhance your protection You will need to judge the weather con...
Страница 51: ...On the Hi Pod head from the bottom looking up you ll find a green leveling bubble This helps to confirm whether your shot is level with the ground before elevating Attending to this before elevation...
Страница 52: ...Tubes At this point in the setup your unit is set to elevate Grab a pole above a collar unlock raise to your desired height and lock again Note the lever camlock which you ll use to release and lock t...
Страница 53: ...018 HI POD INC PAGE 53 See the collar and camlock on the tubes after the pole has been elevated Close the lever camlock to hold the pole in place at your desired height Again repeat for all tube stage...
Страница 54: ...collar before opening that collar If you do not grab the pole first it will shoot down Step 18 Velcro Cables to Tubes We include a strap of velcro above every collar Use this to attach your video lan...
Страница 55: ...you to put away the unit most of the setup can just be done in reverse Two key things to point out 1 When attempting to fold the tower unlock all knobs and push your foot lightly down on the black sl...
Страница 56: ...2018 HI POD INC PAGE 56 Setup Complete For more information watch LX Series Video Manual or http hipod com For help call us at 818 982 2601 9am 5pm Pacific M F...