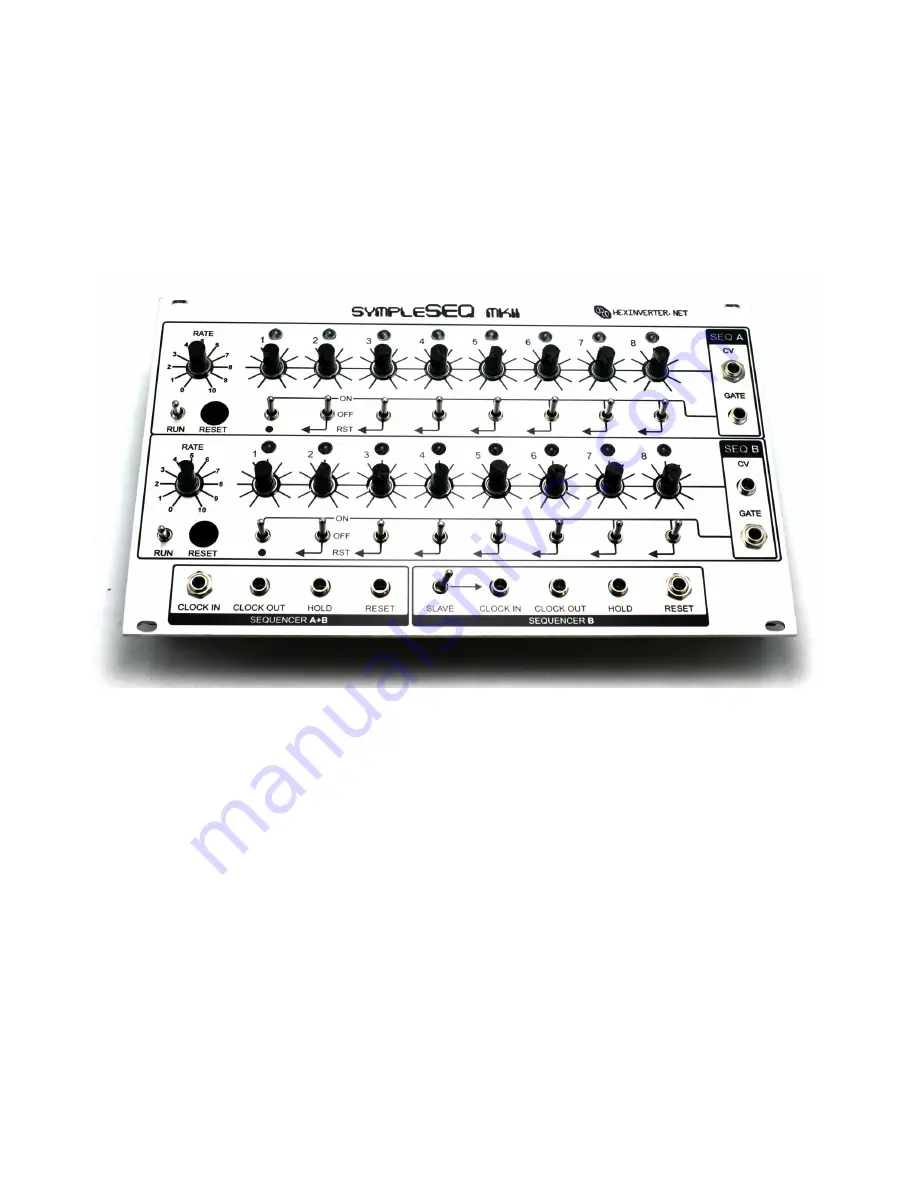
Step 6: Panel Fit + Begin Soldering
Now it gets a little tricky. Place the panel over the control PCB’s com-
ponents just as it will be seated in the final module. I recommend tak
-
ing four of the nuts for the jacks and screwing them on to hold the panel
in place. Now, flip the entire assembly over, being careful not to let the
panel fall off. You may need to place something as a spacer underneath the
panel and work surface so that the panel does not fall down.
Solder ONE LEG ONLY of each potentiometer.
Now, flip the board over and re-heat each potentiometer joint you soldered
while adjusting the potentiometer from the other side with your hands.
Push the potentiometer perfectly flat against the PCB.


