28
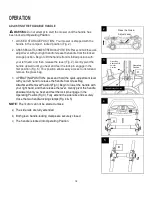
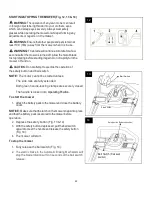
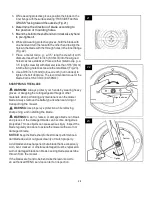
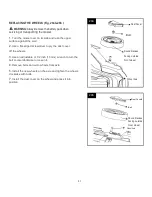
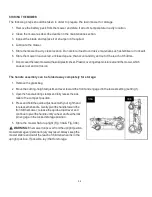
3. While wearing protective gloves, position the blade on the
inner flange with the surface stating “THIS SIDE FACING
GRASS” facing toward the outside (Fig. 21).
4.
Determine the direction of blade according to
the position of mounting holes.
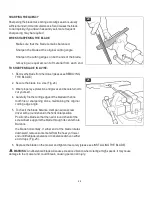
5.
Mount theboltinto the shaftand turn itclockwiseby hand
to pre-tighten it.
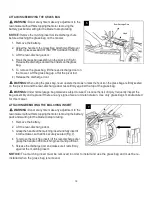
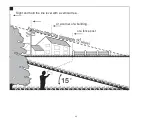
6. While still wearing protective gloves,hold the blade with
one hand and turn the fan with the other hand to align the
holesinthebladewiththethroughholesintheinnerflange
(Fig. 22).
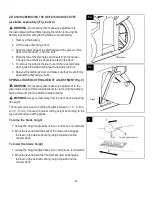
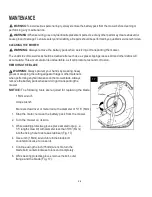
7.
Place a metal rod (e.g., a 3.5” length screw bit) with
diameterlessthan1/4inch(6.35mm) intothealigned
holestoactasastabilizer.Placeanothermetalrod(e.g.,a
3.5”length screw bit)
with diameter less than 5/16”(8mm)
intothefixingholetoactasanotherstabilizer(Fig.23).
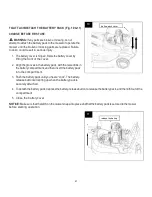
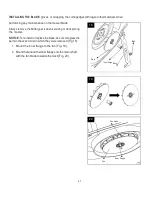
8.
Use a 9/16 inch (14mm) torque wrench (not included) to
tighten the bolt clockwise. The recommended torque for the
blade bolt is 36-43 ft-lb (49-59Nm).
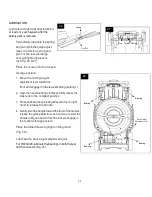
SHARPENING THE BLADE
WARNING:
Always protect your hands by wearing heavy
gloves or wrappingthecuttingedgeswithragsorother
materials whenperforminganymaintenanceonthemower
blade.Always removethebatterypackwhenservicingor
transportingthe mower.
WARNING:
Use proper eye protection while removing,
sharpening, and installing the blade.
WARNING:
A worn, cracked, or damaged blade can break
and pieces of the damaged blade can become dangerous
projectiles. Thrown objects can cause serious injury. Inspect the
blade regularly and do not operate the mower with a worn or
damaged blade.
NOTICE:
Keep the blade sharp for best mower performance.A
dullbladedoesnotcutgrasscleanlyor mulch properly.
A dullbladecanbesharpened,but ablade thatisexcessively
worn, bent, cracked, or otherwise damaged must be replaced. A
wornordamagedbladecanbreak,causingbladepiecestobe
thrown from the mower.
If the blades are found tobe bent,take the lawn mower to
an authorized
HENX service center for inspection.
21
22
Align the holes
23
Tighten
Stabilizer

