19
Design and function
Always wear personal protective equipment.
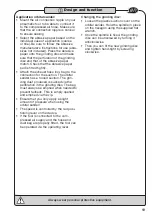
Changing the grinding disc:
• Loosen the plastic suction cover on the
orbital sander. Hold the spindle in place
on the hexagon using the supplied flat
wrench.
• Once the spindle is fixed, the grinding
disc can be unscrewed by turning it
anticlockwise.
• Then you can fit the new grinding disc
and tighten hand-tight by screwing
clockwise.
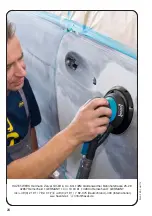
Application orbital sander:
• Mount the air connection nipple on your
pneumatic tool to be able to connect it
to the compressed air hose. Make sure
that the air connection nipple is conical
to ensure sealing.
• Select the abrasive paper based on the
individual case of application (coarse
or fine). Be sure to follow the abrasive
manufacturer‘s instructions for use (abra-
sives not included). Press the abrasive
paper onto the grinding disc and make
sure that the perforation of the grinding
disc and that of the abrasive paper
match. Check that the abrasive paper
pad is fitted tightly.
• Attach the exhaust hose incl. bag to the
connection for the suction. The orbital
sander has a forced suction. The grin-
ding dust produced is sucked via the
perforation in the grinding disc. The bag
must always be emptied when needed to
prevent tailback. This is simply opened
and emptied via the zip.
• Ensure that you only apply a slight
amount of pressure when using the
orbital sander!
• The speed is controlled by the red posi-
tioning lever on the device.
• If the tool is connected to the com-
pressed air supply and the hose and
dust bag are properly fitted, the tool can
be operated via the operating lever.
Содержание 4000896156337
Страница 12: ...12 Notizen Notes ...
Страница 22: ...22 Notizen Notes ...
Страница 23: ... 23 Notizen Notes ...


