


Installing a Battery:
Setting Up the Fence Boundary/Trigger
Zone/Training Flags
3
Setting Up the Collar
2
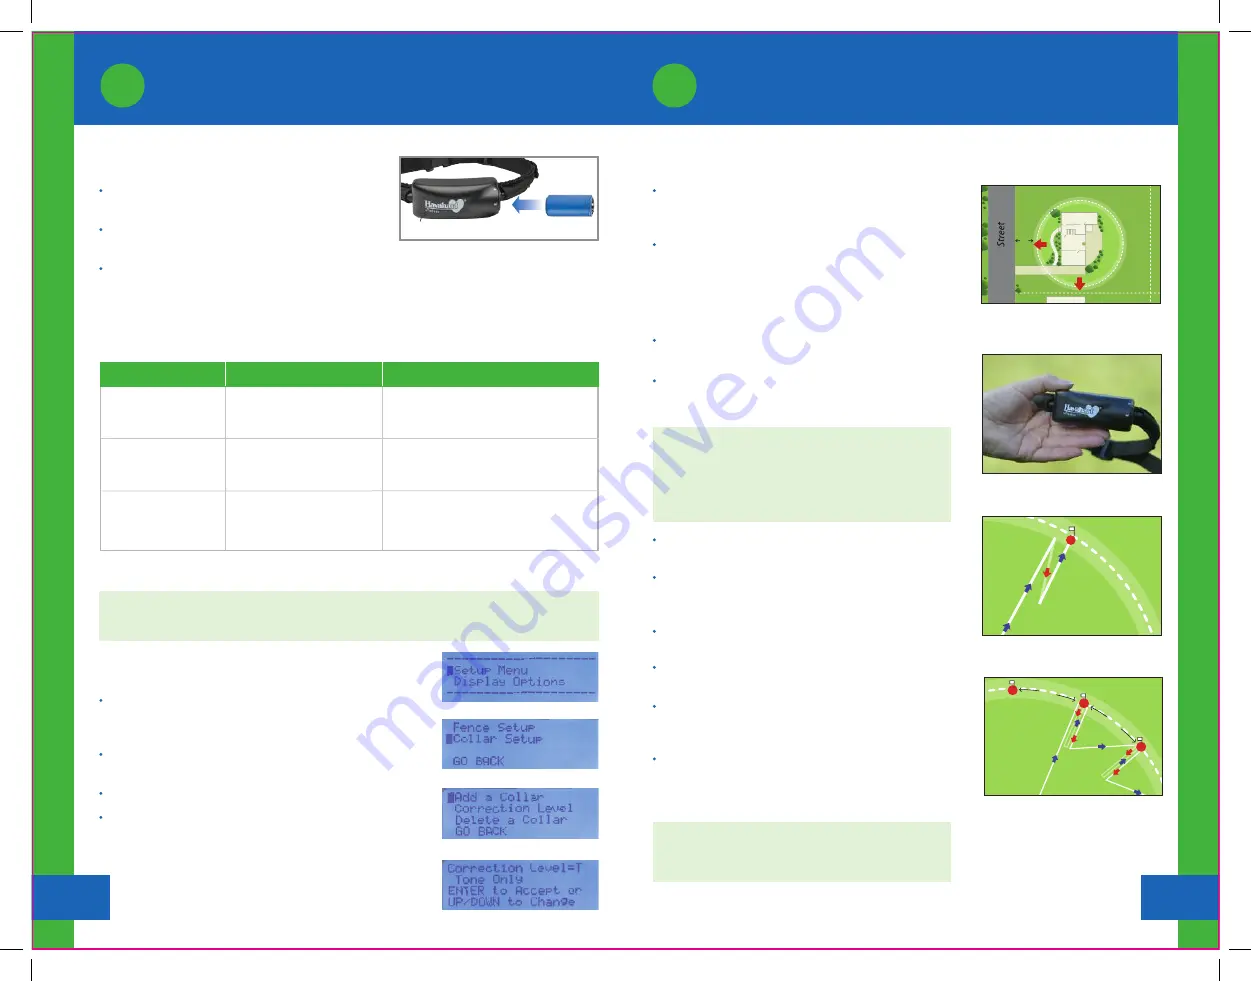
Fully charge the Battery before installing
(see Recharging a Battery in the Instruction Manual).
Turn the Battery Cap counterclockwise to the “unlock”
icon. Insert the Battery (see Figure 1).
Replace the Battery Cap and turn it
¼
turn clockwise to the “lock” icon to lock it in place
.
The
Collar light will flash green. If it does not, shake the Collar gently as the Collar is in sleep mode
(see the Havahart
®
Wireless Collar Light Chart).
Havahart
®
Wireless Collar Light Chart:
- Collar is asleep
OR
- Battery is too low
OR
- Battery is not in the Collar
- Normal operation
- Collar is paired to the
Controller
- Low Battery
OR
- Boundary Breach
Collar Light
Action
Status
Off
Red Flash
Shake gently and watch for the light to
flash green. Make sure a fully-charged
Battery is in the Collar.
No action required.
Charge the Battery
OR
Return the dog to the Roaming Area.
Activating a Collar & Adjusting the Correction Level:
On the Controller, select Setup Menu >> Collar Setup >>
Add a Collar. “Searching for new Collars... ” will appear
on screen.
Gently move or shake the Collar to keep it awake which will be
indicated by the Collar light flashing green.
“New Collar Found! Collar ID=2” will appear on screen.
Select Tone-Only for the Correction Level.
Figure 1
RCR123 3V
+
-
Collar Light
Main Menu
Setup Menu
Collar Menu
Correction Level Menu
Establishing the Fence Boundary/Trigger Zone Distance:
Determine the distance, or fence radius, between the
Controller and the desired Fence Boundary (see
Illustration A).
Set the distance on the Controller. From the Setup Menu,
select Fence Setup, then use the up/down arrow keys to
scroll to the desired Fence radius distance.
RO
AMING ARE
A
20 ’
Illustration A
Fenc
e Bo
und
ary/
Trig
ge
r Z
on
e
Illustration B
Figure 2
Test the Trigger Zone & Place Training Flags:
Make sure the Collar is set to Tone-Only during
setup.
Extend your arm down by your side and hold the Collar
by the Battery Housing so the Collar light can be seen (see
Figure 2).
Walk toward the Boundary while gently shaking the Collar
until the Collar beeps and the Collar light flashes red.
To confirm the Boundary location, step back until the Collar
stops beeping and then walk forward until the Collar beeps
and the Collar light flashes red again.
Place a Flag at the point where the Collar beeps (see
Illustration B).
Adjust the Fence radius distance on the Controller if
needed.
Continue the process by walking 6 feet to the right of
the previous flag until the entire containment area
is surrounded (see Illustration C).
Flags should be placed about 6 feet apart.
NOTE:
Do not let your body get between the Collar and
the Controller when setting and testing your Fence
Boundary as it may affect the signal and cause the
Boundary to shift inward (see Factors Affecting Signal
Strength in the Instruction Manual).
Setting Up the Collar
Setting Up the Fence Boundar
y/Trigger Zone/Training Flags
3
4
Fenc
e Bo
und
ary/
Trig
ger
Zo
ne
6 ft
6 ft
Illustration C
Determining how many Training Flags You Need:
Flag Calculator:
You should have 1 Flag for every foot of
your radius distance. If you have a 90 foot radius, you will
need 90 Flags to enclose your Roaming Area.
www.HavahartWireless.com
1-800-800-1819, Option 453
NOTE:
The Collar (Collar ID=1) has already been added to the Controller and set to Tone-Only.
You may
skip Activating a Collar & Adjusting the Correction Level
unless you need to add another Collar.
Slow Green Flash
Every 4-5 Seconds


