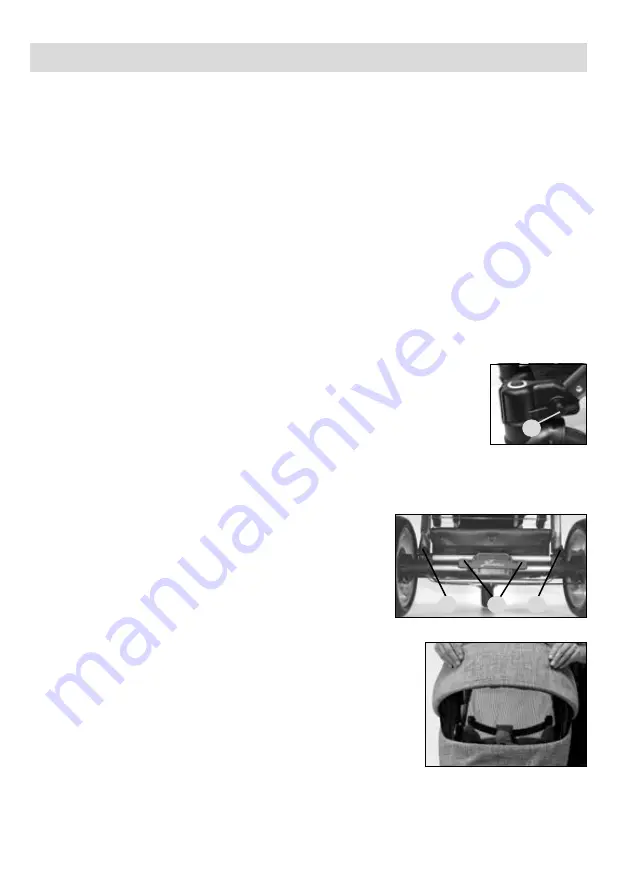
Instructions for use
WARNING!
When opening out and folding down the frame and when adjusting the backrest,
pinchpoints may be caused in which fingers etc. can be trapped unless care is exercised. Ensure that
your child has plenty of clearance space.
unfolding the carriage
Lift the handle
1
until the two lateral handle catches
2
have engaged.
WARNING!
Before using the pram, make sure all catches are locked. Take care that you keep your
child‘s body parts at a safe distance.
folding the carriage
Turn the twist grip
3
inwards and push at the same time the telescopic handle to the stop. With the grip
3
still twisted, depress the red button
21
, and push the handle
1
forcibly until it disengages.
Height-adjustable Telescopic handle
Turn the twist grip
3
inward and slide the handle
1
in the desired position until it engages on both sides.
Changing the rear wheels
Release the parking brake
7
. Depress push button
4
and pull the wheel off. Push the wheel right to the
axle‘s stop. Make sure, all wheels are held in place properly. Then, depress the button again.
lock-type-swivel wheels
Turn down the lock lever
5
to preselect the straightline motion mode, which will be
activated the moment the wheels point in forward direction. To allow the wheels to
swivel freely again, turn the lever
5
back to the horizontal position. On very uneven
surfaces, and when going very fast, we recommend locking the swivel movement, to
prevent the wheels from blocking.
Changing the swivel wheels
To remove the wheel, release the pushbutton in the centre of the cap
6
and pull the wheel off the holding
device. To assemble the wheel, insert the fastening pin in the holding device, and engage it by a forcible
push, which is indicated by a click sound.
parking brake
Push the red brake button
7
to engage the brake. Having parked
the pram, try to push it to check the brake. Push the green brake
button
7
to release the brake.
WARNING!
Make sure the brake is always closed when placing
the baby in the carriage or taking it out of it.
adjustable suspension system
By turning the selector
8
, a „hard“ or „soft“ position can be
selected for suspension.
sun canopy
The sun shade can be folded down or removed using the zipper.
Climatic zone 10
You may open the hood flap to prevent heat from accumulating.
To do so, pull the top cover up. You can fold out the sun shade
20
for
additional protection.
Hood and safety bar
By pressing the bayonet joint
12
, the hood or the safety bar can be pulled out. When inserting it, make sure the
safety bar locks into place correctly and be careful not to pinch any of the fabric parts. By pressing the buttons
11
, the safety bar position can be changed.
WARNING!
The hood bar of the stroller and the safety bar are not suitable for carrying the stroller.
8
7
8
8
5
Содержание VIP GTS
Страница 79: ...Ukraine UA VIP GTS Yes GTS 6 22 6 78 1 2 3 4 5 6 7 8 10 11 12 13 14 15 16 17 19 20 21 22 27...
Страница 80: ...79 ko TexStandard 100...
Страница 81: ...80 1 2 3 3 21 1 3 1 7 4 4 5 5 6 7 7 8 10 a a 12 11 7 8 8 5...
Страница 82: ...81 13 19 5 14 D F G E B A C C A 27 15 17 6 22 9 13 19 19 27 15 16 14...
Страница 83: ...82 30 4 40...
Страница 84: ...83 2 2 n n n n n n 30...
Страница 103: ...RUS VIP GTS Yes GTS 6 22 6 102 1 2 3 4 5 6 7 8 10 11 12 13 14 15 16 17 19 20 21 22 27...
Страница 104: ...C 103...
Страница 105: ...104 1 2 3 3 21 1 3 1 7 4 5 5 6 7 7 8 Sun 10 20 12 11 7 8 8 5...
Страница 106: ...105 13 19 5 14 D F G E B A C C A 27 15 16 17 6 22 9 13 19 19 27 15 16 14...
Страница 107: ...106 30 4 40...
Страница 108: ...107 2 n n n n n n n n n 30...
Страница 109: ...108...


