


Chapter 3: MediaStore 5000 series component replacement
Removing a failed drive
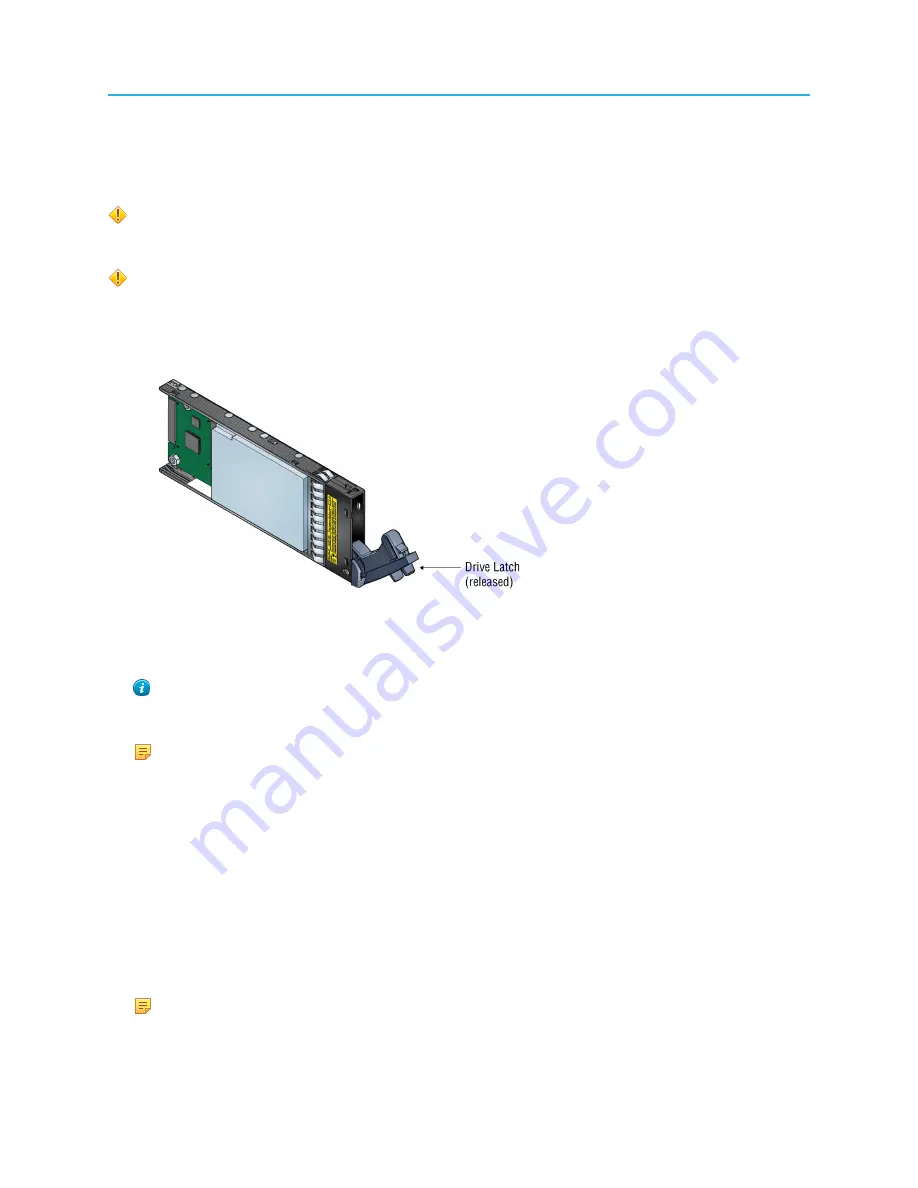
On MediaStore 5000 series units, the drive latch is located on the top of the drive carrier.
CAUTION:
Drive spin-down. Damage can occur to a drive if it is removed while still
spinning. Before removing a drive from its enclosure, wait 30 seconds to ensure that the
drive has stopped spinning.
CAUTION:
Observe all conventional ESD precautions when handling MediaStore
components.
1. Unlatch the failed drive by pressing the drive latch.
Example:
2. Wait an
additional
30 seconds, then remove the drive from the MediaStore enclosure.
3. On the
Add/Remove Drives
screen, click
Remove
next to the drive to "hide" the drive from view on
the
Disk Utilities
screen in the future.
TIP:
To find each drive view: From the
Configuration
tab, click the
Disk Utilities
icon
on the left to access the
Disk Utilities
screen. Click on the MediaDirector with the
required disk drive(s) to display the associated drive views.
NOTE:
You must click the
Remove
button associated with the disk for each
MediaDirector in an EFS.
Installing a replacement drive
Install the replacement drive and then verify that SystemManager reports the drive as alive. The RAID set
rebuild should begin automatically.
1. Unpack the replacement drive.
2. Insert the replacement drive by gently sliding the carrier all the way into the enclosure, until the
camming lever on the bottom of the carrier stops it.
3. Gently push the camming lever towards the enclosure until it clicks into a closed position.
NOTE:
Keep in mind that the handle should always open from the bottom.
22