


28
Video Input Menu Options
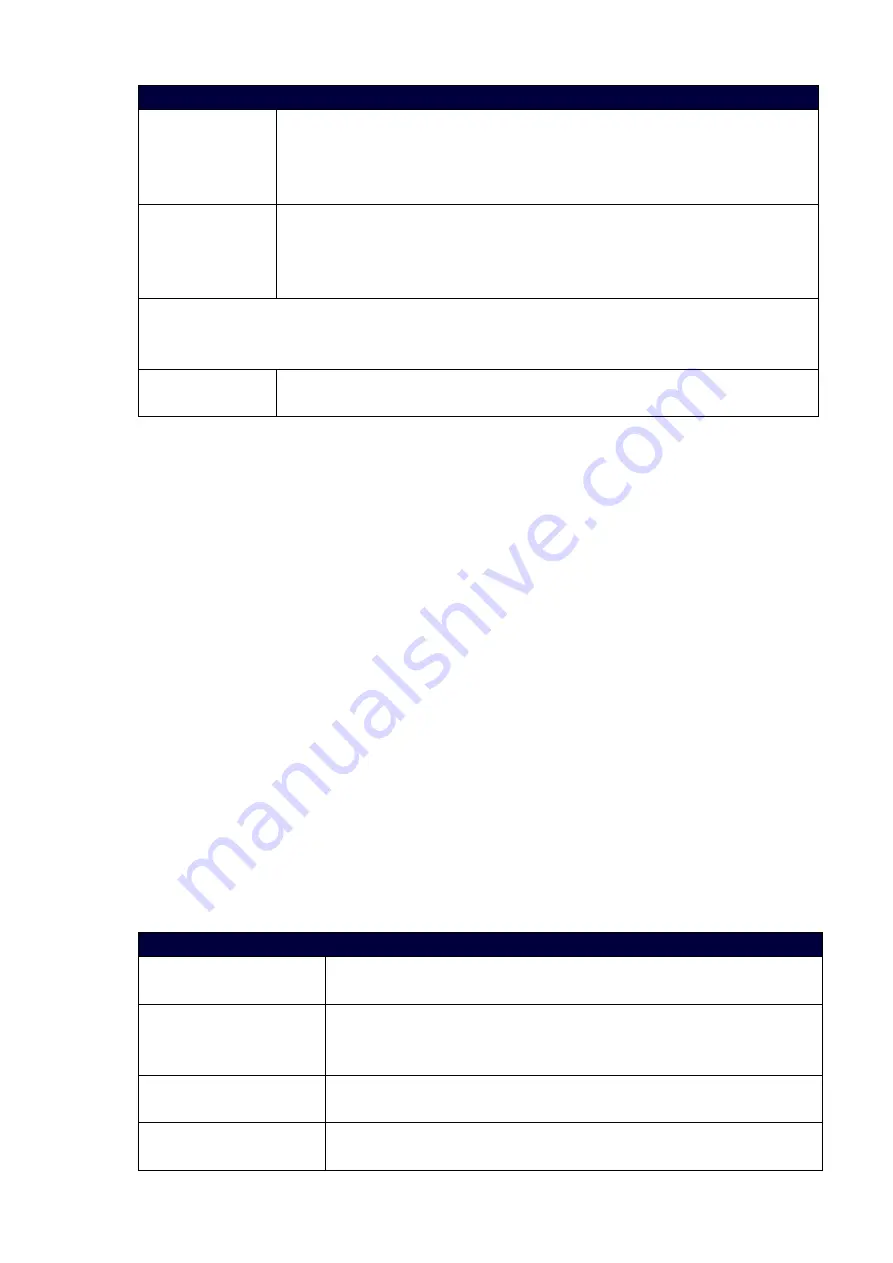
EDID
Use the left and right navigational buttons to indicate the type of EDID data to be
sent to the source or which output's EDID you would like to mirror to that source.
You can choose All resolutions, Wide-Screen resolutions,
Full-Screen resolutions, or to mirror the EDID from any of the HDMI outputs.
EDID Update
When the EDID is set to mirror one of the outputs, use the left and right
navigational buttons to indicate whether you want the EDID going to the source
to update anytime the output EDID changes or only when an update is requested
manually. You can choose from AUTO and OFF. The default setting is AUTO.
Source (Input Video Adjust)
NOTE:
The following input video adjustments have no effect on the display of the internally generated
test patterns.
Revert to Default
Use the left and right navigational buttons to indicate that you want to return all
video options to their default settings.
Changing the Video Output Resolution
Perform these steps to change the video output resolution:
1.
Press the VIDEO MENU button on the front panel of the DVX to open the Video Output menu.
2.
Press the left and right navigation buttons to select the output to change.
3.
Press the down navigational button until the Resolution option appears.
4.
Use the left and right navigational buttons to locate the appropriate output resolution and refresh rate.
You can also choose Auto to automatically detect the resolution and refresh rate.
Changing the Output Aspect Ratio
Perform these steps to change the output aspect ratio:
1.
Press the VIDEO MENU button on the front panel of the DVX to open the Video Output menu.
2.
Press the left and right navigation buttons to select the output to change.
3.
Press the down navigational button until the Aspect Ratio option appears.
4.
Use the left and right navigational buttons to locate the appropriate aspect ratio
Audio Settings
The following tables list the audio options available on the LCD display by pressing the AUDIO MENU
button on the front panel:
Audio Output Menu Options
Audio Group Select
Use the left and right navigational buttons to manually select which audio
group you want to use. You can choose from 1, 2, 3, 4 or ALL.
Audio Group Volume
Use the left and right navigational buttons to set the volume of the
selected audio group. You can set the volume from 0 to 100. The default
setting is 20.
Audio Group EQ Preset
Use the left and right navigational buttons to select a group of preset
equalizer settings. You can choose from Voice, Movie, Music, and Off.
Audio Group Balance
Use the left and right navigational buttons to adjust the balance level of
the selected audio group. You can set the balance level from -20 to +20.


