22
PLAYBACK BASICS
Playback Basics
For analog tuner: proceed as follows:
When you press the Enter Button
6
to confirm,
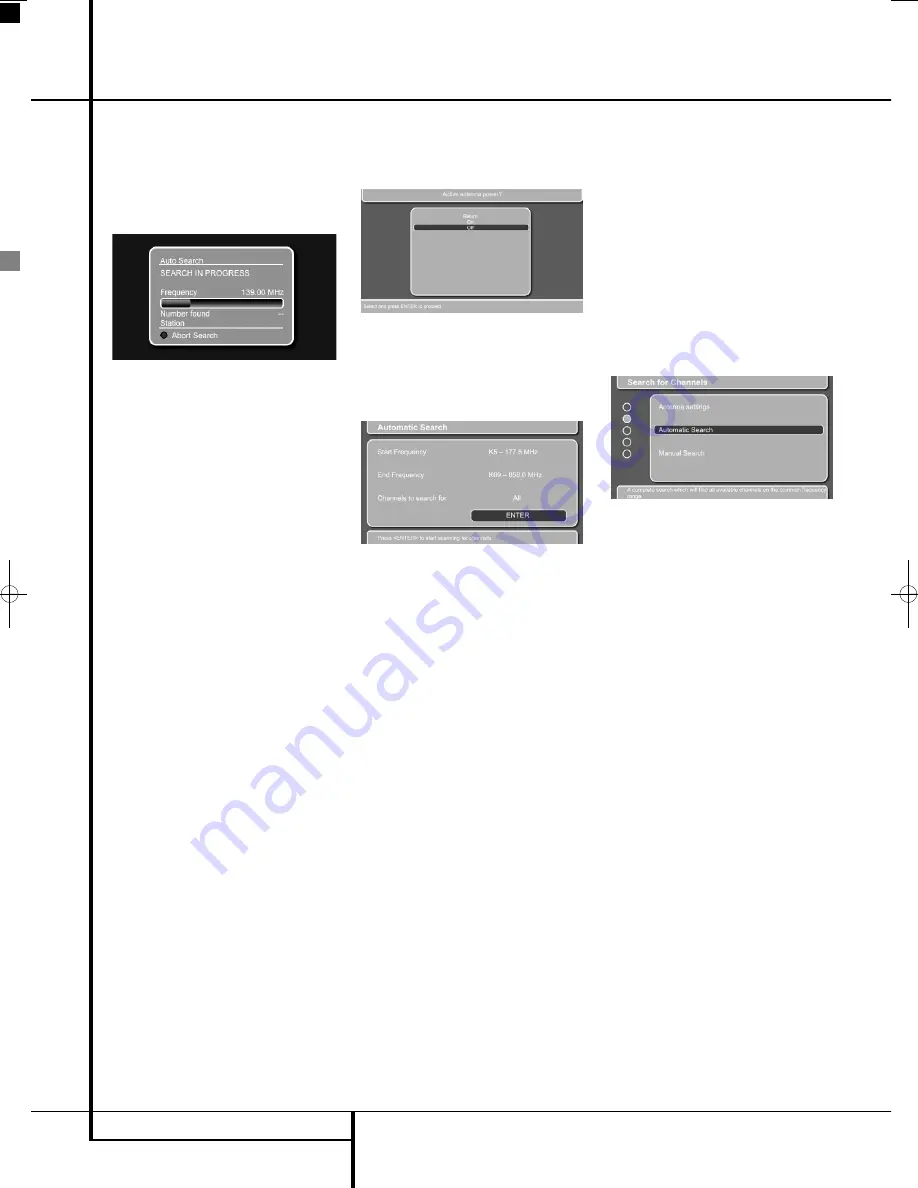
the automatic channel search will start to scan
the available TV channels. The automatic search
can take several minutes, depending on the num-
ber of channels that are available.
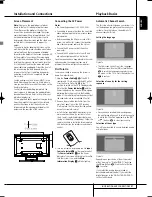
Figure 1d
• Should you wish to abort the automatic
channel search, please press the Red Button
N
on your remote control.
If no TV channel is found, check the aerial con-
nections and attempt to search for the channels
again.
When the automatic search is finished, the Edit
Channel List Menu will show on your screen. It
will show all the TV channels found indicated by
a name consisting a maximum of 5 characters.
This menu allows you to sort the TV channels
according to your preferences. Move the blue bar
by pressing the
L
Button until the TV channel
you would like to move is highlighted by the blue
bar. Press the Enter Button
6
so that the bar
turns white. You can now move it up, down, left
or right with the
K
/
L
/
M
/
N
Buttons
9
until it
is at the requested preset. Press the Enter Button
6
to confirm. The white bar will turn blue to
confirm. Continue with all the other channels
until each preset contains your preferred TV chan-
nel.
The menu also allows you to delete TV channels
from your channel list. Move the blue bar to the
TV channel to be deleted using the
K
/
L
Buttons
9
. Press the Green Button
O
to
delete the TV channel.
When you are done making changes to the
Channel List, press the Red Button
N
to
remove the list from the screen.
Digital Tuner
If you have selected the digital tuner (DVB-T),
proceed as described below.
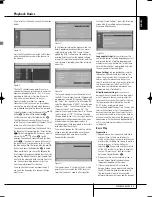
Figure 1e
You will now be asked whether you use an
actively powered antenna. Select either "On" or
"Off" by using the
K
/
L
Buttons
9
.
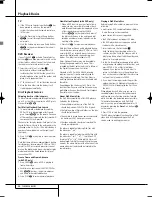
The following automatic search screen will show:
Figure 1f
Press "Enter" to start the scanning process.
Scanning may take several minutes, and you will
see a status screen keeping you updated as to
how many percent of the scanning has been per-
formed. You can interrupt the scanning at any
time by pressing the OSD button
. When
scanning is complete, you will be asked to save
the new channels, and you are informed how
many channels were found.
(If no channels are found, check the antenna con-
nection. If you have used and indoor antenna, it
may be necessary to use an outdoor antenna
instead. It may be a good idea to check with your
TV network provider if there is DVB-T coverage in
your area at all. If not, use analog tuner or
cable/satellite reception instead). Press "Enter"
to confirm the line "Yes, add new channels". If
you want to completely replace an earlier version
channel list, press the
N
button to select "Yes,
replace old channel list" and confirm with the
"Enter" Button. If you do not want to save any
new channels, press the
N
Button to select "No,
discard new channels" and confirm with the
"Enter" Button. After confirming, the following
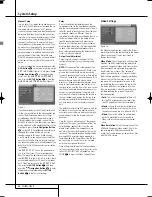
screen will show:
Figure 1g
Press the Setup Button button
8
to close the
Search for Channels menu and start watching TV.
Remember that once inside the menu system, you
simply press the "OSD"(On Screen Display) but-
ton to return to the previous screen and the
"Setup Menu" button to exit the menu system
entirely.
If you want to change additional settings in the
DVB-T menu, like sorting channels, watch techni-
cal information or set security settings, press the
OSD Button
once to go back one level, fol-
lowed by the
K
/
L
Button
9
to select the
menu you want (when coming directly from the
Channel Search function).
If you want to change settings for the DVB-T
tuner when watching TV, press the "Set-Up
Menu" button
8
to enter the Setup Menu with
the TV heading showing black, press the
L
but-
ton
9
twice to move the indicator bar down to
the DVB-T Setup line and press "Enter"
6
. The
screen changes to System settings, with the blue
dot at the left side indicating which menu point
you have chosen. The top menu line states the
name of the menu item in the following order,
downwards: System Settings, Search for
Channels, Sort Channels, Technical Information
and Security. You select the menu you want by
scrolling down and up with the
K
/
L
Buttons
9
. Notice that the bottom menu line offers fur-
ther explanation for the menu you have selected.
Press "Enter"
6
to enter the detailed menu
inside each main menu, and press "OSD"
to
return to the previous menu. Once inside a
detailed menu, you may alter various settings.
0007CSK - DigitalLounge 632_640_646 ENG v11.qxp:0007CSK - DigitalLounge 632,640,646 UK 12/06/08 11:10 Side 22 (Sort/Black plade
Содержание DIGITAL LOUNGE 640
Страница 1: ...ENGLISH Harman Kardon Digital Lounge 632 640 646 OWNER S MANUAL ...
Страница 53: ...53 ENGLISH ...


