manualshive.com logo in svg
background image

On Screen Display

24

ENGLISH

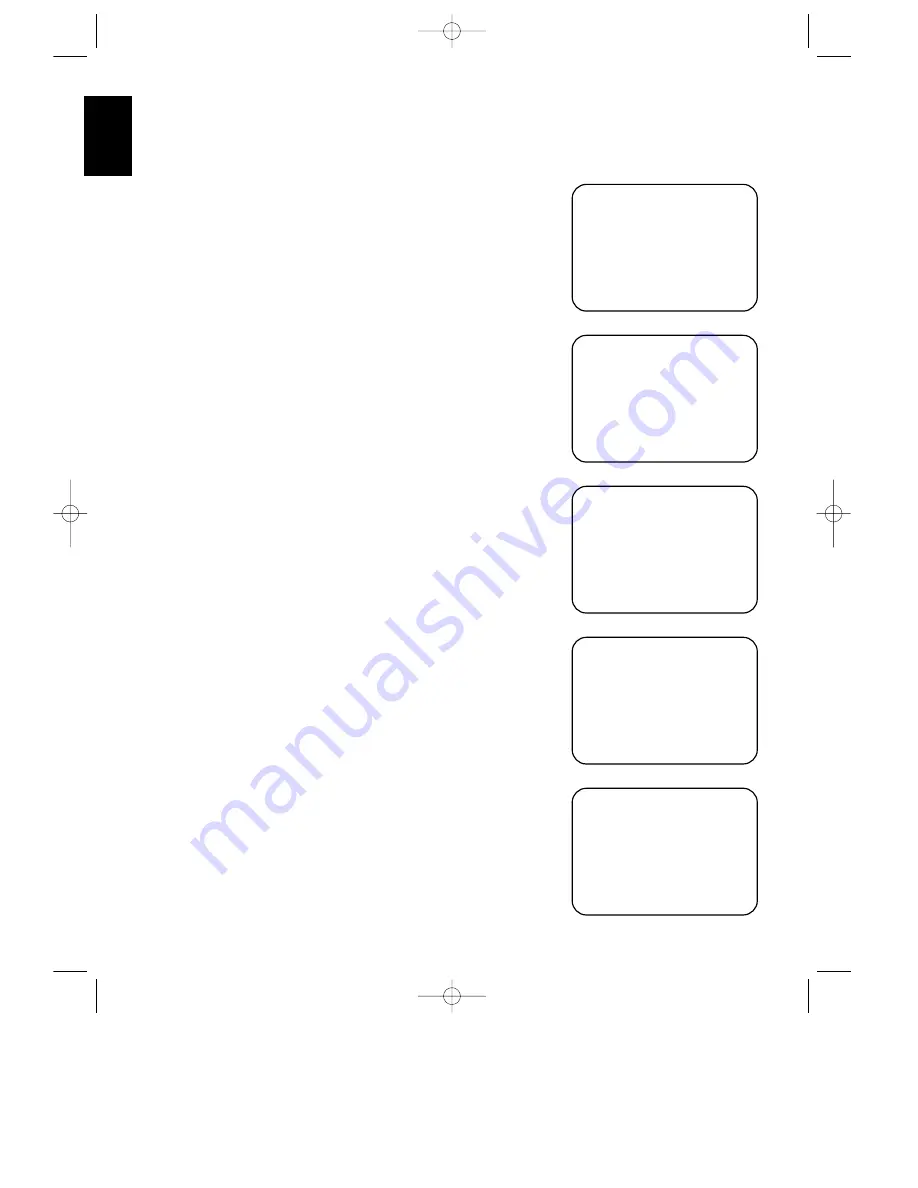
  > M O D E   : P R O   L O G I C

    D E L A Y   T I M E   : 2 0 m s

R E T U R N   T O   M A I N   M E N U

S U R R O U N D   M O D E

Figure 12

Master Volume

When the volume is changed, a
horizontal scale will briefly appear at the
bottom of the screen with the volume
level. (Figure #8)

Mute

When the unit is placed in audio mute,
the word 

MUTE

will appear in the 

upper right corner of the screen as a
reminder that the volume has been cut.
(Figure #9)

On Screen Display Function

If you do not wish to have the on screen
displays appear, press the 

SCREEN

DISPLAY

button 

s

on the remote

until 

OSDOFF

appears on the display. A

reminder message will appear on the
screen for a few seconds (Figure #10),
and the displays will then be canceled
until they are once again activated. 

Using The On Screen Menus 
for System Control

Besides conveying status messages, the on
screen display system may also be used as
a means of controlling the operation of
the unit. To operate the control system,
always start by pressing 

SELECT

r

on

the remote to bring up the Main Menu.
(Figure #1). Then, use the up/down
navigational arrow keys 

and 

¤

q

to move the cursor. Press 

SELECT

r

to choose a menu, and then use the
left/right navigational arrow keys 

and

q

to view the choices in that current

option. Finally, when the desired choice
appears, press 

SELECT

r

to enter the

choice and return to the 

MAIN MENU

.

To exit from the Menu Control System,
press 

¤

q

until the on screen 

>

cursor

is pointing to 

MENU OFF

and press

SELECT

r

.

The following functions of the AVR70
may be controlled through the Menu
Control System:

INPUT SELECTION

: After reaching

the 

INPUT SELECTOR

menu

(Figure #11), use the arrow keys on the
remote 

q

to select the desired input.

Remember that when a split listening
session is desired, select the 

VIDEO

source first, followed by the 

AUDIO

source.

SURROUND MODE

: After reaching 

the 

SURROUND MODE

menu (Figure

#12), use the navigational arrows 

q

to

select the desired mode. When a mode is
selected that uses the surround channels,
you may change the rear channel

DELAY TIME

at this menu. 

TEST TONE

: At this menu you may

adjust the speaker output levels. For
information on this procedure, refer to
the System Configuration section of this
Manual.

SET UP MENU

: For information on

using the Set Up menu, refer to the
System Configuration section of this
Manual.

        M A S T E R   V O L U M E

٠٠٠٠٠٠٠٠٠٠٠٠٠٠٠|| Ð Ð

Figure 8

                              M U T E

Figure 9

O N   S C R E E N   D I S P L A Y

РO F F Ð

Figure 10

  > A U D I O   * L D *

    V I D E O   * L D *

    T A P E   M O N I T O R     O N

O F F

R E T U R N   T O   M A I N   M E N U

I N P U T   S E L E C T O R

Figure 11

AVR70 engelsk manual  11/01/98 11:57  Side 24

Содержание AVR 70

Страница 1: ...Min Max Min L AUDIO R Mute MODE RDS DISP AF PTY VISUAL SIGNAL EVEL CH TV LD VCR 12 AUX TEST STEREO PRO LOGIC MOVIE HALL MATRIX MEMO AUTO TUNED STEREO dB kHz MHz 3 LOGIC AUTO MEMO P SCAN DISP Harman K...

Страница 2: ...NMARK declare in own responsibility that the product described in this owner s manual is in compliance with technical standards EN 55 013 EN 55 020 EN 55 022 EN 60 065 EN 60 555 2 3 Steen Michaelsen H...

Страница 3: ...NED STEREO dB kHz MHz 3 LOGIC AUTO MEMO P SCAN DISP Front Panel Information Display Visual Indicators Test Memo Auto Tuned Stereo Volume Indication Tuner Frequency Indication Main Information Display...

Страница 4: ...VCR2 IN OUT VCR1 IN LD TV SWITCHED UNSWITCHED AC OUTLETS 230V 50 60Hz Q P J I E D F C O N L B A M K H G Rear Panel Audio and System Connections Rear Panel Video Connections A VCR 1 Audio In B VCR 1 Au...

Страница 5: ...O PQR STU VWX YZ_ MEMO CLEAR P SCAN a x b e y d c m h i f k j w u s q t g v r z p o n l RDS Remote Control a Use Learn b Main Power c Source Selection d Source Power e Surround Mode Selection f Main V...

Страница 6: ...on Set Up and Configuration 10 11 Remote Control Programming and Operation 12 13 System Configuration 14 16 Basic Operation 17 22 Source Selection 17 Volume Control 17 Surround Mode Selection 17 18 TV...

Страница 7: ...formation Description and Features The AVR70 is a full featured A V receiver incorporating a wide variety of listening options In addition to standard Dolby Pro Logic processing the AVR70 uses Digital...

Страница 8: ...any interconnection cords with other components and make certain that you disconnect the unit from the AC outlet Important Safety Information Verify Line Voltage Before Use Your AVR70 has been designe...

Страница 9: ...The BLUE wire must be connected to the terminal which is marked with the letter N or coloured BLACK 2 The BROWN wire must be connected to the terminal which is marked with the letter L or coloured RED...

Страница 10: ...again to return to the previous volume level Volume Control Turn the knob clockwise to increase volume counterclockwise to decrease the volume Note that approximately two revolutions of the knob are...

Страница 11: ...in use the main Information Display will show the preset channel number if any the frequency band and the station frequency Indicators at the right side of the display show kHz when an LW or MW statio...

Страница 12: ...Connect these terminals to the left surround speaker Pre Outs If external power amplifiers are used for any channels connect these jacks to the inputs of the amplifier Subwoofer Pre Out Connect this j...

Страница 13: ...s jack to the composite video RECORD IN jack of a second VCR K TV Audio In Connect the audio outputs of a TV cable converter or satellite receiver to these jacks L TV Video In Connect the composite vi...

Страница 14: ...tations b When CD LD Tape or VCR is the input source these buttons act as the Fast Scan Forward or Fast Scan Reverse controls k Channel Skip These buttons have multiple functions which vary according...

Страница 15: ...mmand is sent to the unit from the front panel or remote even though the display is turned off u Test Noise Press this button to begin calibration of the output level for each channel A test signal wi...

Страница 16: ...ection uses 300 ohm twin lead cable you must use the 300 ohm to 75 ohm adapter supplied with the unit to make the connection 5 Connect the front center and surround speaker outputs to the respective s...

Страница 17: ...de your system Using the PRE OUT jacks connections may be made to external power amplifiers Connect the PRE OUT of the channels to be connected to external amplifiers to that amplifier s inputs Volume...

Страница 18: ...removed to avoid losing any remote codes that have been programmed into the remote s memory Remote Control Range The remote will operate at a range of up to 5 meters from the unit when the batteries a...

Страница 19: ...as been successfully captured NOTE If both LEDs flash during a programming operation it indicates that the remote s memory is full or that the remote codes from the transmitting remote are not compati...

Страница 20: ...ossible If possible adjust the center channel speaker so that it is pointing towards the listening position Once the center speaker is positioned adjust the height of the left and right speakers so th...

Страница 21: ...ee times until the on screen cursor is pointing to SET UP MENU Press SELECT r 6 At the SET U P MENU Figure 2 set the Center Channel Mode The on screen cursor will already point toward this option when...

Страница 22: ...n the remote to resume the set up 12 While seated in the primary listening position in the center of the room press SPEAKER v on the remote Note that the sound should now come from the Center Channel...

Страница 23: ...point established when the output levels are set Surround Mode Selection One of the most important features of the AVR70 is its ability to reproduce a full multichannel surround soundfield from both...

Страница 24: ...ual up down tuning is accessible by pressing the TUNE button either up or down or the Tune Search and Tune Search j buttons on the remote Pressing these buttons once increases or decreases the station...

Страница 25: ...ndicator is flashing for the next 5 seconds enter a number from 1 to 30 using the number buttons on the remote m Any number may be used but if another station has already been programmed into the loca...

Страница 26: ...lid and the display will return to the previous frequency display 2 To scan through the list of preset stations press the P SET or P SET button on the front panel or the CHANNEL buttons or on the remo...

Страница 27: ...shown in the display a When PTY selection is made using the RDS PTY button only the selection uses the PTY Group shown in Table 1 b To select a specific PTY type directly use the numeric buttons on t...

Страница 28: ...t 9 INFO General information financial and trading news weather information INFO 10 SPORT Sporting Events 11 EDUCATE Scholastic and industrial education programmes 12 DRAMA Plays and literature perfor...

Страница 29: ...activated they appear when certain functions are performed from the front panel buttons or the remote control These messages are three line displays with the current function shown on the top line and...

Страница 30: ...navigational arrow keys and q to view the choices in that current option Finally when the desired choice appears press SELECT r to enter the choice and return to the MAIN MENU To exit from the Menu Co...

Страница 31: ...ng is appropriate for most rooms but some installations create an uncommon distance between the front and surround speakers that may cause the arrival of front channel sounds to become disconnected fr...

Страница 32: ...fully mixed in with the front left and right channels for increased realism Use this mode when you have a center channel speaker but no surround speakers MOVIE SURROUND Movie Surround uses decoding si...

Страница 33: ...uorescent lights TVs motors or other electrical appliances Troubleshooting Chart Memory Backup This product is equipped with a memory backup system that preserves tuner presets and system configuratio...

Страница 34: ...nnel Selectivity 300kHz 55dB Image Rejection 98MHz 70dB AM Tuner Section Frequency Range 531 1602 152 282kHz Signal to Noise Ratio 50dB Usable Sensitivity Loop 500 V MW 1 500 V LW Distortion 1kHz 30 M...

Отзывы: