3 - COMMISSIONING
1.
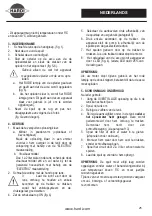
Screw the lance onto the lance handle. Check
(Fig. 1).
2.
Remove the battery from the sprayer.
3.
Disconnect the battery if necessary.
4.
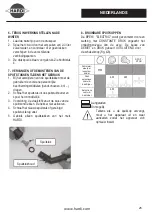
Connect the charger to your battery via the
charging socket, and then connect the charger to
the mains socket. (Fig. 5-6).
Use only the charger supplied with the
machine to charge the battery
a.
The charger's RED indicator
turns on, indicating that the battery is being
charged. (Fig. 6).
b. When the charging is complete, the RED
indicator turns green, indicating that your
machine is ready for use (or storage).
5.
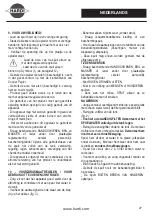
Place the sprayer on your back and adjust the
harness as shown in the 4 photos
(Fig.
7
)
4 - USE
1. Preparing
the solution to be sprayed:
a. Product in powder form (soluble or wettable)
Prepare the solution in a bucket before
transferring it to the tank through the filler
opening, using the gauge marked
"ELECTRIC".
b. Liquid-based
product
Put 1 to 2 litres of water into the tank, pour the
dose of liquid product and then top up with water
to the desired quantity, using the gauge marked
"ELECTRIC".
2. Screw the filler plug by hand on the tank.
3.
Purge the air by pointing your
lance up and by pressing on the trigger
for a few seconds; this ensures the
proper operation of the anti-drip system
and the pressure regulator.
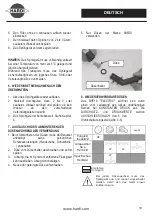
4. Flip the switch to ON position (Fig. 4)
5. Select the recommended pressure depending
on your nozzle and your use (Section 8)
6. Press on the trigger for a few seconds. Your
machine will calibrate the pump depending on
the nozzle and the selected pressure.
7. Press on the trigger to spray. When you release
the trigger, the motor stops.
8. The battery charge level is indicated by 4 LEDs
(Fig. 4). Each LED represents 25% of charge.
NOTE:
If your motor stops and the red indicator on the unit
flashes during application, it means that you must
recharge your battery.
5 - CLEANING / MAINTENANCE
After every use:
1.
Collect the EXCESS mixture that may remain in
the tank
.
2. Rinse
the
tank.
3. Clean
the
tank's
filler
filter.
4. Clean the suction filter located on the base of
the tank
after fully draining the rinsing water
.
You can remove this filter by pulling it up. Never
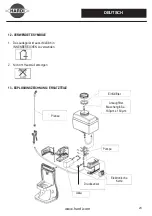
remove it by unscrewing. (see Section 13)
5. Rinse the filter by running water through the
inside (Rinse under a tap).
6. Refit it by simply snapping it on, without
screwing.
7. Rinse the circuit by spraying 2 to 3 litres of clean
water.
8. Charge
the
sprayer
before
storing
it.
NOTE
: The sprayer must always be stored without
water or treatment product at a temperature higher
than 5°C and must be checked every year.
During transport, the sprayer must be secured tightly
to avoid any risk of fall, collision or injury.
(1*/,6+
12
Содержание BPE18
Страница 1: ......
Страница 2: ... 2 ...
Страница 3: ... 3 5 C 40 C ...
Страница 79: ......
Страница 80: ... ...


