Start-up
Page EN-24
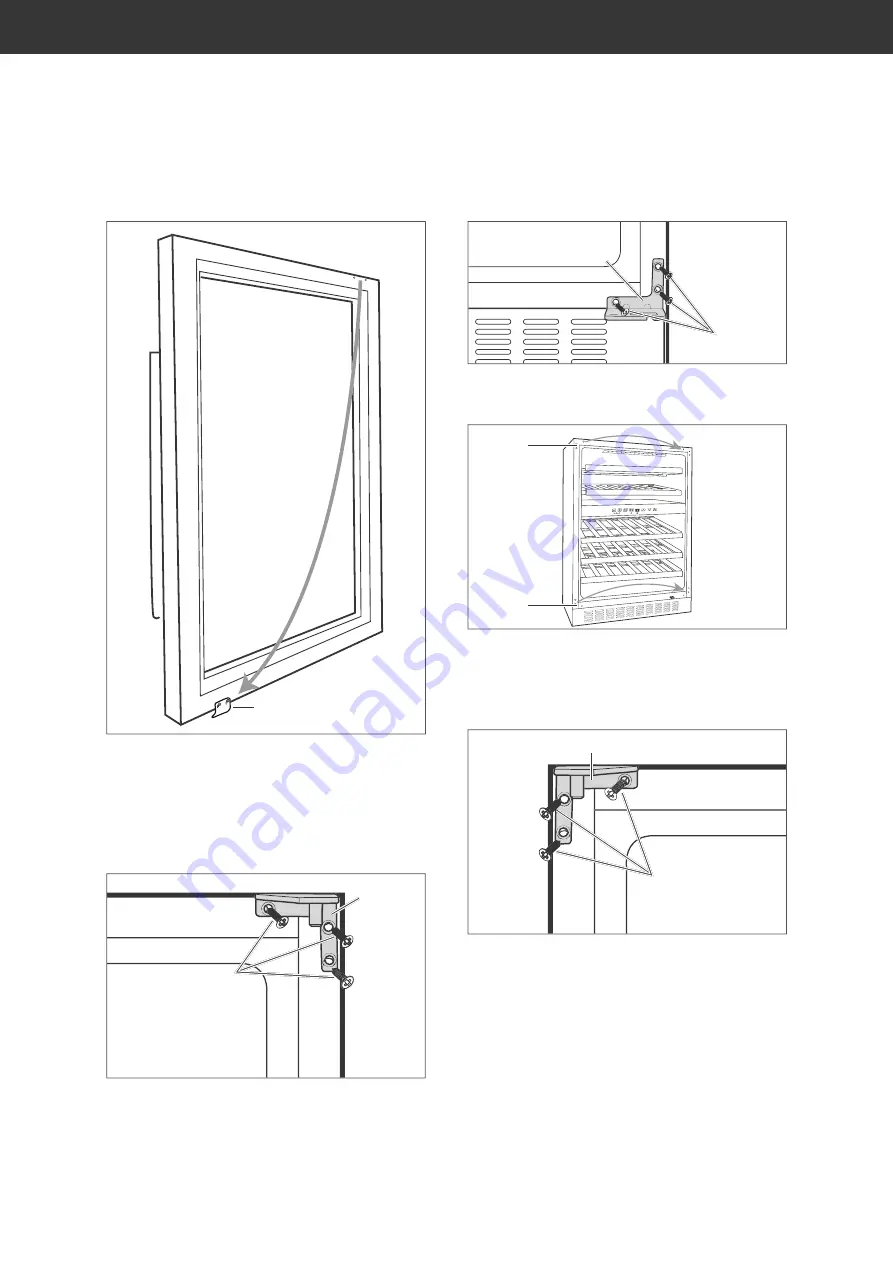
(24)
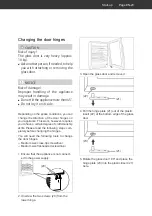
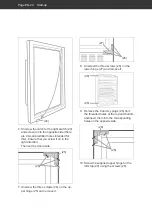
6. Unscrew the catch for the light switch (24)
and screw it onto the opposite side (there
are 2 small predrilled holes intended for
this). Ensure that you screw it on in the
right direction.
Then set the door aside.
(26)
(25)
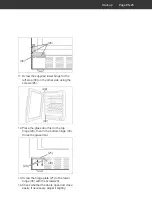
7. Unscrew the three screws (26) on the up-
per hinge (25) and remove it.
(26)
(27)
8. Unscrew the three screws (26) on the
lower hinge (27) and remove it.
(28)
(28)
9. Remove the 6 dummy plugs (28) from
the threaded holes at the top and bottom
and insert them into the corresponding
holes on the opposite side.
(29)
(26)
10. Screw the supplied upper hinge for the
left stop (29) using the screws (26).
Содержание HWC46GCIA
Страница 30: ......

