Hansa C65RX O&M Manual
–
OM-029 First Release 4/05/2021
© Hansa Chippers 2021
24
Belt tension
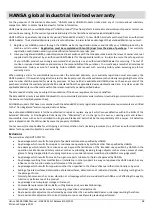
Correct belt tension is crucial for minimising belt wear and maximising machine efficiency. The C65 uses a flexible tensioning device
(shown in blue below). The tension of the device is set by adjusting the angle of how much the device flexes.
Note
: New belts can lose tension as they “wear in” and so it is recommend
ed to check the tension after the first 5 hours of operation
on new belts and readjust if necessary.
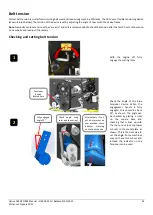
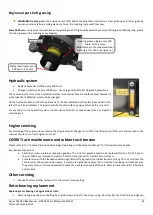
Checking and setting belt tension
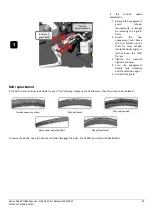
With the engine off, fully
engage the cutting rotor.
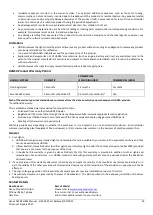
Check the angle of the blue
tensioner device. When the
engagement handle is fully
engaged, this should be bent
20°, as shown. The angle can
be checked by placing a ruler
on the square base and
checking that it lines up with
the top cut-out (not the lower
cut-out) in the metal plate as
shown. This is the best way to
set the angle. Some machines
may not have this cut-out and
instead the indicator on the
tensioner can be used.
1
2
Fully engaged
angle 20°
Check angle using
ruler and top cut-out
Alternatively, if cut-
out is not present on
your machine, check
indicator
marking
on tensioner device
Tensioner
device
located here

