HANNspree HannsNote 2 Скачать руководство пользователя страница 4

3

English 


Precautions 

For the correct use and good performance of the device, the user must fully understand the manual as well as strictly

follow the instructions provided.

  Please avoid high temperatures (over 35°C) or low temperatures (below 0°C).
  Never knock the device violently.
  Never let the device come in contact with chemicals such as benzene, thinner etc.
  Do not let the device get close to strong magnetic field, electric field etc.
  Keep away from heating appliances.
  Never privately dissemble, repair or modify the device.
  Using the device and the earpiece during bicycling, car and motorcycle driving is likely to cause danger.
  Never use higher volume, which may damage your hearing ability.
  Please charge under the following circumstances:

A.  Drag the status bar downward, the battery icon shows no power (    ) on the upper-left corner of the screen. 
B.  The system automatically shuts down, and immediately shuts down after a re-start. 
C. The operating button does not respond. 
D. The product displays the red icon ( ) on the upper-right corner of the screen. 


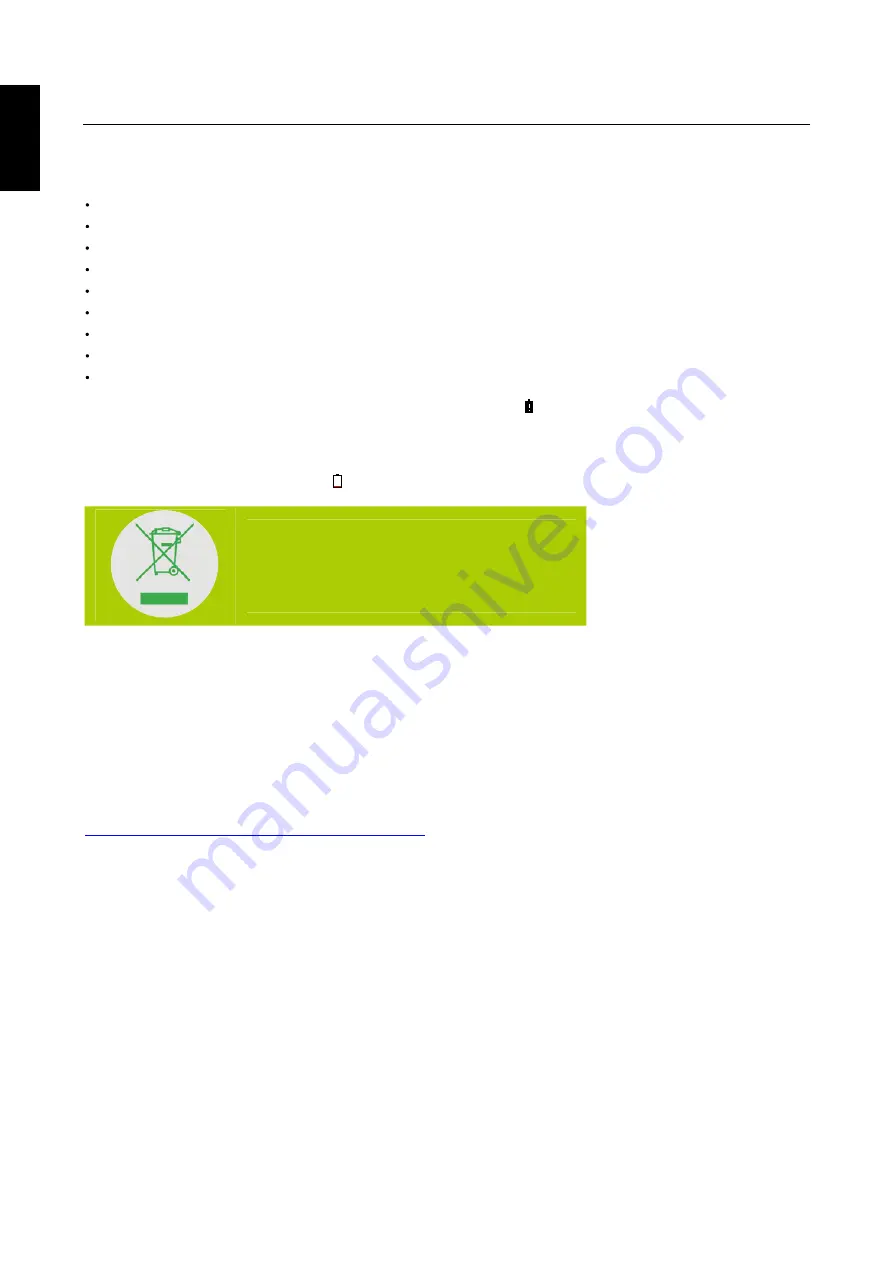
DO NOT throw the battery in municipal waste. 

The crossed out wheeled bin symbol indicates that 
the battery should 

NOT

 be placed in municipal 

waste. 


HANNspree Europe Holdings BV:   

 
HANNspree UK Ltd: Breakspear Park, Breakspear Way, Hemel Hempstead, Hertfordshire, HP2 4TZ 

Do not attempt to replace the battery of your HannsNote2 yourself, you may damage the battery and this could cause

overheating and injury. The lithium-ion battery in you HannsPad should be replaced only by HANNspree or a HANNspree 

Authorized Service Provider, and must be recycled or disposed of separately from household waste. Do not incinerate the

battery. For more information about battery recycling and replacement, go to

http://www.hannspree.eu/en/support/battery-replacement


Newtonweg 25, 5928 PN Venlo The Netherlands

Содержание HannsNote 2

Страница 1: ...SN10HR1B User Manual...

Страница 2: ...Fi Network 10 2 3 Connecting PC to transmit data 11 3 The Android Interface 13 3 1 Home Screen 13 3 2 Customizing the Home Screen Panels 14 3 3 Managing Applications 14 3 4 Creating Application Folder...

Страница 3: ...icy and firmly believe that we can better protect the health of the earth by properly disposing and recycling the industrial technological equipment that has reached service life These devices contain...

Страница 4: ...per left corner of the screen B The system automatically shuts down and immediately shuts down after a re start C The operating button does not respond D The product displays the red icon on the upper...

Страница 5: ...Note2 runs on the And roid system there is a built in system setting for screen brightness on HannsNote2 It is normal for this setting not to serve any function Stylus Any stylus that conforms to the...

Страница 6: ...guarantee that this manual is free from any error or omission The Company assumes no reliability regarding the errors or omissions that might exist in the manual 3 For sustainable development The Comp...

Страница 7: ...ms Reader SN10HR1B NOTE The illustrations in this document may appear differently from your model The Quick Start Guide is also included If any item is damaged or missing contact your point of purchas...

Страница 8: ...English 7 1 2 1 Product Overview 1 1 Front View No Item Description 1 Front Camera For video chatting conferencing or taking self portrait pictures 2 Speaker Emits sound output...

Страница 9: ...wer off Press and hold the key until the option menu appears on the screen Select Power off and tap OK to turn the device off 1 2 Back View No Item Description 1 2 Power buttons Press to power on the...

Страница 10: ...icon will turn black and stop scrolling When the device is not in use be sure to turn off the device If the device will not be used for a long time be sure to discharge and then charge the battery on...

Страница 11: ...vice will automatically connect to the network when you are within range To configure the Wi Fi connection do the following 1 Drag the status bar downward to open the notification panel 2 On the Quick...

Страница 12: ...ord is required to establish the connection For secured networks you may need to enter several parameters to complete the settings If you are not sure about the parameters please contact your local In...

Страница 13: ...English 12 2 Use the supplied USB A to Type C cable connect the device to the PC to transfer data or power up the device 3 Change the usage of USB to File Transfer...

Страница 14: ...me screen appears The following describes the main touch screen area and some tips on how to use it Item Description Status Bar Widget Google Search Enter the text you want to search in the search box...

Страница 15: ...on menu will appear on the screen Then choose the desired option from the list 3 3 Managing Applications Add application shortcuts Long press an application icon from the application menu and then dra...

Страница 16: ...der Simply drag one application icon over another application icon and release it A folder is automatically created 4 The Built in Note Taking App 4 1 Take Notes Tap the HannsNote2 icon to enter the m...

Страница 17: ...schedules to your calendar Setting Tap to manage your HannsNote2 app settings Book Tap to import your e books or view and edit the stored ones Resource Tap to select all stored materials Home page Tap...

Страница 18: ...ials Color Tap to start adding new notes or view stored ones Icon 4 3 Organize Notes The HannsNote2 app helps keep your notes organized You can manage notes by File or Tag Additionally you can effortl...

Страница 19: ...files Create a new tag Search tags 4 3 2 Organize Notes by Tags Tap the Tag icon in the navigation menu to create a new file You can choose a color and type into a name for the tag For searching tags...

Страница 20: ...port PDF files Tap the import icon in the top left corner to import your PDF files from your device select the files and tap Add to book button to start editing them 4 4 2 Share PDF Files You can shar...

Страница 21: ...20 English 4 5 Add Schedules to Calendar Tap the Calendar icon in the navigation menu to add a new schedule You can then edit the title and select the date and time for the schedule...

Страница 22: ...device name change the language check the software version and pair devices reset the app or log out 5 System Firmware Update Android devices automatically receive over the air OTA updates To manually...

Страница 23: ...luetooth BT5 0 Cable Type C Sensor G Sensor Yes 4 direction Microphone Built in USB 2 0 USB A to Type C cable Speakers output spec 0 8W I O Port Power Yes HW button Volume Yes Battery Rechargeable Li...

Страница 24: ...Device to Factory Defaults If you need to reset your device to the factory default settings for any reason please follow the The unit will now reset itself back to factory reset and any previous infor...

Отзывы: