57
56
Chapter 11 - PC CONNECTION MODE
The logged data from a probe or meter can be transferred to a PC using the
HI 9298194
Windows
®
compatible application software.
HI 9298194
offers a
variety of features and on-line-help is available.
HI 9298194
allows data to be imported into most spreadsheet programs (e.g.
Excel
©
, Lotus 1-2-3
©
). After the data has been imported into a spreadsheet, all
features of the spreadsheet program can be used to analyze and graph the
data.
11.1 SOFTWARE INSTALLATION
• Insert the installation CD into the PC.
• The software menu window should start automatically (if it does not, navigate
to the main CD folder and double-click “setup.exe”). Click “Install software”
and follow the instructions.
11.2 METER TO PC CONNECTION
• With the meter OFF, disconnect the probe.
• Connect the USB cable to the meter and to a USB port on the PC.
• Turn the meter ON and the message “PC connected” will be displayed.
• Run the
HI 9298194
application software.
• Press
Setting
button on the top of the screen
and select the measurement units you which
your data to appear with.
• To access the meter data select the “Meter”
button on the toolbar at the top of the screen.
The PC-Meter connection will be established
and a new window will be displayed with meter data: status information (soft-
ware version and date, SN, ID, battery level and free memory info), as well as
a summary of logged data lots. The lots logged on the meter can be saved to
the PC by pressing the “Download lot” button after the desired lot is selected.
• Once the lot has been downloaded, all the logged samples can be viewed.
Windows
®
is a registered Trademark of “Microsoft Co.”
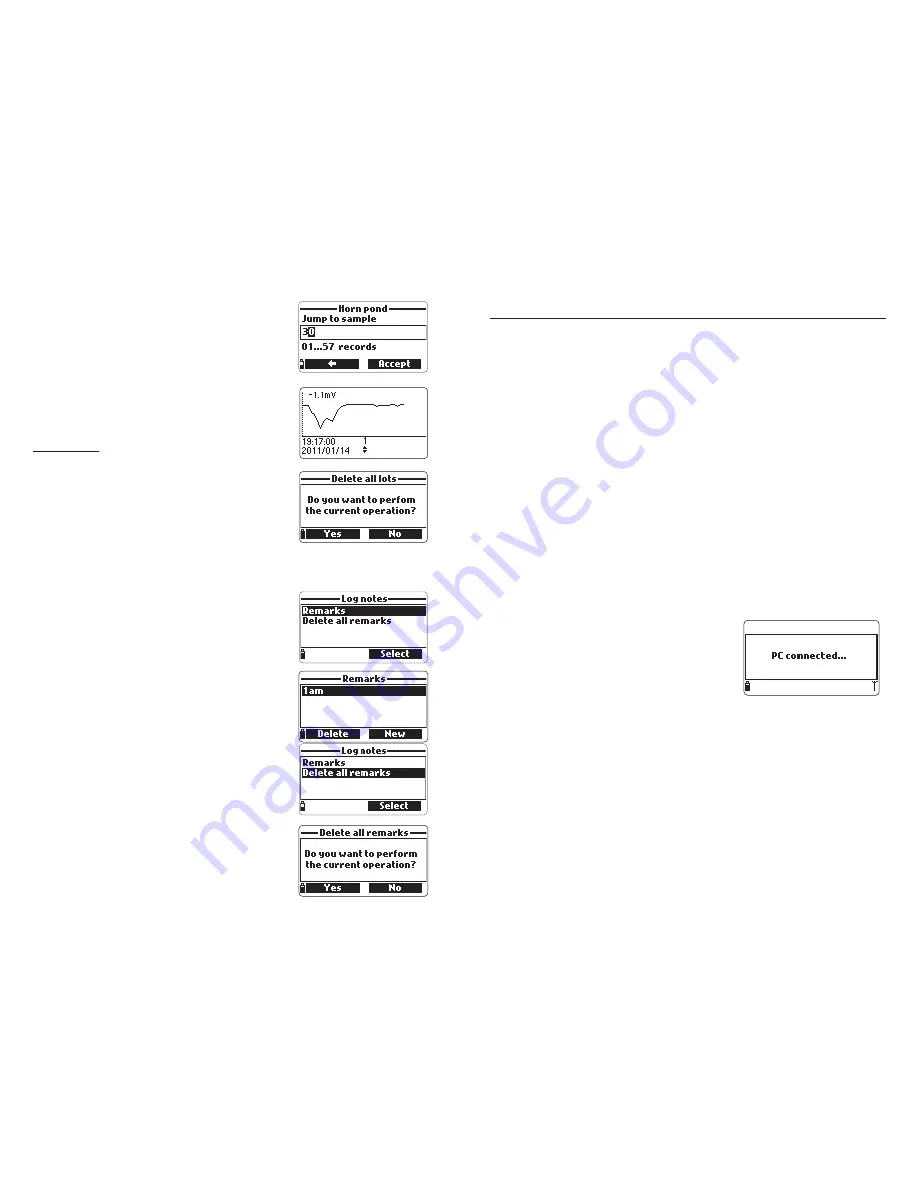
• Use the arrow keys to move the cursor in the graph
and highlight a sample. The sample data are
displayed below the graph.
• Press
ESC
to return to the parameter list.
• Press
ESC
again to return to the menu.
Note
The number of lot samples that can be plotted
is limited by the display resolution. To view a
complete graph download data to PC.
Delete all lots
• From ‘’Meter log recall’’ choose “Delete all lots”
and the meter will display the message “Do you
want to perform the current operation?”. Press
Yes
to delete or
No
to return to the previous
screen.
• To return to the “Log recall” menu, press
ESC
.
10.4 LOG NOTES
10.4.1 Remarks
A remark can be associated with each sample. The
meter can store up to 20 remarks.
• To add a remark, select “Log notes” from the Log
menu, and then select “Remarks”.
• The display shows a list of stored remarks.
• Press
New
to create a new remark, and use the
keypad to enter the new remark in the text box.
• Press
Delete
to delete the selected remark from
the meter. If the deleted remark is used in an existing
lot, the information will be still available in the lot
data.
10.4.2 Delete All Remarks
• Select “Delete all remarks” to delete all remarks.
The display will show the message “Do you want
to perform the current operation?”. Press
Yes
to
delete or
No
to return to the previous screen.


