50
• To stop the logging session, press
.
Notes
: • For the automatic logging, if the maximum logging time (24h) has been reached, a warning pop-up
will be displayed on the LCD in order to save the current log and start another one in a new lot.
• If 100 lots have been saved or maximum 10000 records have been manually stored, a warning
pop-up will be displayed on the LCD in order to delete one lot or to select a new lot for the
manual logging to log other records.
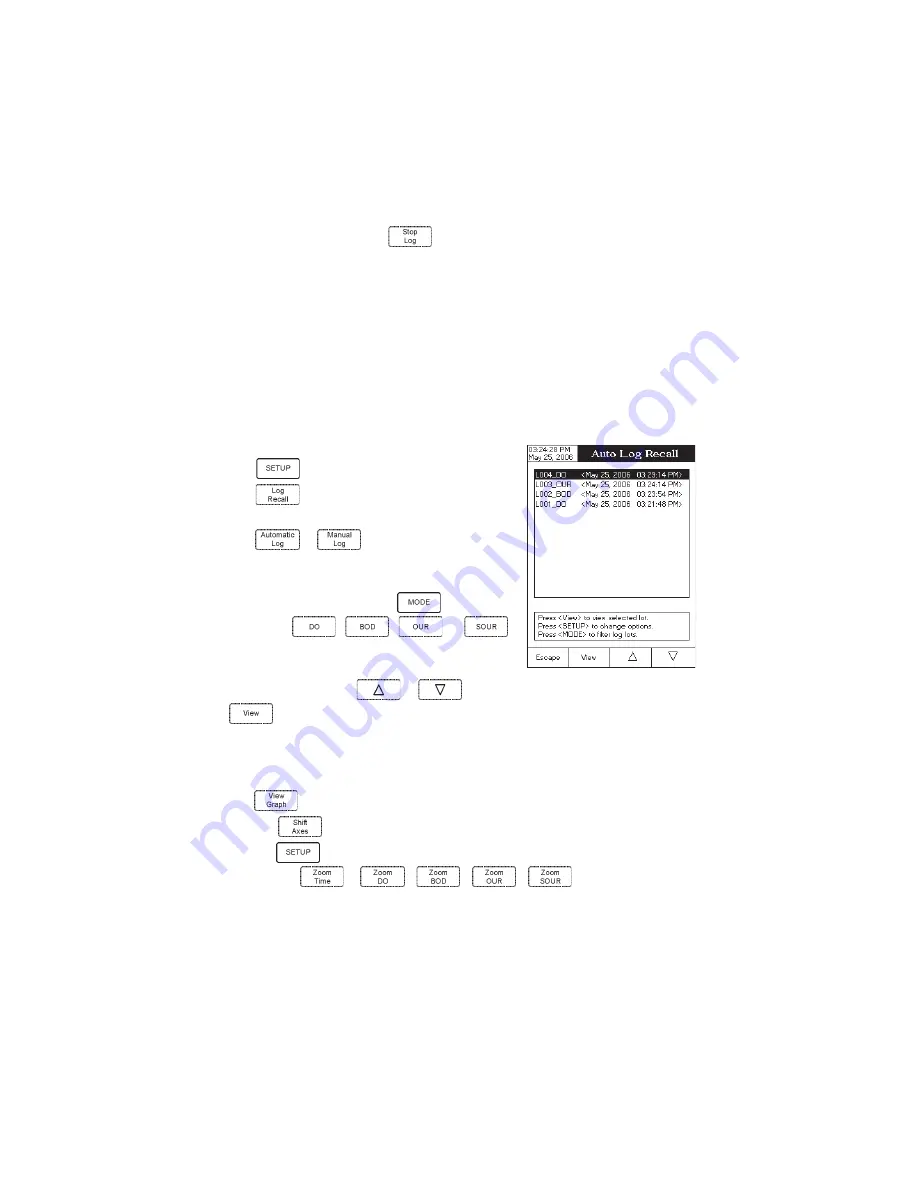
LOG RECALL
This feature allows the user to view all stored data. If no data were logged, the “No records were found” message
will be displayed on the LCD in the Log Recall screen. Otherwise, the instrument will display all the memorized lots
in accordance with the selected option: Automatic Log or Manual Log.
To view the memorized data:
• Press
while in
Measure mode.
• Press
. The “Choose Log Report Type” message will
be displayed in the Reminder messages area.
• Press
or
to select the desired Log Report
type. All logged lots for the selected Log Report type will be
displayed on the LCD.
• To filter the displayed lots, press
and then the
desired unit
,
,
or
.
Only the selected measurement unit lots will be displayed
on the LCD.
• Select the desired lot with
or
and press
to display the logged / report data from the highlighted lot. The “Please wait...” message
will be displayed on the LCD for a short period. The user customised report will be displayed on the LCD.
Note
: For automatic logging only, it is possible to view the plotted graph.
• Press
to display the graph.
• By pressing
it is possible to move the graph along the horizontal or vertical axis with the arrow keys.
• If pressing
while the graph is displayed, the zoom menu for the horizontal and vertical axes will
be accessed. Press
or
/
/
/
to switch between the active
zooming axes and then zoom in or out on the selected axis by pressing the appropriate virtual key.


