background image

Additional Information

41

Additional Information

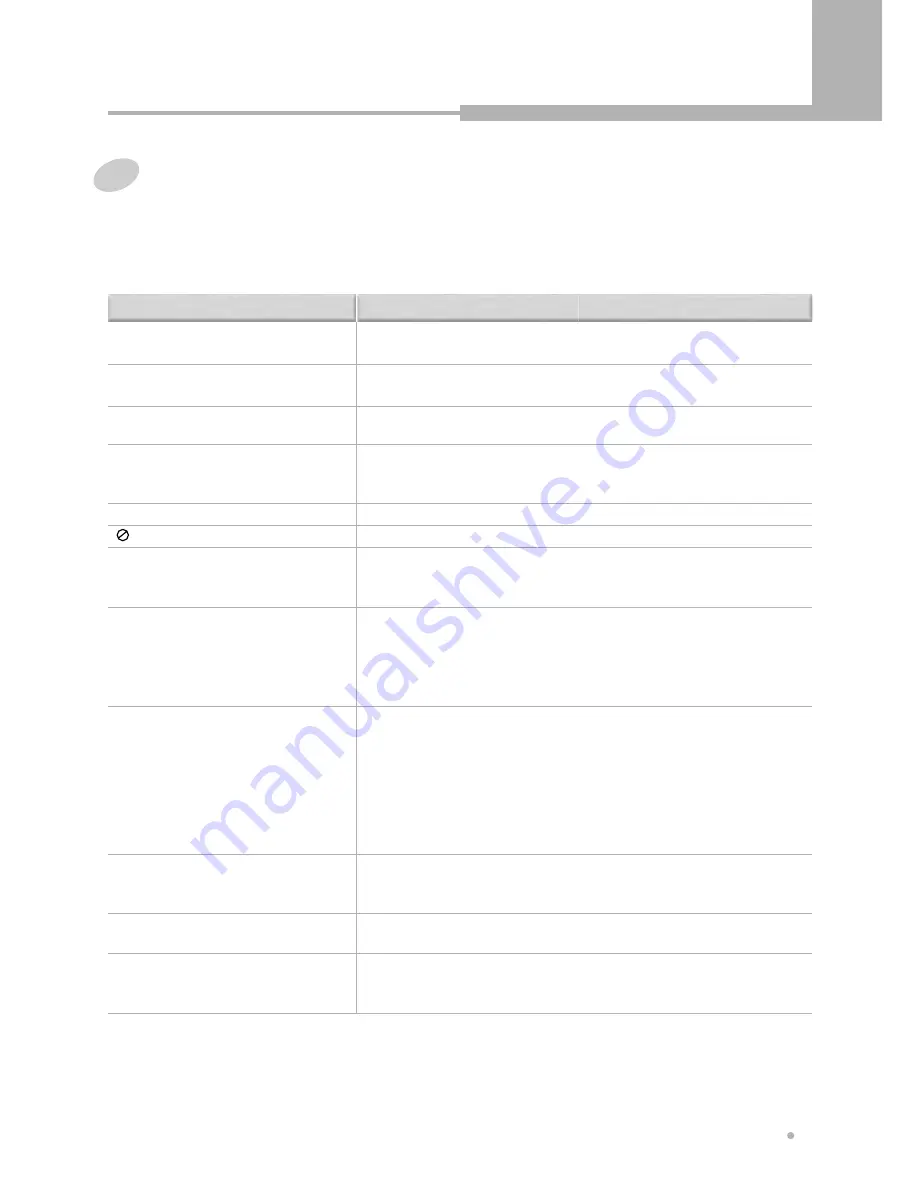
Troubleshooting

Incorrect operation is often mistaken for trouble or malfunction. If you think that there is something wrong with
this component, check the points below. Sometimes the trouble may lie in another component. Inspect the
other components and electrical appliances being used. If the trouble cannot be rectified after checking the
items below, ask your nearest authorized service center or your dealer to carry out repair work.

The disc is ejected automatically after
loading.

• Dirty or damaged disc

• Align the disc properly.

• If the region number on a DVD-Video disc does not match the number on the

player, the disc cannot be used.

• Allow time for condensation to evaporate. Avoid using the player near an air-

conditioning unit.

• Playback is not possible.

• Reload the disc with the label side face up.

• The operation is prohibited by the player and / or disc.

• Switch the power off once using the front panel STANDBY/ON button and then

switch on again using the front panel STANDBY/ON button.

• Disconnect the power plug and reinsert it back into the wall.

• Some settings can be changed while a disc is playing, but are not effective

until the disc is stopped then restarted.

• This is not a malfunction. Make the same setting when the player is stopped.

• When the power is cut due to power failure or by unplugging the power cord,

settings will be canceled.

• Incorrect video connections. Check that connections are correct and that plugs

are inserted fully.

• TV/monitor or AV amplifier settings are incorrect. Check the instruction manual

of the connected equipment.

• The Component output menu is set to progressive but your TV/monitor is not

compatible with progressive scan.

• Reconnect the player to your TV using a composite or S-Video cord and set

the TV to appropriate input. 

• The type of the disc is wrong, it's not a DVD+RW or DVD+R disc.
• The disc is recorded fully.
• The DVD+R has been finailized.

• The TV aspect ratio setting in the Setup menu is incorrect. Set the TV aspect

ratio option to match the TV/monitor you're using.

• This player is compatible with Macro-Vision System copy guard. Some discs

include a copy prevention signal, and when this type of disc is played back,
stripes etc., may appear on some sections of the picture depending on the TV.

Solution

Problem

Disc not seated properly in the disc
guide.

Incompatible region number.

Condensation inside the player.

mark appears on screen.

Disc is loaded upside down.

New settings made in the Setup screen
menus while a disc is playing are
ineffective.

Settings are canceled.

Picture playback stops and the
operation buttons cannot be used.

No picture / No color

The DVD recorder cannot record.

Screen is stretched or aspect does not
change.

Picture disturbance during playback or
dark.

Содержание DRHD-120

Страница 1: ......

Страница 2: ...H LIQUIDS SUCH AS VASES SHALL BE PLACED ON THE APPARATUS CAUTION This product satisfies FCC regulations when shielded cables and connectors are used to connect the unit to other equipment To prevent e...

Страница 3: ...hen moving the cart apparatus combination to avoid injury from tip over VENTILATION Do not block any of the ventilation openings Install in accordance with the manufacturer s instructions GROUNDING OR...

Страница 4: ...k Fast Forward Backward 19 Skip Forward Backward 19 Slow Forward Backward DVD only 19 Frame by Frame Playback DVD only 19 Program Playback Audio CD only 20 Selecting Subtitles DVD only 21 Selecting Au...

Страница 5: ...azards such as leakage and bursting Please observe the following Don t mix new and old batteries together Don t use different kinds of batteries together although they may look similar different batte...

Страница 6: ...t can play DVD R and DVD RW discs recorded as DVD video format Also this unit can record the video and audio signal in DVD R or DVD RW disc DVD Video regions All DVD Video discs carry a region mark on...

Страница 7: ...order This jack is for connection to DV camcorder only It is not compatible with other digital equipments 3 PLAY PAUSE Press to start or pause a disc playing 4 STOP Press to stop a disc playing 5 RECO...

Страница 8: ...cates the current disc being played is viewed as multi angle This function only works for discs having scenes recorded at different angles 8 9 11 13 1 3 4 5 6 7 12 DTS Indicator Illuminates when the f...

Страница 9: ...Box Or connect S VIDEO to S Video Output of VCR or Set Top Box 6 VIDEO OUT Connect VIDEO to Composite Video Input of TV or monitor Or connect S VIDEO to S Video Input of TV or monitor S Video provide...

Страница 10: ...nnel of the broadcast If the NICAM broadcast is bilingual you can select the language If the NICAM broadcast is stereo you can switch between NICAM stereo and Mono audio DVD HDD To switch between DVD...

Страница 11: ...acks of Audio CD in random order REC Record To start recording REC MODE To select the record quality recording time R REPEAT To select a repeat mode REPLAY To play back again from the scene of previou...

Страница 12: ...ks only when recorder and TV is connected by European Scart cable while Video out setting is RGB in Setup Menu TV MODE Set up TV type according to type supported by user s TV Each time you press this...

Страница 13: ...Output The Euro AV terminal can be connected to the TV equipped with Euro AV connector The audio transmitted on the Euro AV is stereo sound S Video Output The S Video output can be connected to the TV...

Страница 14: ...menu select PCM or Bitstream according to your decoder Connection for A V Input Terminals You can record programs from AV system such as VCR Satellite receiver or Decoder box Audio Input Connect the A...

Страница 15: ...HDD mode or DVD mode Each time you press it the mode is changed The indicator in the front panel display shows which is currently selected Displaying disc information on screen OSD 1 Press DISPLAY bu...

Страница 16: ...matically 3 Press ENTER button to start playback 4 Press MENU or TITLE button to return to the menu screen Press OPEN CLOSE button to open the disc tray Put a disc on the disc tray with logo printed s...

Страница 17: ...on during playing back you can see the next picture or the previous picture 5 To see the file list press STOP button The file list is displayed on the TV screen 4 Picture rotation and zoom You can rot...

Страница 18: ...ress STOP button twice to stop a DVD And then press DVD HDD button to select the HDD mode Playing a program of HDD 2 Press PLAY button The program list of HDD appears on screen 3 Select the desired pr...

Страница 19: ...AY button to resume normal playback 2 Press or button The disc content is played slowly in reverse or forward Each time you press the button playback speed changes as below Slow Forward Backward DVD o...

Страница 20: ...ENTER button 7 To delete a song from the program list select the song you want to delete by using button then press ENTER button A mark is put on the selected song Select Delete by using button press...

Страница 21: ...ial settings This operation works only with discs on which multiple audio languages are recorded If the loaded disc supports multiple audio languages you can select the audio language Selecting Audio...

Страница 22: ...he desired segment within a minimum 5 seconds for smooth repeat play NOTE A B Repeat DVD Audio CD disc only 1 Press A B button at the point of where repeat play is to start The starting point of your...

Страница 23: ...ess ZOOM button repeatedly until the recorder resume to normal playback 1 Press ANGLE button during playing Available angles of the current scene will be displayed on the top of screen 2 Each time you...

Страница 24: ...o see the desired scene by using or button then press ENTER button It starts to play back from the specified bookmark 3 To cancel a bookmark press CL button after selecting it Title Search Select TITL...

Страница 25: ...ed the A V source is changed 3 Press REC MODE button to set the record quality recording time Every time this button is pressed the record quality recording time is changed as follows 5 Press REC butt...

Страница 26: ...see the timer recording screen This screen shows all the timer programs currently set 3 Press or button to select a new timer program for example and then press button 4 Enter the timer recording set...

Страница 27: ...DC The VPS PDC system automatically adjusts the recording time so that even if a program is not running to schedule you won t miss it For VPS PDC to work properly you must input the correct announced...

Страница 28: ...OURCE button to choose DV IN Every time this button is pressed the A V source is changed 4 Find the place on the camcorder tape that you want to start recording from You can use the remote controller...

Страница 29: ...ft function The current broadcast is displayed on the screen Copying from HDD to DVD Use the copying feature of this recorder to Back up important recordings stored on the HDD to a DVD Make a DVD copy...

Страница 30: ...ecting Unprotect Disc Close Disc DVD R only If you want to make your DVD R disc compatible with the other DVD Player you should go on Close Disc operation Select Close Disc by using or button and pres...

Страница 31: ...after selecting Done 4 4 Press EDIT button to return to the DVD menu screen 1 Load a DVD RW or DVD R disc The DVD menu screen is displayed automatically 2 Select the title to edit by using or button a...

Страница 32: ...Select Delete by using or button and press ENTER button It asks for confirmation again 1 Press ENTER button after selecting Yes 2 Dubbing You can copy a program from HDD to DVD Load a DVD RW or DVD R...

Страница 33: ...sc some setup menu selections may not work properly NOTE 1 OSD LANGUAGE This item is used to select the language for On Screen Display messages that will be displayed on the TV screen When your desire...

Страница 34: ...ENTER button after selecting Start It asks for the password 2 Enter the current password in 4 digits by using 0 to 9 button If you have not changed the password enter 1 2 3 4 The setup menu screen is...

Страница 35: ...uiring a Canal decoder connected to the A V IN connector set this to On Decoder If the captured signal is not good you can tune the channel fine Fine tune Select Fine tune by using or button 1 Tune th...

Страница 36: ...will not allow you to change the screen format NOTE 1 ANALOG OUTPUT Stereo Should be selected when you enjoy conventional 2 channel stereo audio by connecting the unit s audio output to a stereo ampl...

Страница 37: ...structions SECURITY 2 SET PASSWORD 1 Press ENTER button after selecting the proper rating level by using or button The password window appears on TV screen 1 Press button after selecting Change The pa...

Страница 38: ...o language is selected whenever you start playing a new disc the selected audio language is played if the selected language is contained in the disc 2 SUBTITLE LANGUAGE Set this value to the preferred...

Страница 39: ...ould go on FINALIZE operation 7 FORMAT HDD If the HDD file system becomes corrupted for some reason you can format the HDD to fix the problem Note that formatting the HDD will erase all the data on it...

Страница 40: ...tteries Operating Instructions General Recording Timer Euro AV connectors 21 pin connector Audio characteristics Digital output Video Output Accessories Audio output DVD DVD CD DA CD CD R CD RW DVD R...

Страница 41: ...stopped When the power is cut due to power failure or by unplugging the power cord settings will be canceled Incorrect video connections Check that connections are correct and that plugs are inserted...

Страница 42: ...sure that the Digital Audio Out setting is set to PCM or Bitstream Check that the PCM or Bitstream settings are suitable for your amplifier check the amp s instruction manual DVDs and CDs use differen...

Страница 43: ...warranty the product must be returned to the dealer that sold the product If any problems arise information on our authorized service centers is available the dealer who sold the product Terms of Warr...

Отзывы: