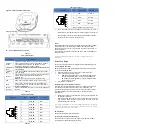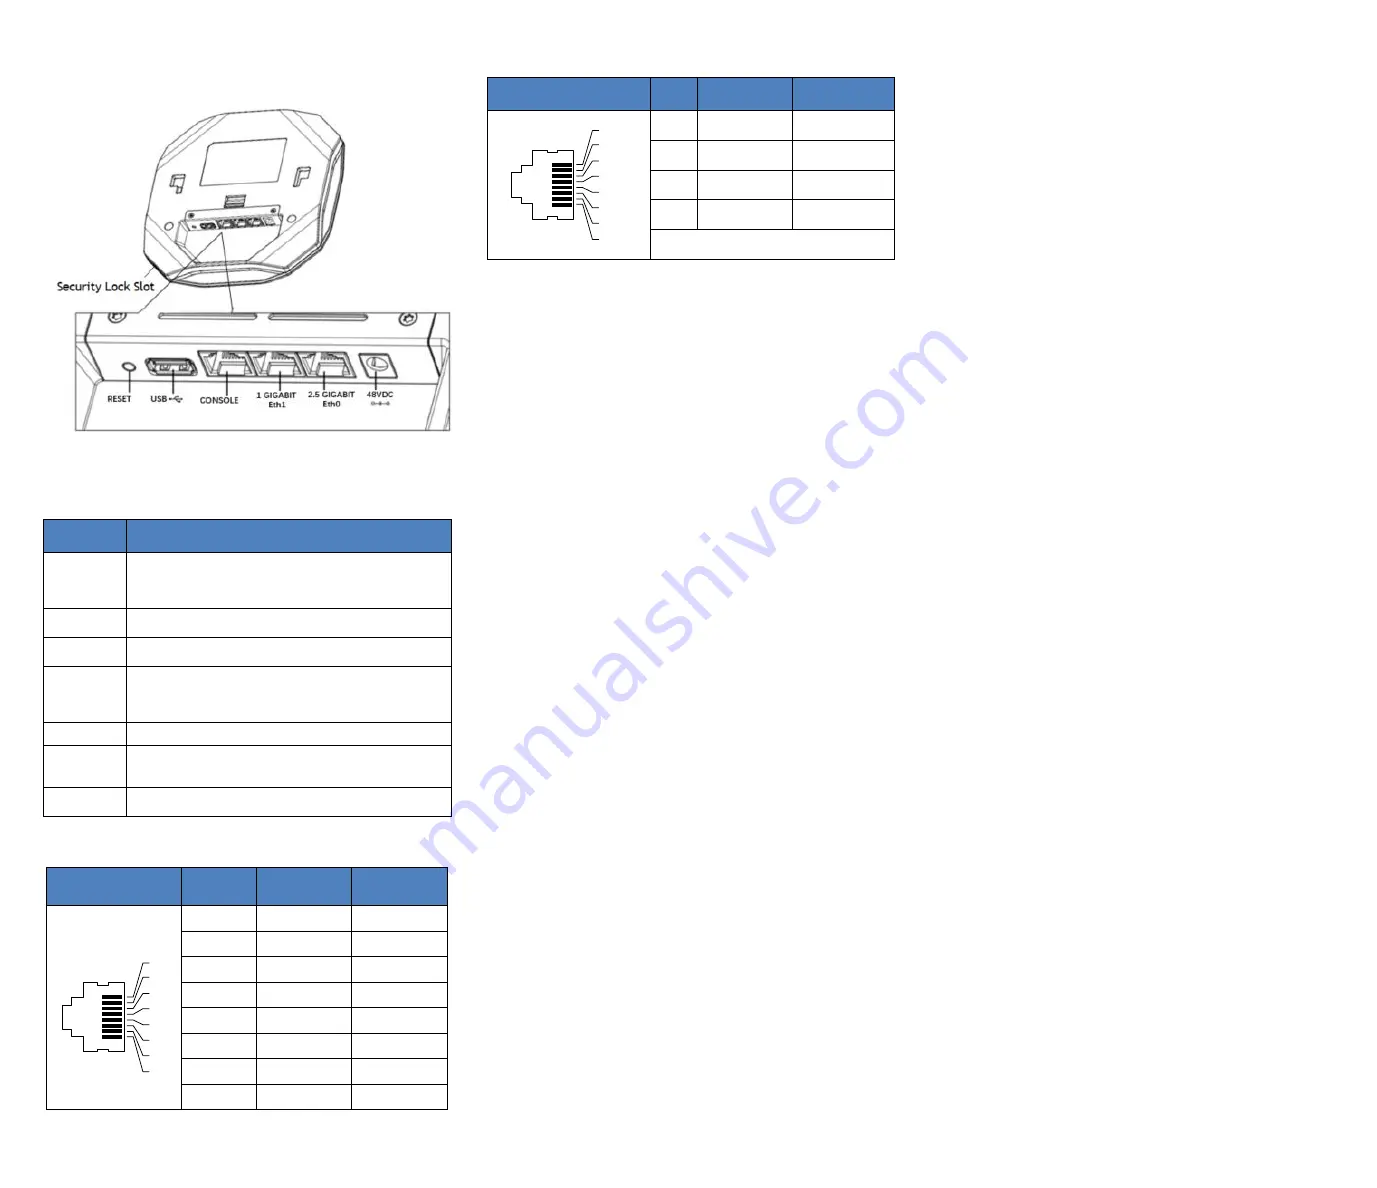
Figure 6: AP321 and AP321e Back View
◆
AP321 and AP321e Connections
Table 1
External Interfaces
Item Name
Specifications
DC Power
Socket
The AP has a single 48V DC power jack socket to support
powering through an AC
-
to
-
DC power adapter, If PoE is
not available, an optional AC
-
DC adapter kit (sold
separately) can be used to power the
AP.
2.5 Gigabit
Eth0
1x 100/1000/2.5GBASE
-
T autosensing (RJ
-
45) port, Power
over Eth0 (PoE)
1 Gigabit
Eth1
1x 10/100/1000BASE
-
T autosensing (RJ
-
45) port, Power
over Eth1 (PoE)
Console
The console port is an RJ
-
45 female connector and can be
used to connect to a terminal for direct local
management.
Note
: Currently for use by Service & Support only.
USB
USB 2.0 host interface (Type A, output current 0.5A )
Reset
Factory reset. Press reset button for 5s, AP LEDs will
quickly flashing for 3s, then AP will restart and restore
factory configurations.
Security
Lock Slot
The AP is equipped with a security lock slot for additional
security.
Table 2
Ethernet Port Pinout
Connector
Pin
Signal Name
PoE
1
2
3
4
5
6
7
8
1
PoE
-
2
RJ45_DA–
PoE
-
3
PoE+
4
PoE+
5
RJ45_DC–
PoE+
6
RJ45_DB–
PoE+
7
PoE
-
8
RJ45_DD–
PoE
-
Table 3
Console
Port Pinout
Connector
Pin
Signal Name
Function
1
2
3
4
5
6
7
8
3
TXD
Transmit
4
GND
Ground
5
GND
Ground
6
RXD
Receive
Pins not listed are not connected.
Note: The serial console port allows you to connect the AP to a
serial terminal or a laptop for direct local management. This port is
an RJ
-
45 female connector with the pinouts described in Table 3.
Currently for use by Service & Support only.
Power
The OAW
-
AP1320 series access point supports direct DC power adapter
(48V DC nominal, sold separately) and Power over Ethernet (PoE).
The DC power connector port is located on the back of the device, as
shown in Figure 6.
The PoE allows the Ethernet port to draw power from an IEEE 802.3at
compliant source.
OmniAccess Stella AP supports the power adapter provided by
ALE ONLY.
Before You Begin
Refer to the sections below before beginning the installation process.
Pre
-
installation Checklist
Before installing your
OAW-AP1320 Stellar access
point, be sure that
you have the following items:
•
8
-
conductor, CAT5 or better UTP cable of required length.
•
One of the following power sources:
◼
IEEE 802.3at compliant Power over Ethernet (PoE) source
(PoE switch or PoE injector), best with 2.5GbE PoE port.
◼
AC
-
DC adapter (sold separately)
,
output voltage DC 48V,
output current
≥
0.5A
•
A terminal or a notebook
Identifying Specific Installation Locations
You can mount the
OmniAccess Stellar
AP on a ceiling rail
or on a wall
.
You should first determine the location of the installation. The
installation position is located at the center of the required coverage
area and should be free from obstructions or obvious sources of
interference.
•
Minimize the number of obstructions (such as walls) between the
AP and user terminals.
•
Electronic equipment or devices (such as microwave ovens) which
may produce radio frequency noise should be away from the
installation position of the AP.
It is strictly prohibited to install around stagnant water, water seepage,
leakage or condensation. Avoid cable condensation or water seepage
along the cables connecting to the AP.
AP Installation
Refer to mounting kits installation Guide.
Verifying Post
-
Installation Connectivity
The LED on the AP can be used at this point to verify that the AP is
receiving power and initializing successfully.


