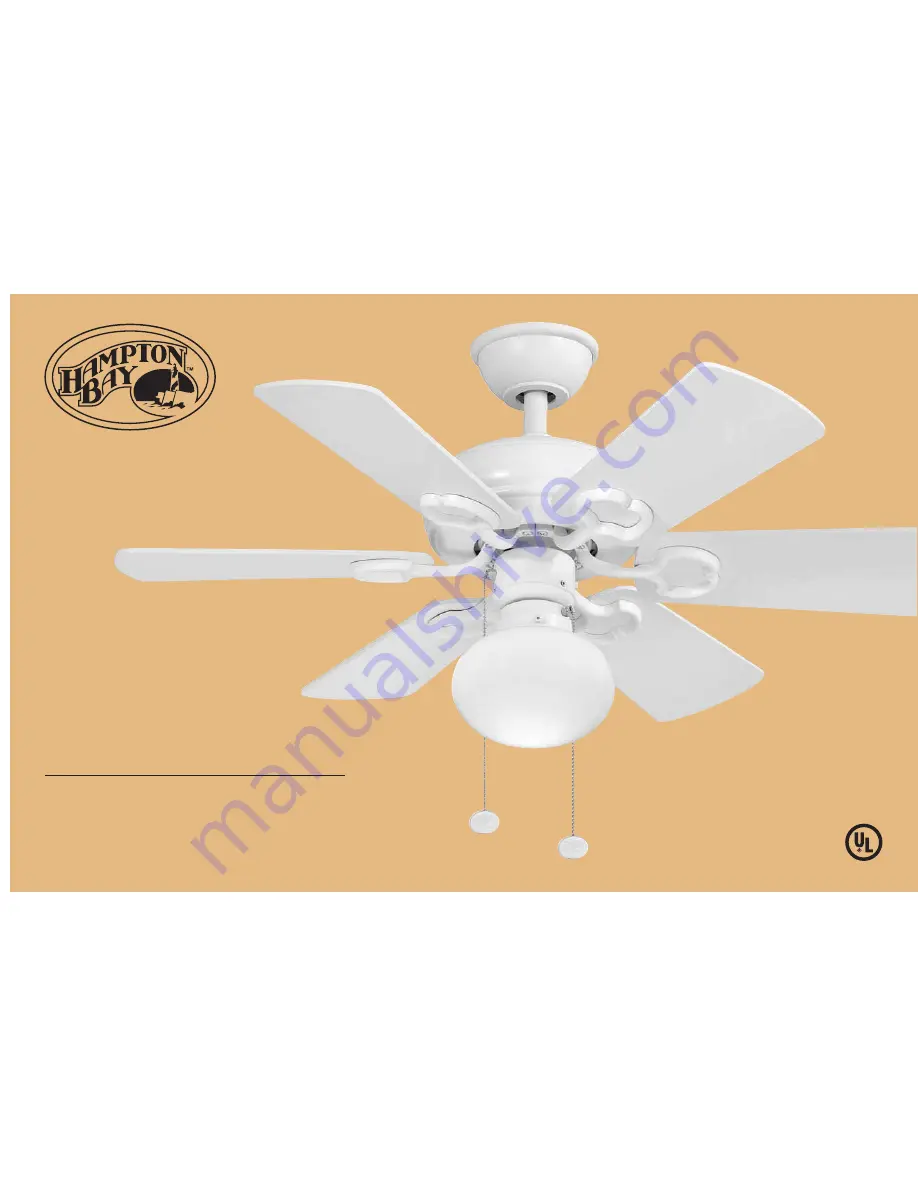
Minuet III
36
in
Ceiling Fan
Owner's Manual
Minuet IIIVentilador de Techo de 0.91
m
Manual del Propietario
Страница 1: ...Minuet III 36 in Ceiling Fan Owner s Manual Minuet III Ventilador de Techo de 0 91 m Manual del Propietario...
Страница 2: ...cover any changes in brass finish including rusting pitting corroding tarnishing or peeling Brass finishes of this type give their longest useful life when protected from varying weather conditions A...
Страница 3: ...Table of Contents Safety Rules Unpacking Your Fan Installing Your Fan Installing the Light Kit Care of Your Fan Troubleshooting Specifications Operating Your Fan 1 2 3 9 10 11 12 13...
Страница 4: ...connecting nuts should be turned upward and pushed carefully up into the outlet box The wires should be spread apart so that the green and white wires are on one side of the outlet box and the black...
Страница 5: ...re 1 screw a c b 13 WARNING DO NOT INSTALL OR USE FAN IF ANY PART IS DAMAGED OR MISSING CALL TOLL FREE 1 877 902 5588 Unpacking Your Fan 2 3 1 2 6 7 8 12 11 10 4 5 9 1 2 Canopy assembly 3 4 5 Set of b...
Страница 6: ...t the moving weight of the fan at least 50 lbs Do not use plastic outlet boxes Figures 1 2 and 3 are examples of different ways to mount the outlet box Note You may need a longer downrod to maintain p...
Страница 7: ...the two screws on the outlet box securely 6 7 Remove the hanger pin lock pin and set screws from the top of the motor assembly 8 Route wires exiting from the top of the fan motor through the coupling...
Страница 8: ...ign the mounting holes with the holes in the motor and fasten using the screws and lock washers provided Fig 7 10 Tighten the mounting screwssecurely Fig 7 3 Remove the decorative canopy bottom cover...
Страница 9: ...ound wire green to the household ground wire Step 4 After connecting the wires spread them apart so that the green and white wires are on one side of the outlet box and the black and the blue wires ar...
Страница 10: ...py and tighten by turning the ring FLUSHMOUNT INSTALLATION Remove the fan from the hook on the hanger bracket Secure the canopy to the hanger bracket with four screws included with your fan Slide the...
Страница 11: ...ke sure the blade is straight Fig 13 blade Repeat steps for the remaining blades Step 3 Fasten the blade arms to the motor by inserting the tab from the blade arms to the slot in the bottom motor hous...
Страница 12: ...switch housing then install the light kit assembly onto the switch housing with 3 screws provided Be sure to tighten all screws Fig 15 3 Install 1 x 13 watt compact fluorescent bulb included into the...
Страница 13: ...e a t h e r C o u n t e r C l o c k w i s e direction A downward airflow creates a cooling effect Fig 17 This allows you to set your air conditioner on a higher setting without affecting your comfort...
Страница 14: ...plating is sealed with a lacquer to minimize discoloration or tarnishing Do not use water when cleaning This could damage the motor or the wood or possibly cause an electrical shock 3 You can apply a...
Страница 15: ...riable speed controls If you have installed this type of control choose and install another type of control 7 Make sure the upper canopy is a short distance from the ceiling It should not touch the ce...
Страница 16: ...a n d W a t t a g e u s e d b y t h e l i g h t k i t RPM CFM N W G W C F 36 120 1 37 6 52 kgs 14 36 lbs 8 26 kgs 18 22 lbs 0 21 0 34 0 40 12 30 49 110 187 225 1449 2442 3264 120 120 Fan Size Speed Vo...