Owner’s Manual
2
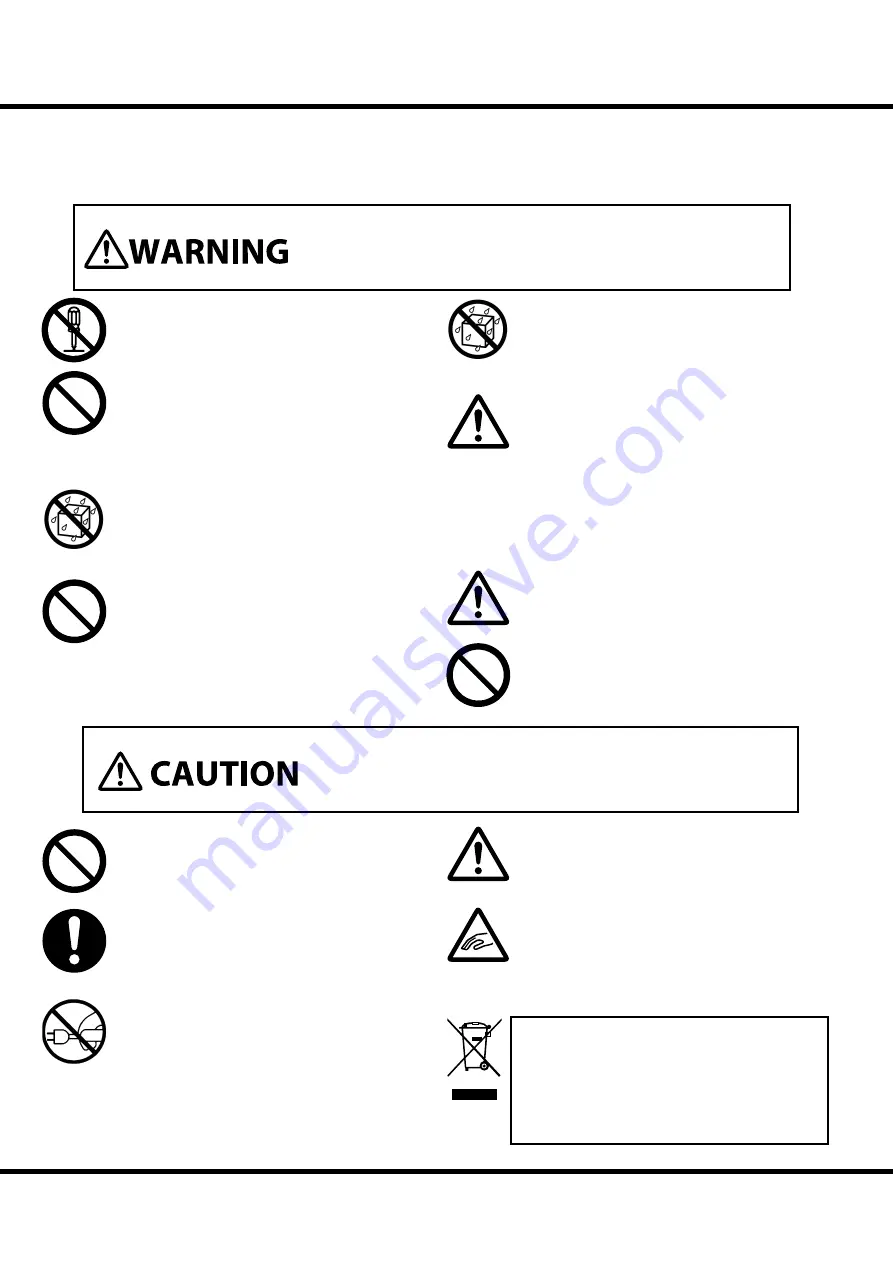
Do not open (or modify in any way) the unit.
Do not attempt to repair the unit, or replace parts in
it. Refer all servicing to your retailer, the nearest Ham-
mond Dealer, or an authorized Hammond distributor,
as listed on the “Service” page.
Never use or store the unit in places that are:
Subject to temperature extremes (e.g., direct sun-
light in an enclosed vehicle, near a heating duct, on
top of heat generating equipment)
Damp (e.g., baths, washrooms, on wet fl oors)
Humid
Exposed to rain
Dusty
Subject to high levels of vibration
Use only with the cart, stand, tripod, bracket, or table
specifi ed by the manufacturer, or sold with the appara-
tus. When cart is used: use caution when moving the
cart/apparatus combination to avoid injury from tip-
over.
Do not allow any objects (e.g., fl ammable material,
coins, pins); or liquids of any kind (water, soft drinks,
etc.) to penetrate the unit.
Immediately turn the power off , remove the AC cable
from the outlet, and request servicing by your retailer,
the nearest Hammond Dealer, or an authorized Ham-
mond distributor, as listed on the “Service” page when:
Th
e AC adaptor, the power-supply cord, or the plug
has been damaged; or
If smoke or unusual odor occurs
Objects have fallen into, or liquid has been spilled
onto the unit; or
Th
e unit has been exposed to rain (or otherwise has
become wet); or
Th
e unit does not appear to operate normally or ex-
hibits a marked change in performance.
In households with small children, an adult should pro-
vide supervision until the child is capable of following
all the rules essential for the safe operation of the unit.
Protect the unit from strong impact. (Do not drop it!)
Never climb on top of, nor place heavy objects on the
unit.
Before moving the unit, disconnect the AC adaptor and
all cords coming from external devices.
Be sure to grasp the plug when unplugging it from the
unit. Pulling on the cord can damage it, and create the
danger of fi re and electrical shock.
Turn off all devices before hook up. Follow all instruc-
tions and use only designated cables.
Make sure not to pinch your fi ngers when you assemble
or disassemble this unit.
IMPORTANT SAFETY INSTRUCTIONS
Before using this unit, please read the following Safety instructions, and adhere to them.
Keep this manual close by for easy reference.
In this manual, the degrees of danger are classifi ed and explained as follows:
Th
is sign shows there is a risk of death or severe injury if this unit is not properly used as
instructed.
Th
is sign shows there is a risk of injury or material damage if this unit is not properly used
as instructed.
*Material damage here means a damage to the room, furniture or animals or pets.
In case in the future your instrument gets too old to
play/use or malfunctions beyond repair, please ob-
serve the instructions of this mark, or, if any question,
be sure to contact your dealer or your nearest town or
municipal offi
ce for its proper disposal.
Содержание XLK-5
Страница 9: ...9 Model XLK 5 XK 5...
Страница 10: ...Owner s Manual 10 AC AC...
Страница 12: ...Owner s Manual 12 1 ST XLK5W 2 XLK 5 3 CU 1 XLK 5 ST XLK3 4 2 ST XLK3...
Страница 13: ...13 XK 5 6 B M4 16 2 A 4 10 4 2 2 4 XK 5 7 XK 5 XLK 5 8 4 XK 5 XLK 5 5 6...
Страница 16: ...1 0120 7 94019 9 00 12 00 13 00 16 00 Printed in Japan 00457 40198 V1 00 160606...


