7
XB2 Kit Installation
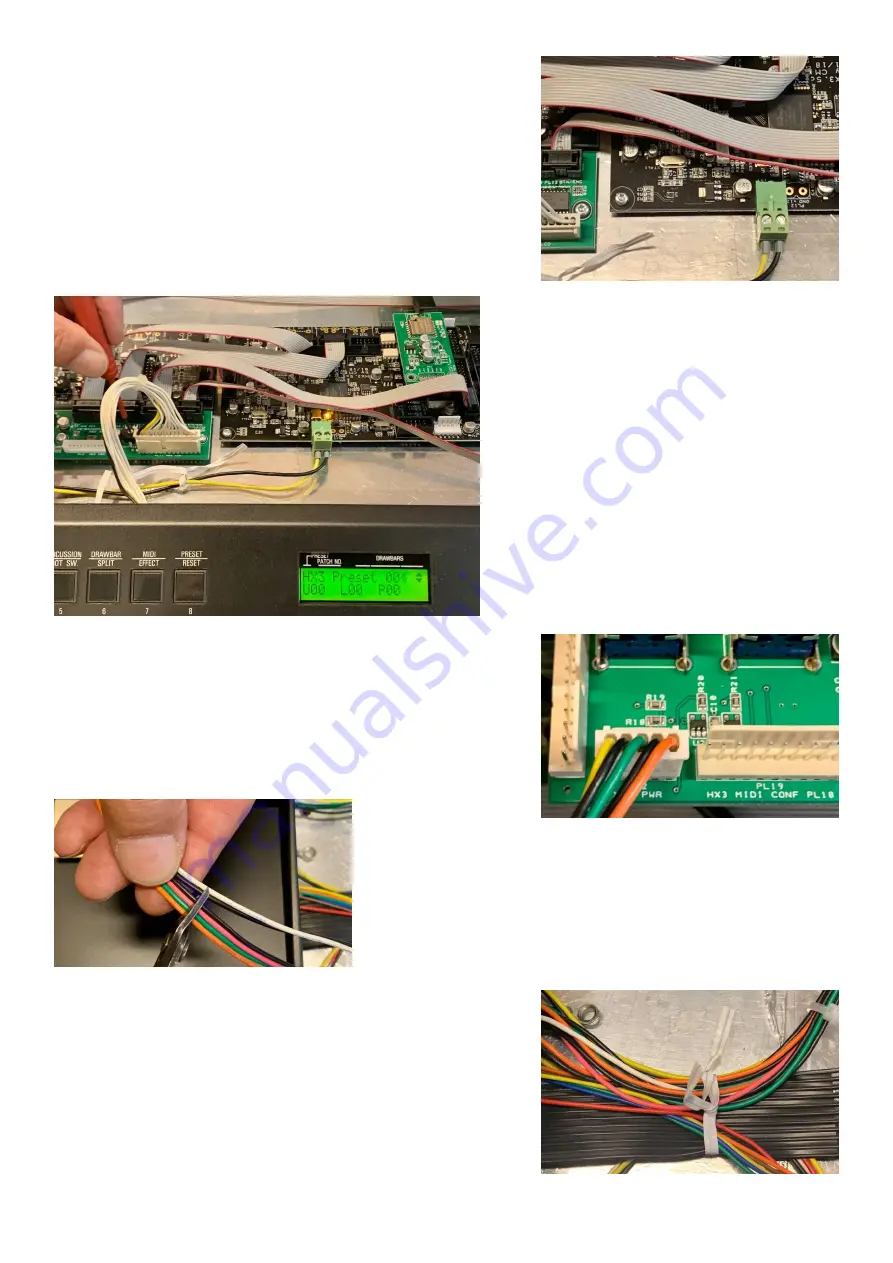
Run the yellow and the black cable for the power supply to the
HX3 mainboard. Shorten the cables to fit, remove 5mm of
insulation sheathing and press on the supplied wire end ferrules
with the pliers. Screw the ferrules into the green screw
connector. Please observe the polarity indicated by the cable
colors, see photo.
Fix the power cables with the white cable holders at the bottom
of the XB2.
You can now connect the power cable and
switch on the XB2 with HX3 soul for the first
time. The HX3 start message should now
appear on the display.
Take the opportunity to adjust display contrast
with the trimmer on the interface board 2.
Switch off the XB2 and disconnect the power
cable.
Identify the harness coming from the power supply with cables in
the colors yellow, black, green, black, orange and a 5-pin
connector. Plug this into the PL2 XB2 PWR connector on the
interface board 1.
Another cable harness remains from the power supply unit with
four connectors and six cables in the colors white, 2x black, 2x
orange, green. Cut this off at a distance of about 30 cm from the
power supply unit and insulate the cable ends with insulating
tape or heat shrink tubing.
Arrange all cables and fix them with cable ties and the white
cable holders at the bottom of the XB2.


