3
Package contents:
1x
Wireless LAN PCI-Card 300 Mbps
1x
antenna (screw-on)
1x
driver CD-ROM
1x
printed operating instructions
Remark concerning the positioning:
The connection quality depends strongly on the place or surroundings where you put up the WLAN device. Please ensure that the de-
vice or its antennae are neither covered nor built in. Use the enclosed external table antenna for this purpose. We advise you against
putting it up near metallic objects or other electric or radiant devices. In case of reception fl uctuations or connection interruptions we
recommend you to move interference sources such as DECT telephones, mobile phones, Bluetooth devices or other WLAN networks
out of the way. If this is not possible, it may also be helpful to change the cable.
System requirements:
• Free PCI-Slot
• Operating system Windows 98SE/ME/2000/XP/XP-x64 Edition/Vista or MAC OS X 10.3.x/10.4.x
Safety instructions:
Do not operate the device in damp or extremely dusty environments. Protect the device from pressure and impact. The device may
not be opened or moved during operation. Do not operate the device without a screwed-on antenna.
1. Installing the wireless LAN PCI card
Switch off the computer and pull the mains plug from the socket so that the PC is disconnected from the electricity mains. Open
the PC case. Select a free PCI slot and remove the slot cover plate. Insert the wireless LAN PCI card into the selected PCI slot
and secure it to the case with a screw. You can now close the PC case again. As a last step, screw the enclosed antenna to the
antenna socket. This completes installation. Insert the mains plug into the socket and start the PC.
2. Installing the driver and confi guration program on Windows 2000/XP
After you start the operating system, the Windows New Hardware Wizard
dialogue box opens. Click Cancel to close it! Before installation, please save any
open documents you may be working on. Then close all running programs. Insert the
CD-ROM provided in the drive. Usually, the CD starts automatically. If the menu does
not start automatically, double-click the corresponding CD-ROM drive icon in My
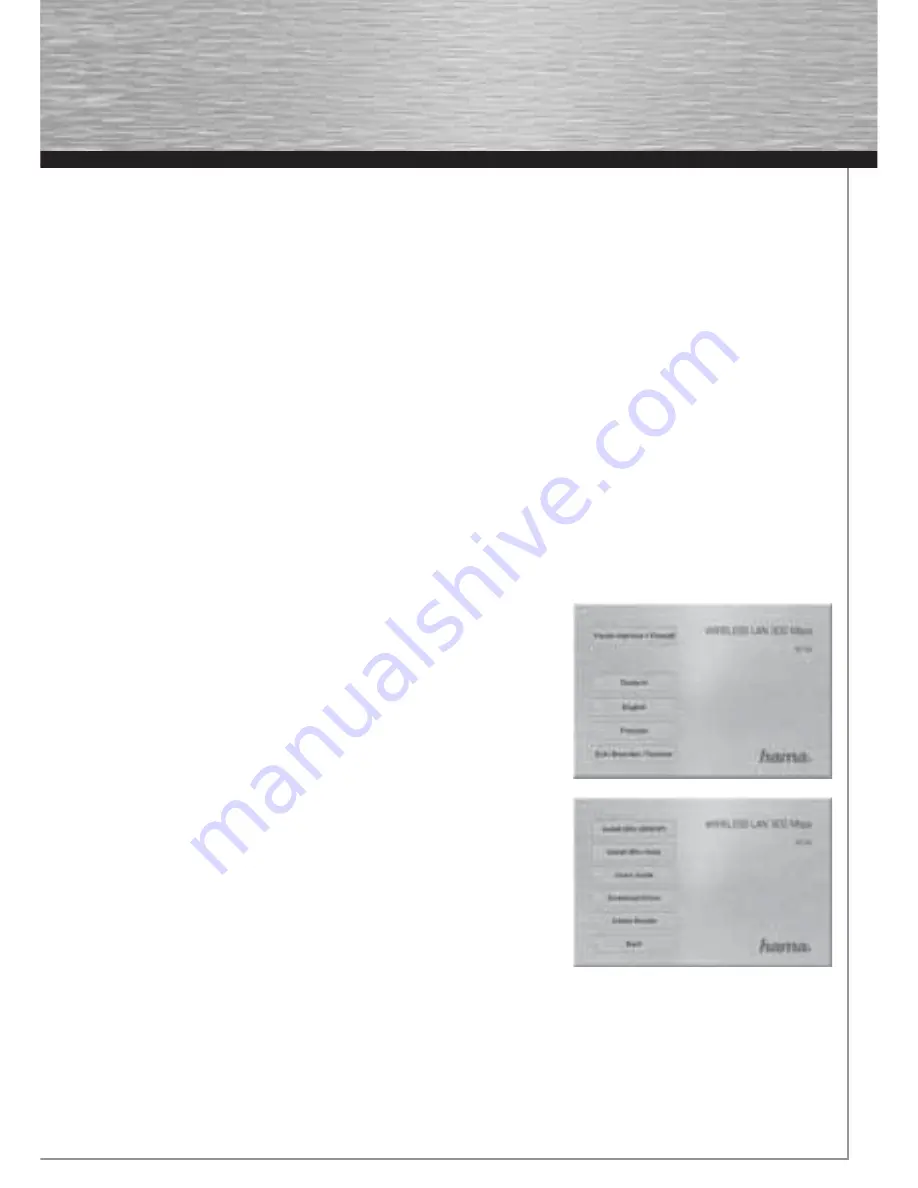
Computer. The following window opens after the program starts:
Select the required language. The following window is displayed when you select the
language.
This installation process is suitable for Windows 98SE/ME/2000/XP/XP-x64 Edition/Vi-
sta.
Click Install to continue with the
installation (Win 2000/XP).
Click
User Guide
to open the operating instructions. Adobe Reader is required to
display PDF fi les. If you have not yet installed Adobe Reader, you will fi nd a free
version on the enclosed driver CD. Click
Download driver
to download the latest
driver from the Hama website. This allows you to check whether drivers have
now been developed for previously unsupported systems. Click
Back
to return to
language selection.
When you select Install, the InstallShield Wizard is loaded. This can take a few
seconds. Please wait until the InstallShield Wizard starts.
Read the licence agreement. Select “I accept the terms of the license agreement” if you accept them and then click
Next
.
For Windows XP users only
The next screen prompts you to choose whether you want to confi gure the Wireless LAN Adapter using the Hama
Confi guration Program or the confi guration program integrated in Windows. We recommend that you use the Hama
Confi guration Program. To do so, select
Hama Wireless Utility
and click
Next.
00062742bda_GB.indd Abs2:3
00062742bda_GB.indd Abs2:3
17.09.2007 7:26:20 Uhr
17.09.2007 7:26:20 Uhr
Содержание 62730
Страница 14: ...15...


