14
15
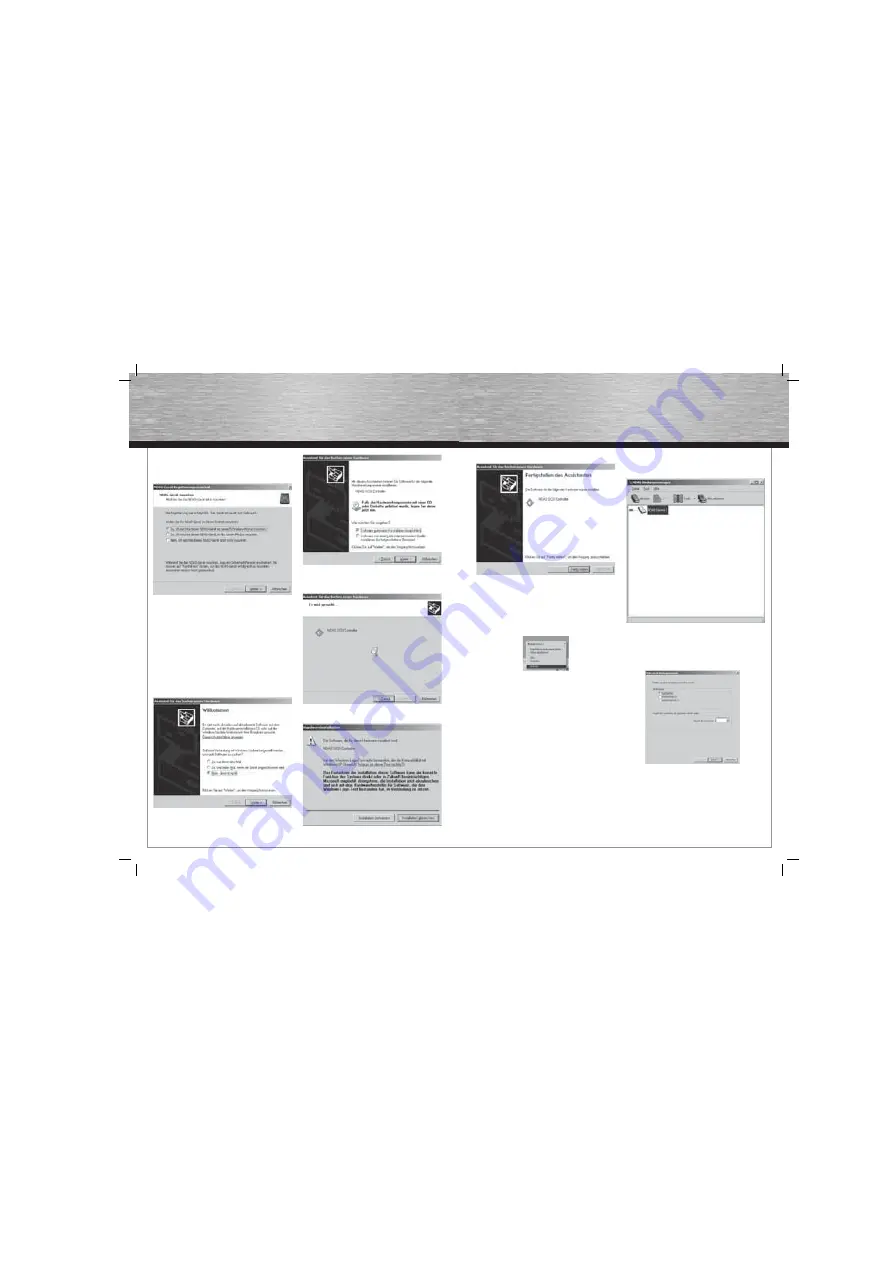
6. Select whether the PC has write or only read
access for the NDAS.
Read permission: Data can only be read, i.e. data
can not be changed, deleted or added. The user can
only work with the data provided, e.g. play a saved
song.
Write permission: The user can also change, delete
and add new data.
7. Select „No, not this time” and then click „Next”.
8. Select „Install the software automatically” and
then click „Next”.
9. The NDAS system is now installed in the system.
10. Click „Continue installation”.
11. To complete the installation, click „Finish”.
The NDAS system is now displayed as a hard drive
in My Computer and can be treated as a normal hard
drive. Caution: Basic modifi cations to the hard disk
(formatting, partitioning, chkdsk, combining or
mirroring) can only be performed when only one
user / PC is connected to the NDAS device.
3.3 Features
The name of the device is displayed in the software
after the NDAS device has been correctly installed
in the system. Additionally, the state of the NDAS
device is identifi ed by the colour.
Blue:
User has read/write permission
Green:
User has read permission
White:
NDAS device is connected but not
mounted
Black:
NDAS device is registered but not
connected
Red:
NDAS device is not available
Yellow:
NDAS device is available but connected
together with one or more NDAS devices.
4. RAID function
Several NDAS devices can be combined using the
RAID function
4.1 Connecting hard drives together
1. Open the NDAS connection manager
(Start / Programs / NDAS software)
2. Click on „Connect” to start the combination
of several hard drives.
3. You can now choose from the following
options:
Aggregation:
All NDAS hard drives in the network are combined to
form one large storage unit.
Advantageous when a large amount of storage
space is required. However, there is no fail-safe
mechanism. If one of these hard disks fails, the data
can no longer be accessed.
All manuals and user guides at all-guides.com


